Admin Permissions
Overview
With Mageplaza Admin Permissions Extension, you can easily set specific permissions for each admin. The admin users can be authorized to view order list, invoice or shipment by each store. Moreover, they can be allowed to added, view, edit, delete categories, product, customer, product attribute and user role. It is also possible to authorize logging in or not to log in according to the time frames of the day and day of the week.
How to download and install
How to Configure
Login to the Admin Magento, choose Stores > Configuration > Mageplaza > Admin Permissions
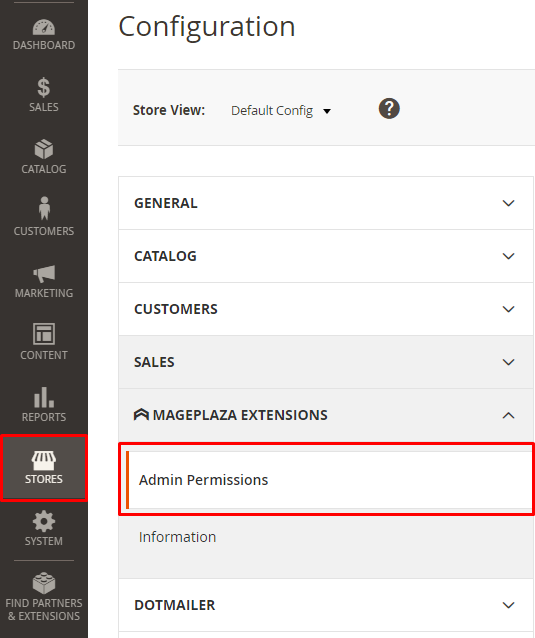
I. Configuration
1.General Configuration
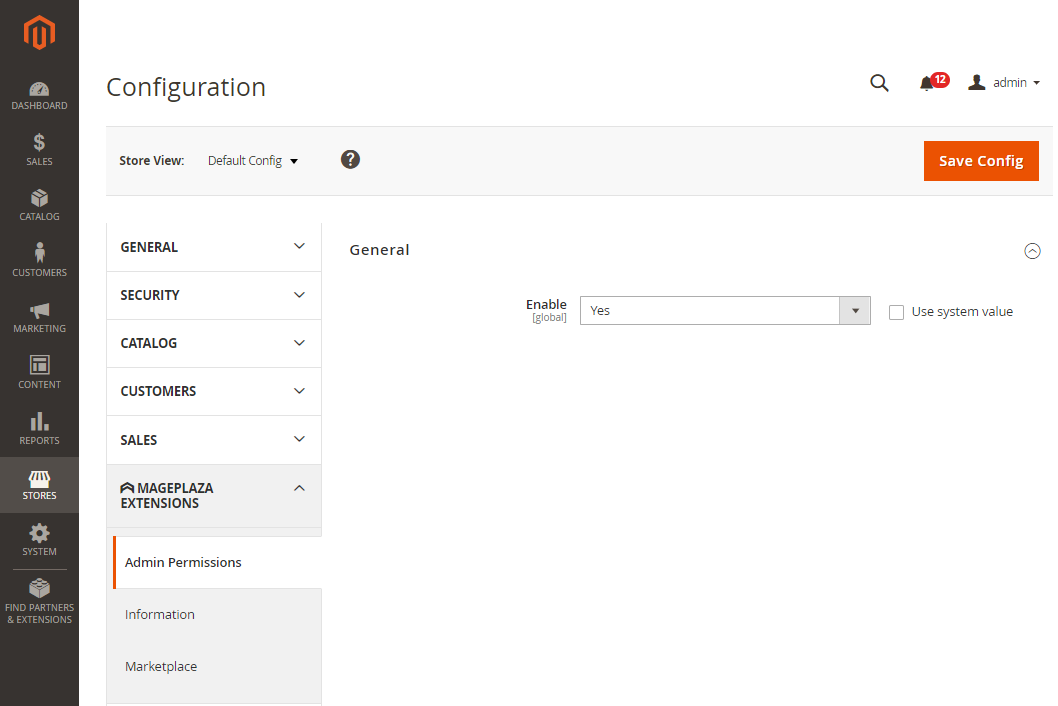
- Enable: Select Yes to enable the extension
II. Admin Permissions
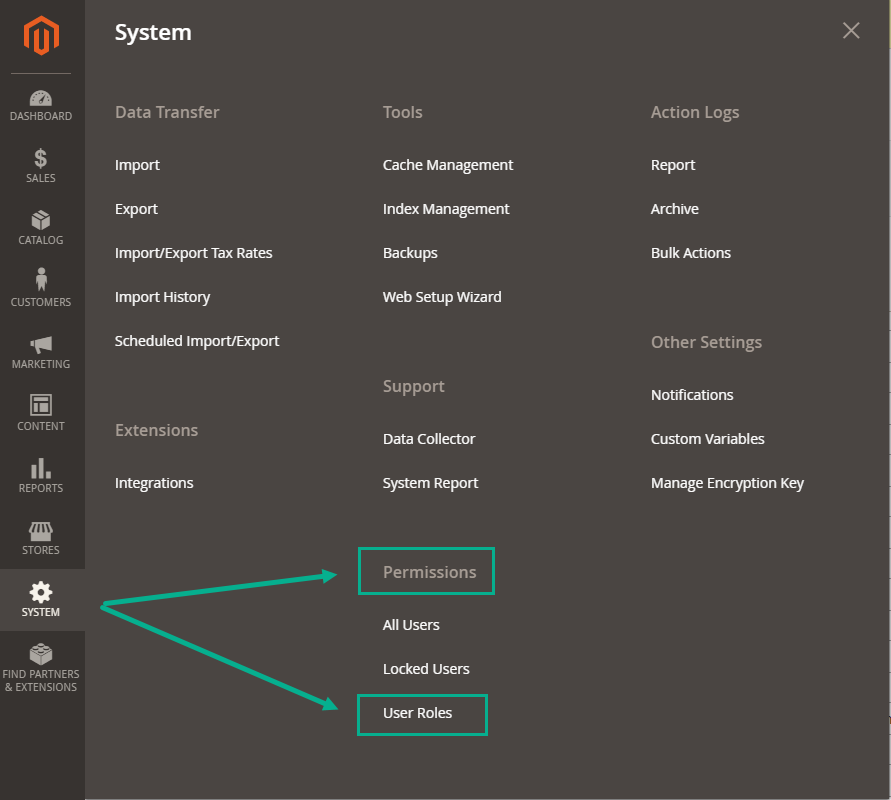
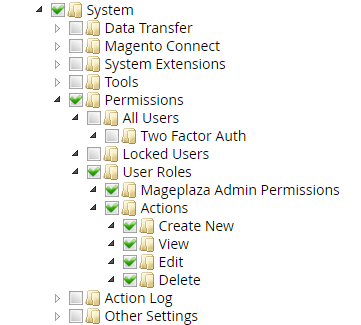
To configure User Roles, please login to Admin Magento, go to System > Permissions > User Roles > Add new role > Role Resources
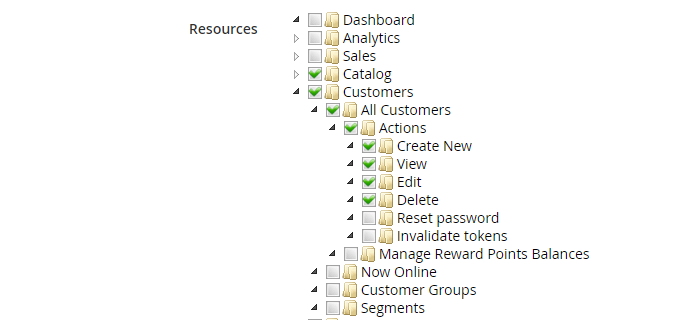
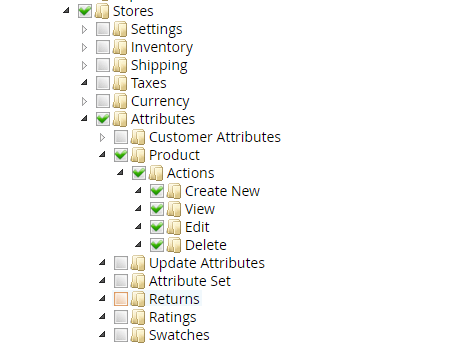
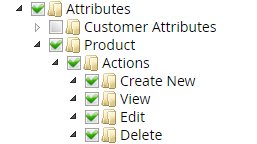
You can select Actions tại Role Resources such as Create New, View, Edit, Delete for permission fields including Category, Product, Customer, Attributes, Permission.
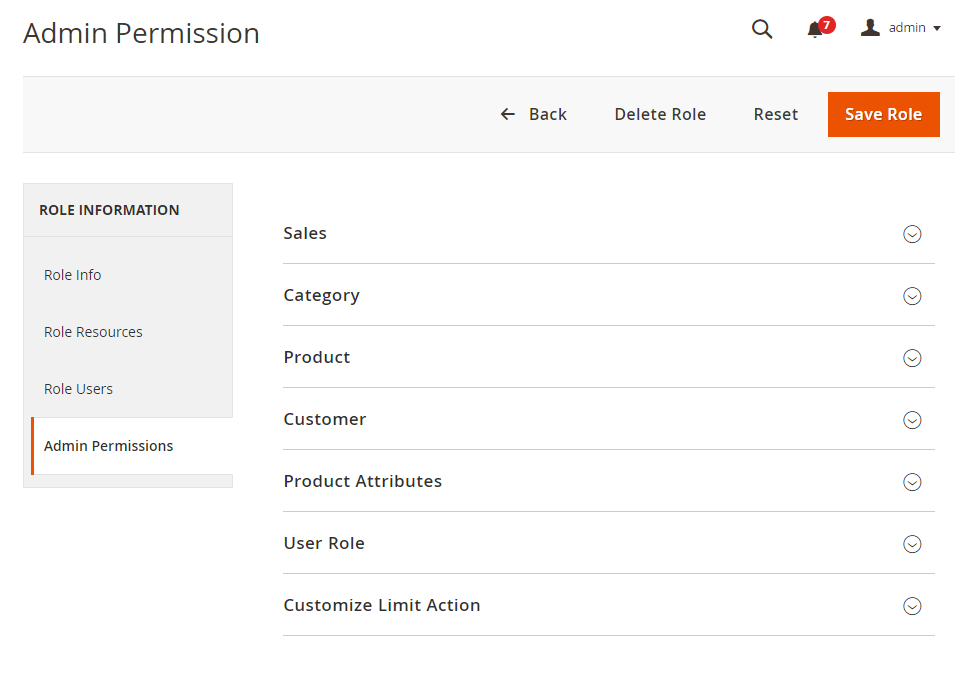
- Tab Admin Permissions only apprears when Mageplaza Admin Permissions is turn on. This tab allows:
- Set admin permission by Sale per Store Views.
- Set admin permission by specific Categories
- Set admin permission by specific Products or product creators (product owner).
- Set admin permission by specific Customers
- Set admin permission by certain Product Attributes
- Set admin permission by certain User Roles
- Set admin permission by Model/Controller with Action New, Load, Save, Delete.
1. Sales
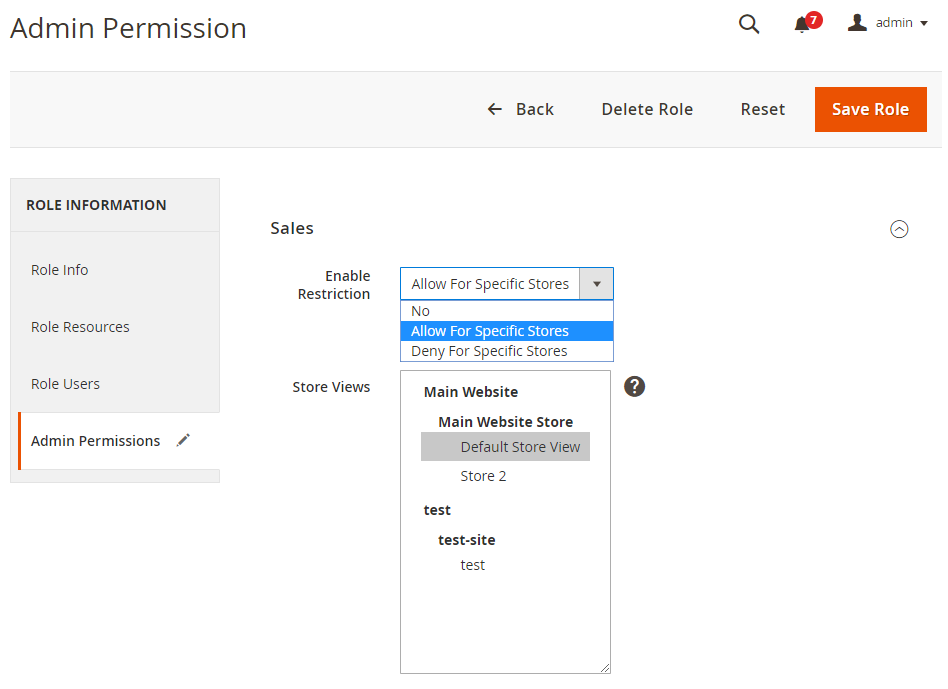
- Enable Restriction: Allow/Disallow restriction for viewing or editing information of Sale (Order, Invoice, Shipment) by Store View.
- Select "No" to disable restriction
- Select Allow For Specific Stores: Admin can only view, edit information of sepcific storeviews selected below.
- Choose Deny For Specific Stores: Admin can not view, edit information of sepcific storeviews selected below.
2. Category
2.1 Tab Role Resources
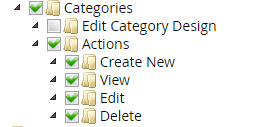
- At Role Resources tab, go to
Catalog > Inventory > Categories > Actions, select permission actions you want. There are 4 permission actions as followings:- Create New: Select to allow admin account to create a new Category.
- View: Admin is only allowed to view authorized Categories (at tab Admin Permissions)
- Edit: Admin is allowed to edit authorized Category (at tab Admin Permissions). Note: You need to select View permission above to view and edit specific Category page.
- Delete: Admin is allowed to delete authorized Categories (at tab Admin Permissions). Note:
- You need to select View permission above to view and delete specific Category page.
- This admin permision does not allow to delete Category Default Root
2.2 Tab Admin Permissions

- Enable Restriction: Allow/Disallow restriction for viewing or editing information of specific categories
- Select "No" to disable restriction
- Select Allow For Specific Stores: Admin can only view, edit information of sepcific categories selected below.
- Choose Deny For Specific Stores: Admin can not view, edit information of sepcific categories selected below.
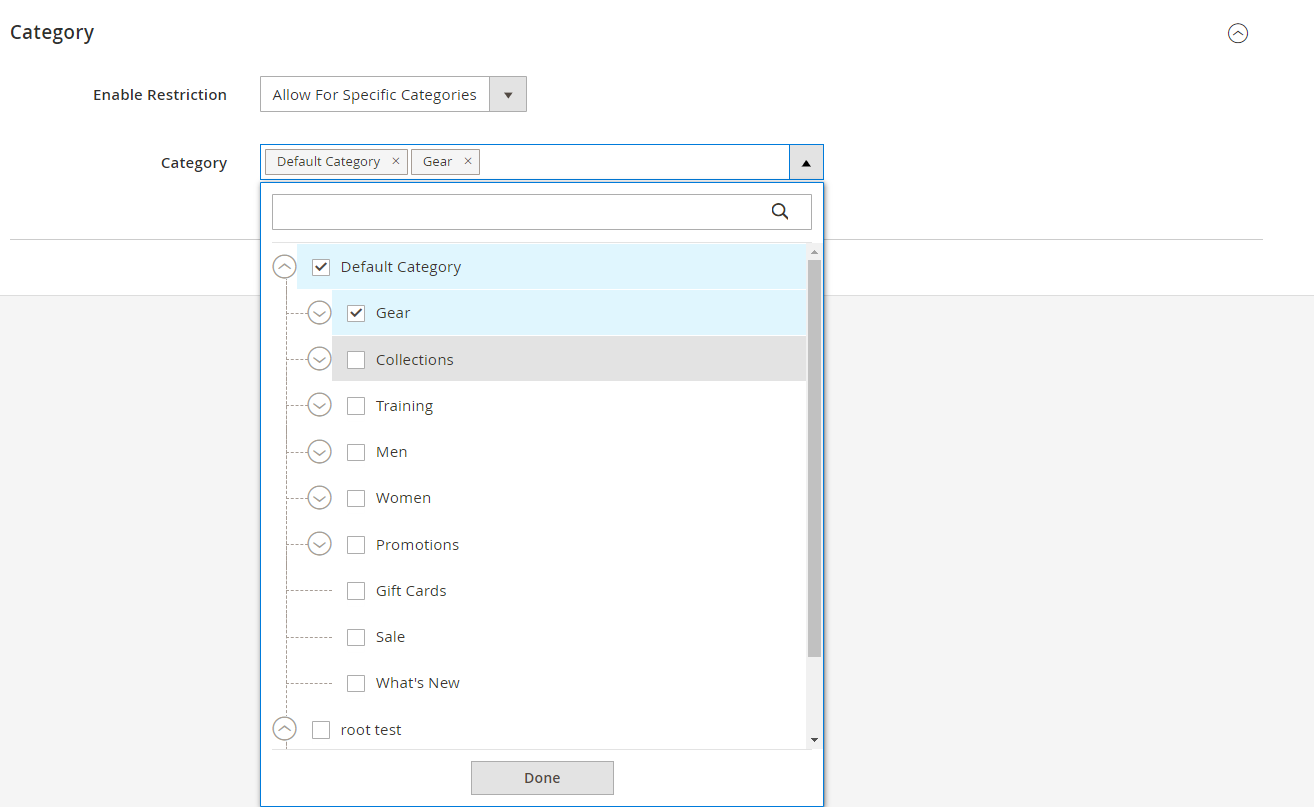
- Category: Select the Categories you want to allow/ restrict permissions to view, edit, delete for the admin role. Note:
- For Allow For Specific Categories: If only the Subcategory is selected but not the Root Category, the Subcategories will not be displayed. For example, if you want to set permission of viewing and editing for Category Gear, you must select both Default Category and Gear, otherwise the Gear category will not be displayed and you will not be able to access the edit page.
- With Deny For Specific Categories: If you select the Root Category, the subcategories of the Root Category above will also be restricted.
3. Product
3.1 Tab Role Resources
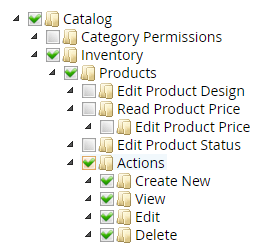
- At Role Resources tab, go to
Catalog > Inventory > Products > Actions, select permission actions you want. There are 4 permission actions as followings:- Create New: Select to allow admin account to create a new product.
- View: Admin is only allowed to view authorized products (at tab Admin Permissions)
- Edit: Admin is allowed to edit authorized products (at tab Admin Permissions). Note: You need to select View permission above to view and edit specific product pages.
- Delete: Admin is allowed to delete authorized products (at tab Admin Permissions). Note: You need to select View permission above to view and delete specific product pages.
3.2 Tab Admin Permissions
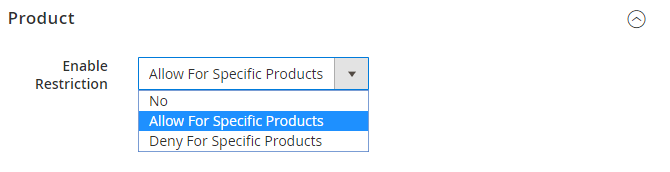
- Enable Restriction: Allow/Disallow restriction for viewing or editing information of specific products
- Select "No" to disable restriction
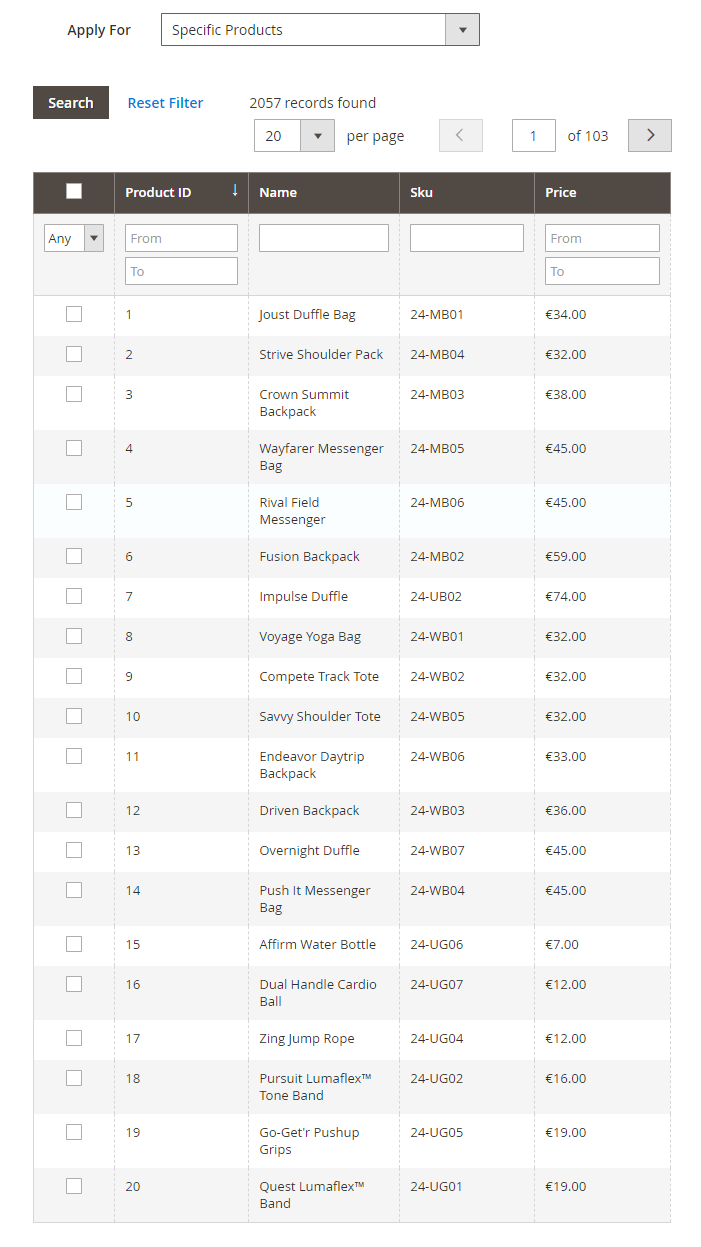
- Select Allow For Specific Products: Admin can only view, edit information of specific products selected below.
- Choose Deny For Specific Products: Admin can not view, edit information of specific products selected below.
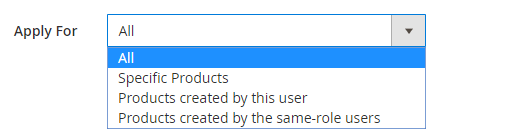
- Apply For: Set fixed products that admin accounts are permitted/ restricted to view, edit and delete. There are 4 options:
- All: Apply permission roles to all products.
- Specific Products: Only apply permission roles to selected products in the table.
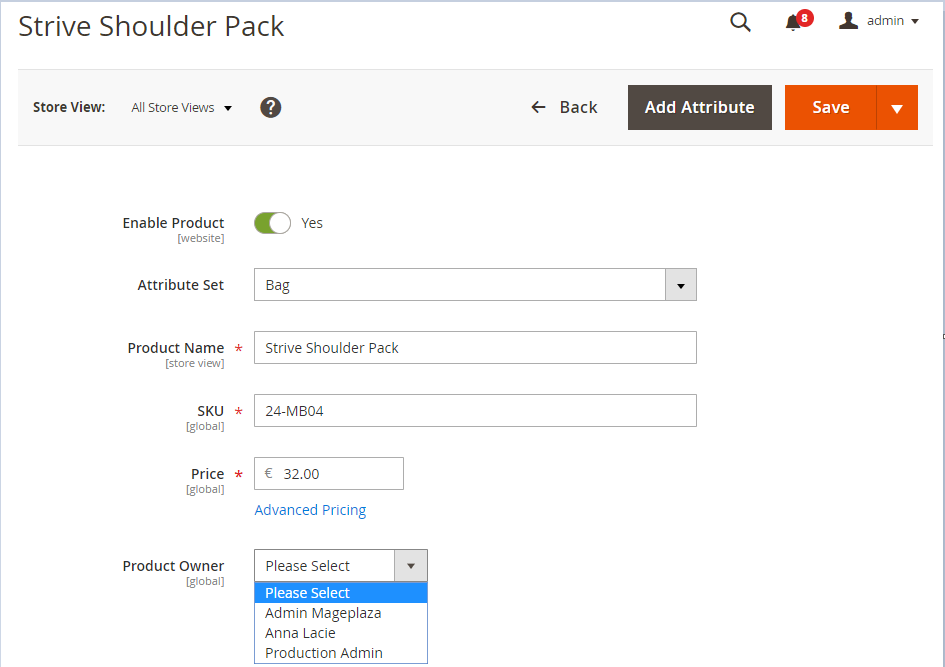
- Products created by this user: The Admin having permission on the Role Users tab will be allowed/ restricted to view, edit and delete products whose the Product Owner field value is their account.
- Products created by the same-role users: Admin accounts authorized on the Role Users tab will be allowed / restricted to view, edit and delete products whose Product Owner field value is their account and accounts that are also authorized in the tab Role Users.
4. Customer
4.1 Tab Role Resources
- At Role Resources tab, go to
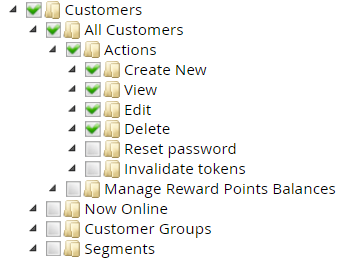
Catalog > Customers > Actions, select permission actions you want. There are 4 permission actions as followings:- Create New: Select to allow admin account to create a new customers.
- View: Admin is only allowed to view authorized customers (at tab Admin Permissions)
- Edit: Admin is allowed to edit authorized customers (at tab Admin Permissions). Note: You need to select View permission above to view and edit specific customers pages.
- Delete: Admin is allowed to delete authorized customers (at tab Admin Permissions). Note: You need to select View permission above to view and delete specific customers pages.
4.2 Tab Admin Permissions
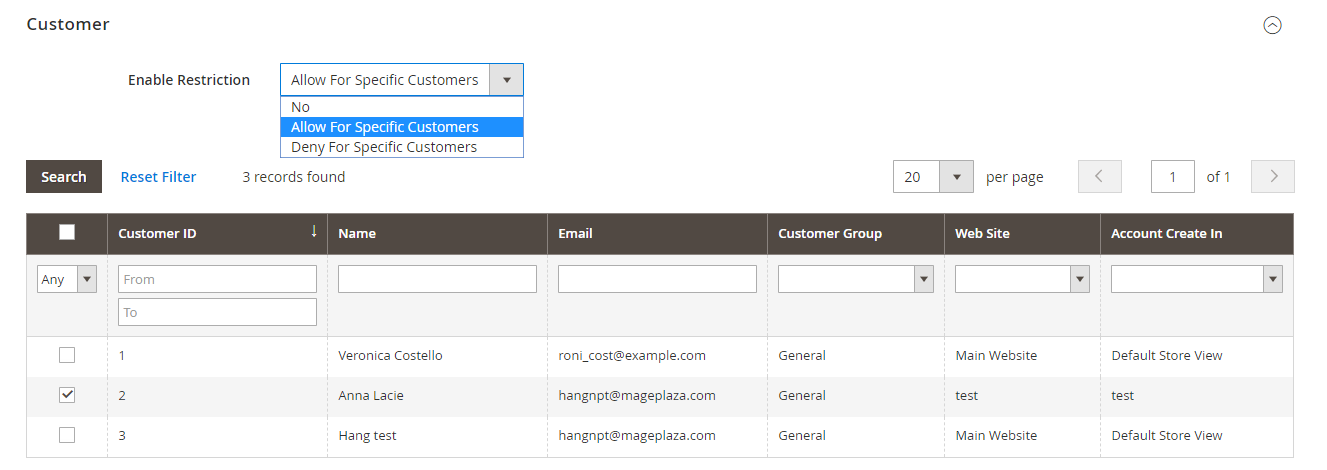
- Enable Restriction: Allow/Disallow restriction for viewing or editing information of specific customers
- Select "No" to disable restriction
- Select Allow For Specific Customers: Admin can only view, edit information of sepcific customers selected below.
- Choose Deny For Specific Customers: Admin can not view, edit information of sepcific customers selected below.
5. Product Attribute
5.1 Tab Role Resources
- At Role Resources tab, go to
Catalog > Attributes > Products > Actions, select permission actions you want. There are 4 permission actions as followings:- Create New: Select to allow admin account to create a new attributes.
- View: Admin is only allowed to view authorized attributes (at tab Admin Permissions)
- Edit: Admin is allowed to edit authorized attributes (at tab Admin Permissions). Note: You need to select View permission above to view and edit specific attributes pages.
- Delete: Admin is allowed to delete authorized attributes (at tab Admin Permissions). Note: You need to select View permission above to view and delete specific attributes pages.
5.2 Tab Admin Permissions
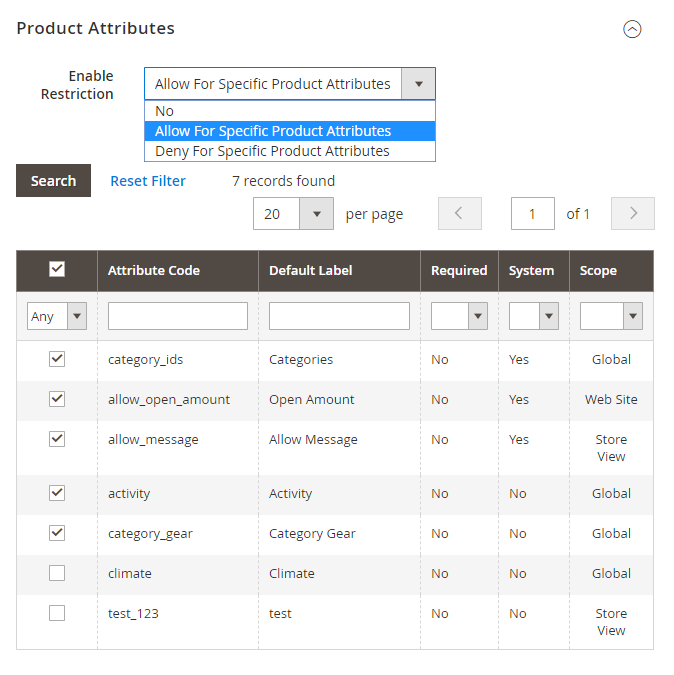
- Enable Restriction: Allow/Disallow restriction for viewing or editing information of specific attributes
- Select "No" to disable restriction
- Select Allow For Specific Product Attributes: Admin can only view, edit information of sepcific attributes selected below.
- Choose Deny For Specific Product Attributes: Admin can not view, edit information of sepcific attributes selected below.
6. User Role
6.1 Tab Role Resources
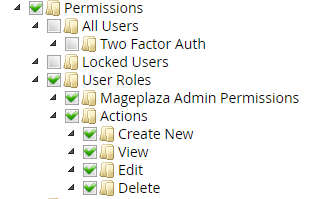
On the Role Resources tab, under
System > Permissions > User Roles, select Mageplaza Admin Permissions to allow the Admin Permissions tab to be displayed with permitted admin accounts.At Role Resources tab, go to
Catalog > Permissions > User Roles > Actions, select permission actions you want. There are 4 permission actions as followings:- Create New: Select to allow admin account to create a new Permissions.
- View: Admin is only allowed to view authorized Permissions (at tab Admin Permissions)
- Edit: Admin is allowed to edit authorized Permissions (at tab Admin Permissions). Note: You need to select View permission above to view and edit specific Permissions pages.
- Delete: Admin is allowed to delete authorized Permissions (at tab Admin Permissions). Note: You need to select View permission above to view and delete specific Permissions pages.
6.2 Tab Admin Permissions
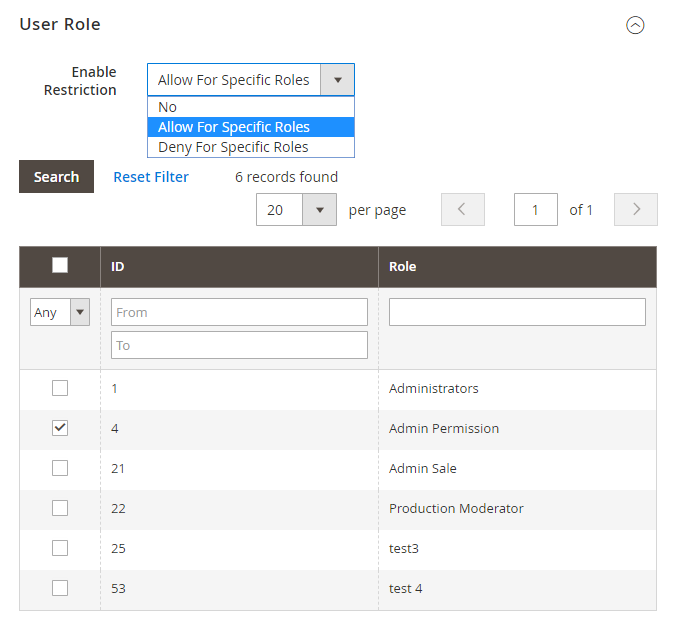
- Enable Restriction: Allow/Disallow restriction for viewing or editing information of specific permissions
- Select "No" to disable restriction
- Select Allow For Specific User Roles: Admin can only view, edit information of sepcific permissions selected below.
- Choose Deny For Specific User Roles: Admin can not view, edit information of sepcific permissions selected below.
7. Time Valid

- Customize Limit Action on the Admin Permissions tab allows to limit the permission of admin accounts by the Model/Controller.
- Select Enable = Yes to apply the access restriction according to Model/Controller.
- Models/Controllers can be limited to 4 actions: New, Load, Save, Delete.
- You can add more classes to limit by clicking the Add button in the Action column corresponding to the desired class; or use Add massaction to add multiple classes at once.
- When you do not want to apply a limit to a certain class, you can choose Status = Disable or click Delete to completely remove the limit of that class.
- Classes will be automatically scanned weekly. If your website has new feature updates and you want to update your Model/Controller list, you can click Rescan Classes.
- Note: You should carefully check the class you want to limit before saving the User Role. In case you mistakenly restrict the class and you cannot access the admin page or you want to remove the class restriction but cannot access the User Role page that you saved earlier, you can run the following command to disable the feature Customize Limit Action:
php bin/magento mageplaza-adminpermissions:custom-limit:disabled
8. Time Valid
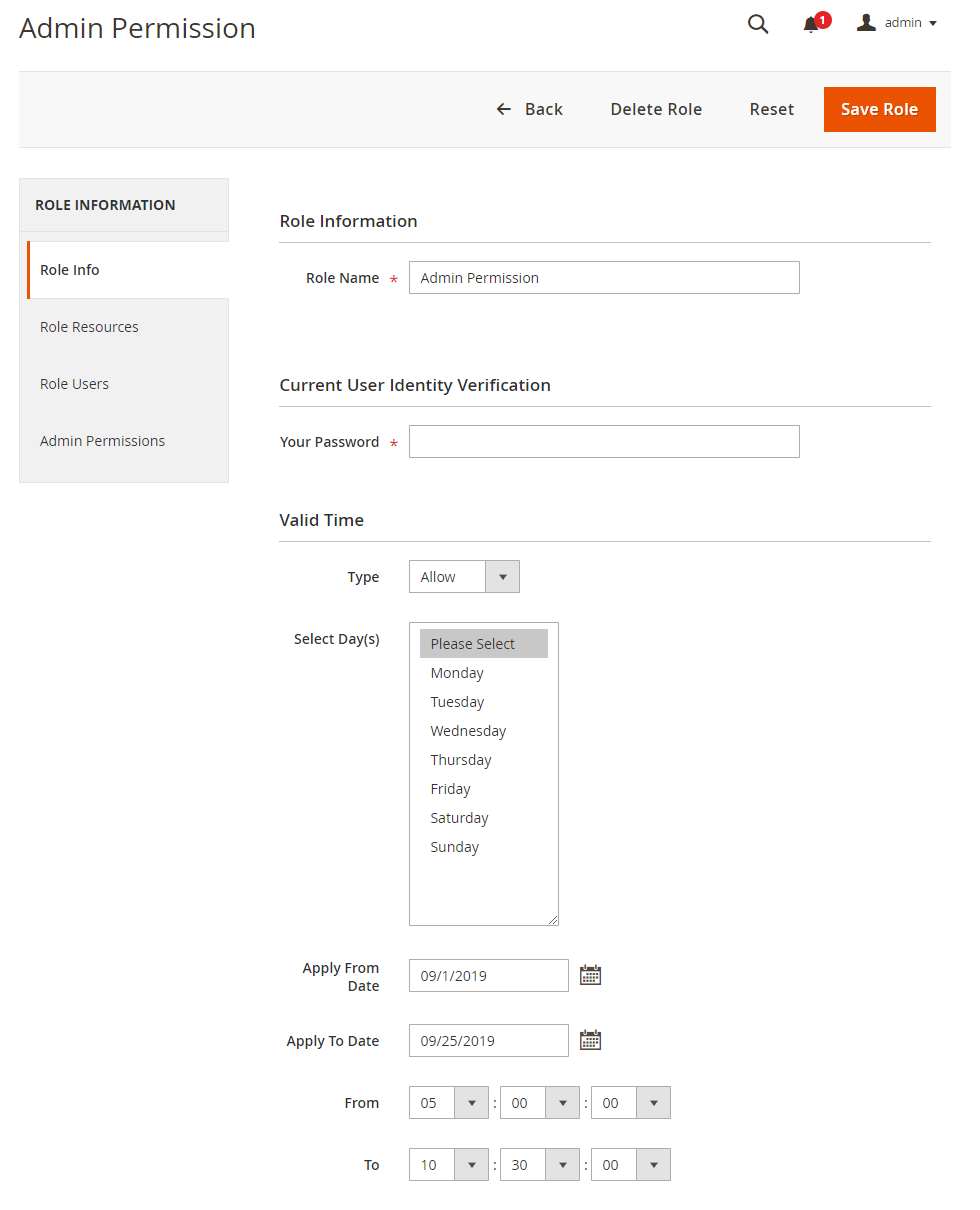
- Set the activate/inactivate time of the admin account.
- Type: Select the form of restriction for the admin user:
- Allow: allows login.
- Disallow: no login allowed.
- Choose Day: Choose the days of the week when the admin is permitted to be active/inactive.
- Apply From Date: Choose the start date of active/inactive permission for the admin account.
- Apply To Date: Select the date of end of active/inactive permission for the admin accounts.
- From: Choose the start time of the day that the admin is permitted to be activate/inactive
- To: Select the end time of the day during which an admin is permitted to be active/inactive.
Note: When there are no changes in Valid time, meaning it remains as the initial default, then admins will automatically have access to your website.
III. Note for uninstalling the extension
To uninstall Mageplaza Admin Permissions Extension, first run the following command:
php bin/magento mageplaza-adminpermissions:uninstall
You then continue to uninstall the extension by following the usual steps.