Order Attributes
Overview
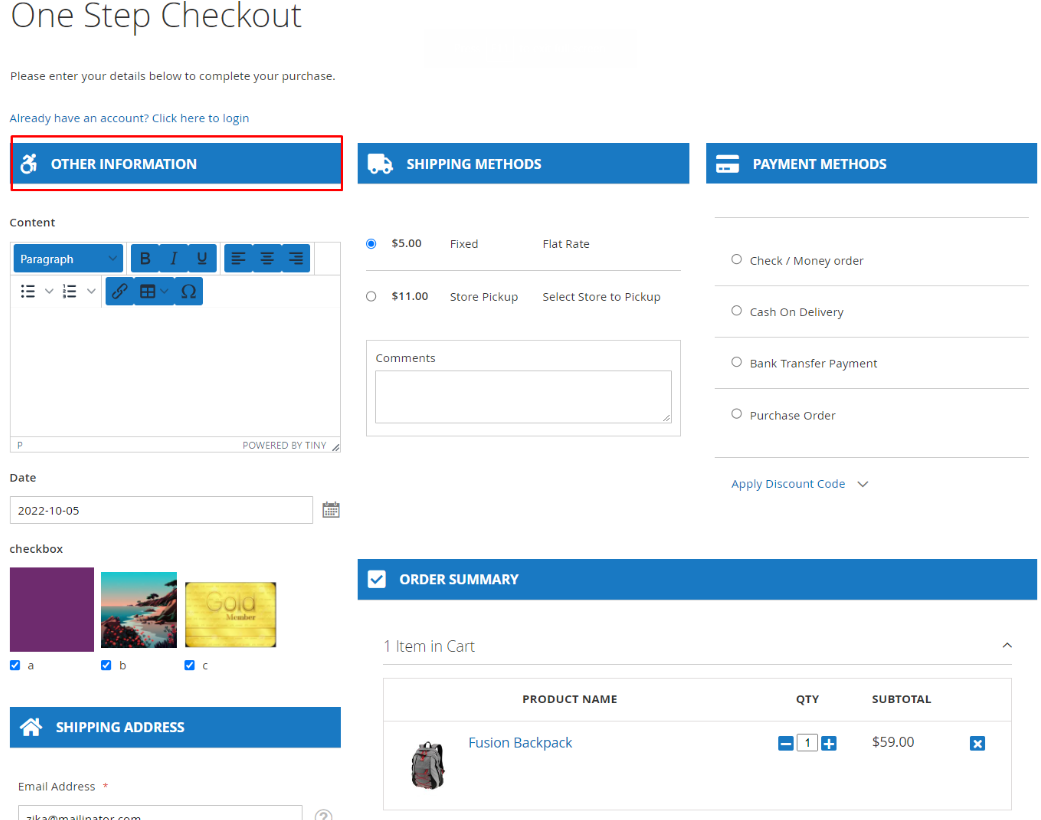
When shop owners understand more about customers, it's easy to increase sales and handle fast for their stores. Mageplaza Order Attributes extension allows admins to add custom fields to the checkout page. It helps the store owner to easily collect more information and increase customer satisfaction. This module provides a variety of custom fields such as Text Field, Text Area, Date, Yes/No, Dropdown, Single-select With Image, Multiple Select with Image, Single File Attachment, Content. Order Attributes will be managed easily on the grid order. Admins can also restrict them to customers group or store views.
Order Attributes is also displayed when admins creates the order in the backend.
Download and Install
How to configure
From the Admin Panel, go to Sales > Order Attributes
1. Configuration
From the Admin Panel, go to Sales > Order Attributes > Configuration
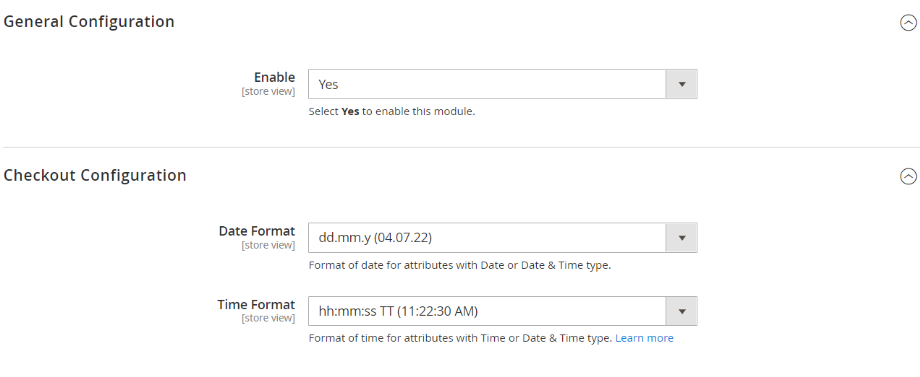
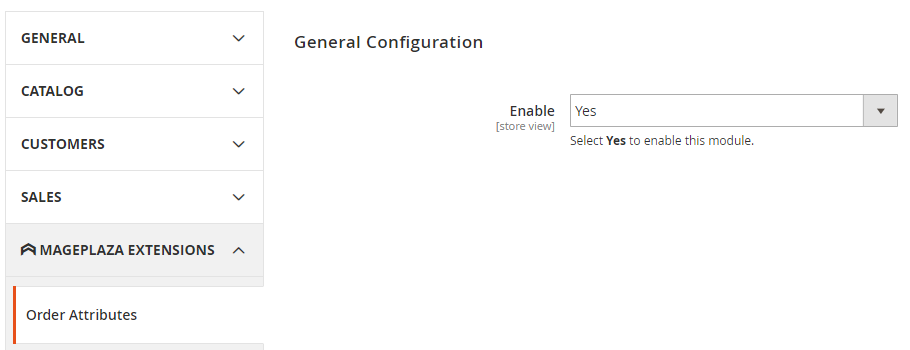
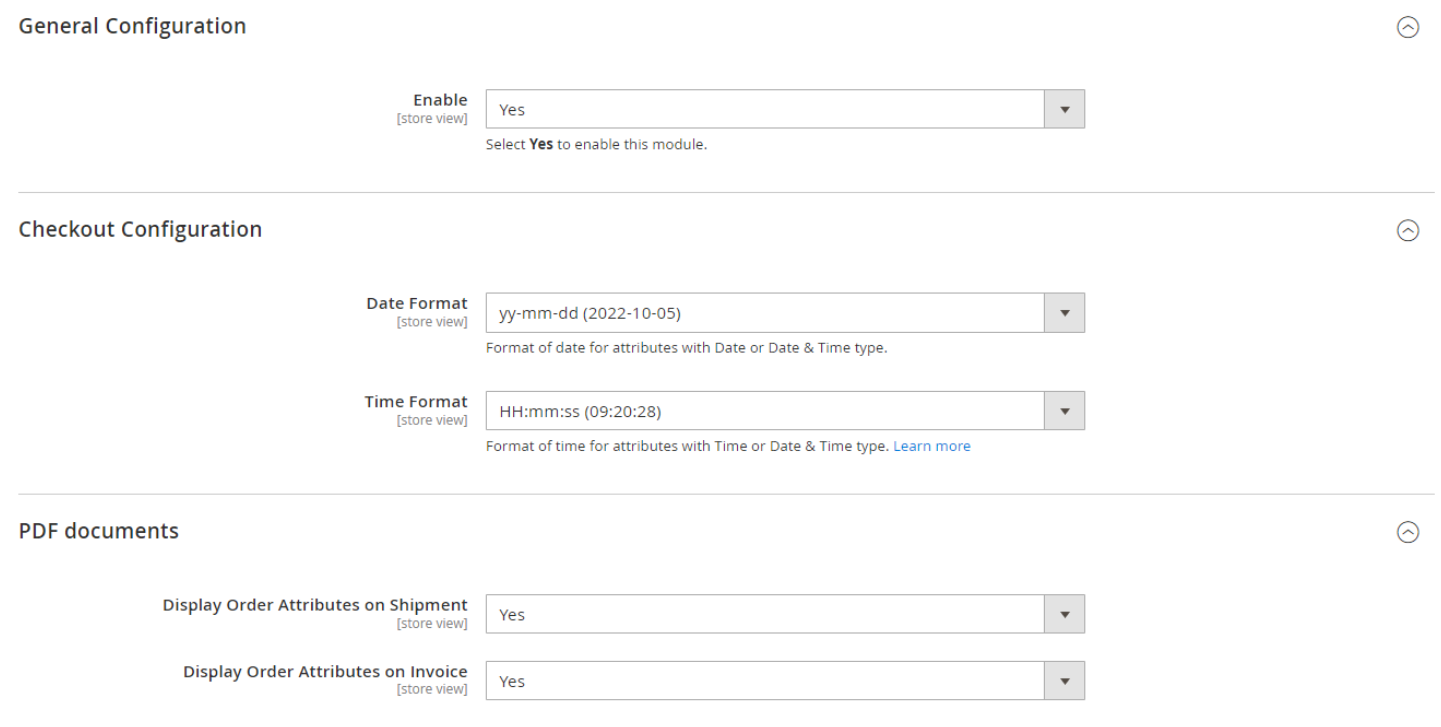
General Configuration
- Enable: Choose Yes to use this module
Checkout Configuration
- Date Format: Select the date format for attributes with Date or Date & Time type to show attributes on frontend.
- Time Format: Select the time format for attributes with Time or Date & Time type to show attributes on frontend.
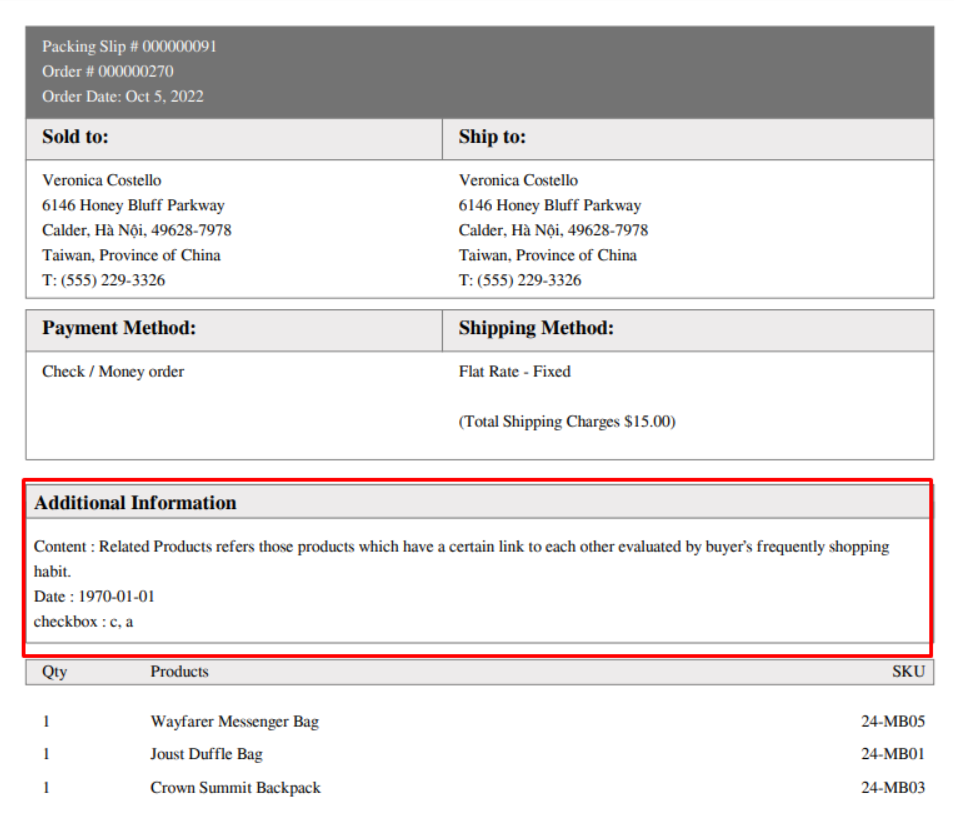
PDF documents
- Display Order Attributes on Shipment: Select Yes to show Order Attributes info in PDF Shipment file when choosing to Print Shipment.
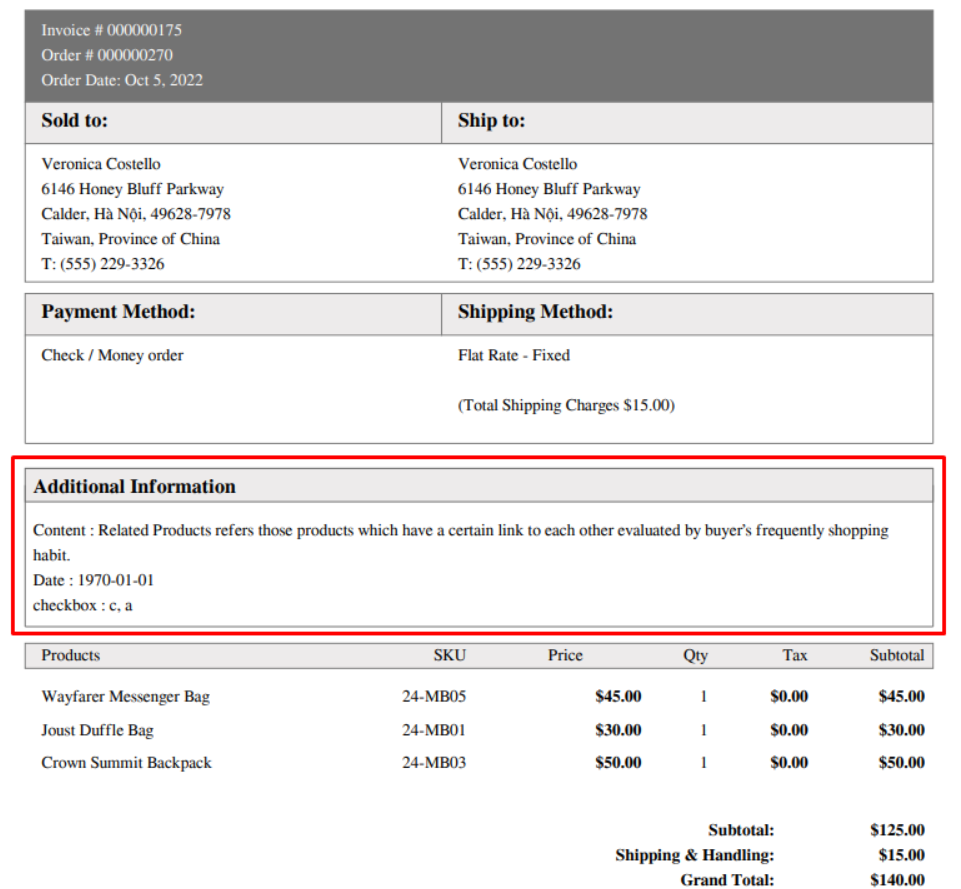
- Display Order Attributes on Invoice: Select Yes to show Order Attributes info in PDF Invoice file when choosing to Print Invoice.
2. Manage Attributes
2.1. Grid
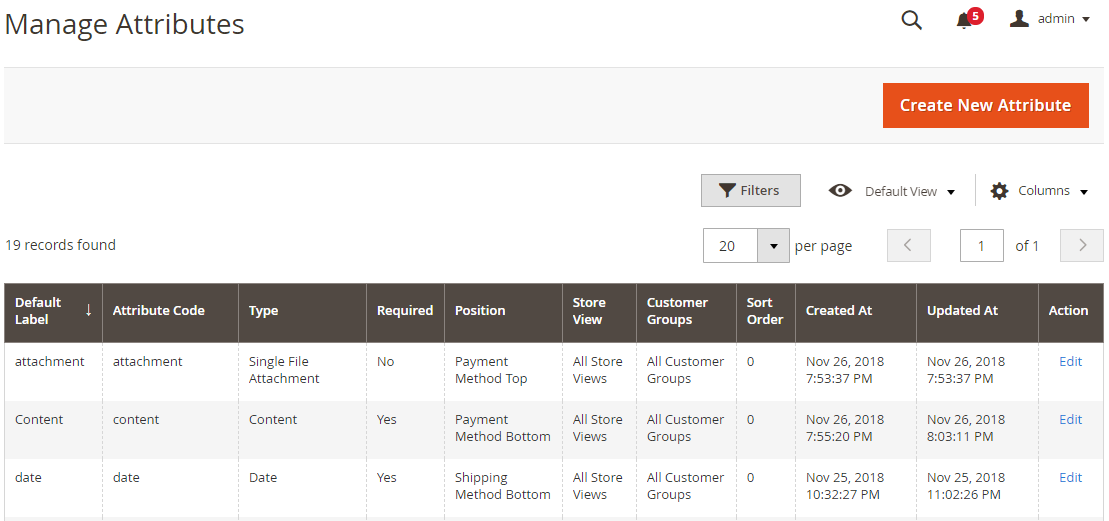
- This is a place to store all created Order Attributes
- From the Grid, admins can capture the basic information of Attribute such as: Default Label, Attribute Code, Type, Required, Position, Store View, Customer Group, Sort Order, Create At, Updated At and Action.
- To delete the Attribute, admins need to edit the attribute and click
Delete - In addition, admins can Filter, Change Store View, hide/show the Columns
2.2. Add New Attribute
2.2.1. Properties
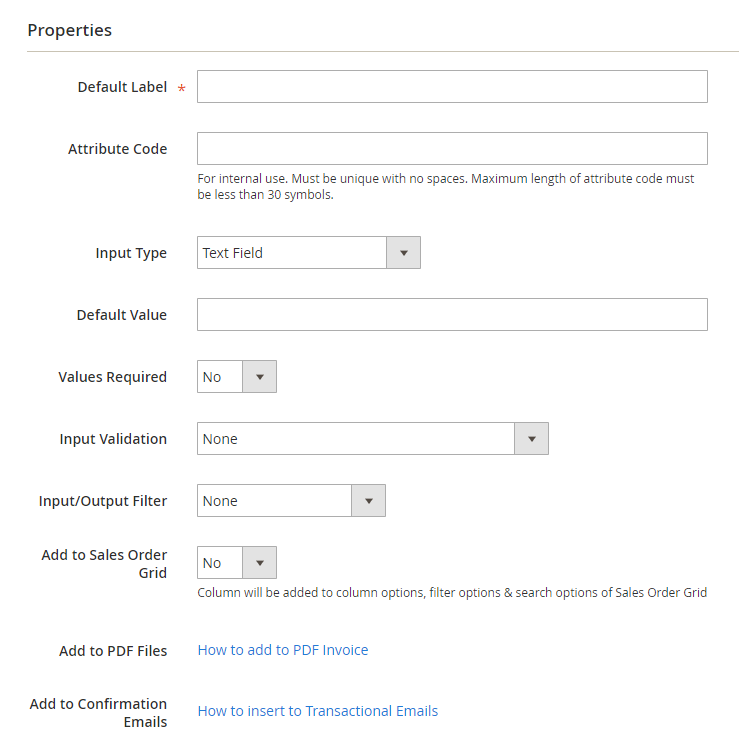
Default Label: The default display name for Attributes in the Grid and Frontend
Attribute Code:
- Enter the Attribute code. Admins can use Attribute code to add some templates such as Order, Email, ...
- Make sure you do not use spaces or more than 30 symbols.
- If leaving this field, it is based on the Default Label field.
Input Type: Select input/select data type. There are 11 input types that admins can choose
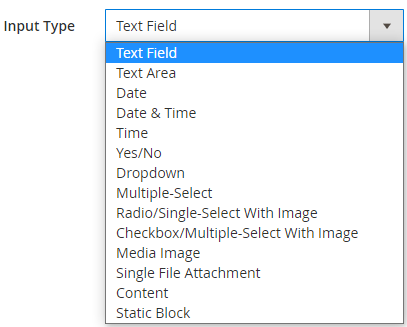
Text: The input type is a text line (not downstream).

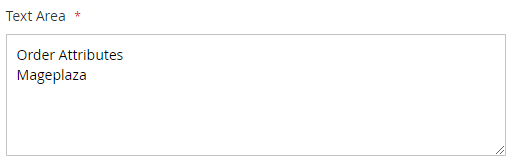
Text Area: The input type is a text. Customers can enter multiple lines of text in this field
Date: This field has the format as Date. When accessing the checkout page, the field is assumed to be the current date.
Date & Time: This field has the format as Date and Time
Time: This field has the format as Time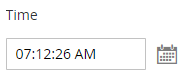
Yes/No: The field only includes 2 options as Yes or No.
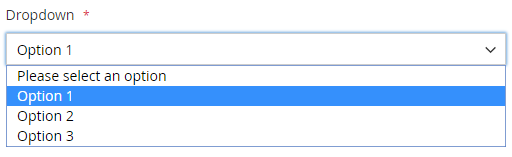
Dropdown: The field has the format as Dropdown. Customers are only selected one of the options that admin has set in the backend
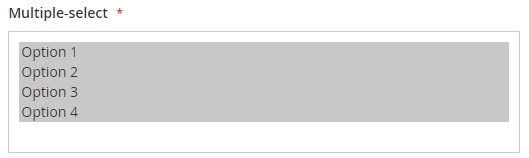
Checkbox/Multi-Select: The field has the format as Multiple-Select. Customers can choose one or more options that admins have set in the backend
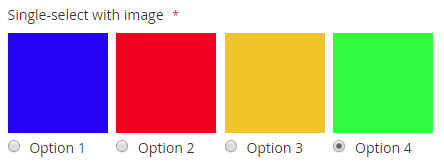
Radio/Single-select with image: Customers only choose one of the Images/Colors that admins have set
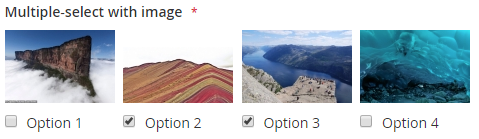
Multiple-select with image: Customers can choose one of the Images/Colors that admins have set
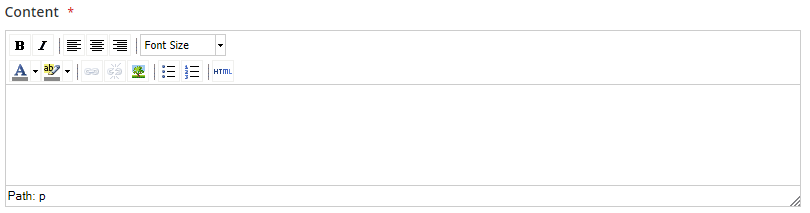
Media Image: Customers can upload the image file (only include the image file, not docs file or PDF files, etc) that they want. Besides, it is possible to limit file upload size in Maximum File Size and file upload format in Allow File FormatsSingle File Attachment: Customers can upload the attachment that they want. Besides, they can limit file upload size as well as file upload format by respectively filling in it in Maximum File Size field and Allow File Formats field.Content: Customers can insert the image and enter the text as well as edit them with ease.
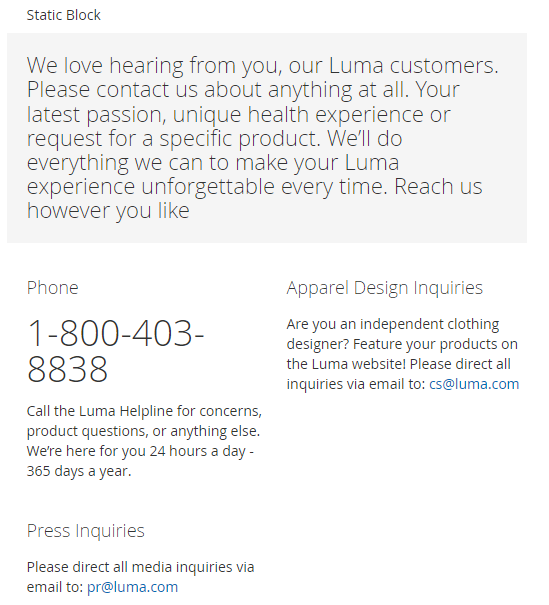
Static Block: Show attributes having block format. Show extra field:
- Select CMS Block: Select blocks to display in orders.
Default Value:
- Only display with the Input Type as
Text Field, Text Area, Date, Yes/No, Content, Time, Date, Date & Time - This value will be displayed as the value of the field if the attribute is displayed in the Frontend
- Only display with the Input Type as
Minimum Text Length:
- The minimum length for the text
- Shows when the Input Type is Text Field and Text Area
Maximum Text Length:
- The maximum length for the text
- Shows when the Input Type is Text Field and Text Area
Minimum Value:
- The minimum value
- Shows when the Input Type is Date, Date & Time, Time
Maximum Value:
- The maximum value
- Shows when the Input Type is Date, Date & Time, Time
Values Required:
- Select Yes to force the users to enter a value for the field
- Not displayed with
Input Type = Media Image and Single File Attachment
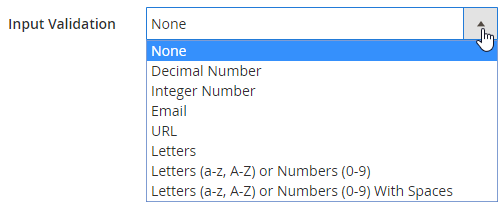
Input Validation:
- Only show when
Input Type = Text Field - Stipulate the values that are accepted in this field, which is one of the following values:
- Only show when
Input/Output Filter:
- Show when
Input Type = text field, text area - It has the benefit as aiming to the HTML values that customers can enter the field
- There're 3 options:
None: Ignore the check HTML, allow HTML tag that can work
For example: test
HTML
is transformed into: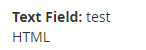
- Show when
Strip HTML Tags: Remove the HTML tags that include in the fieldFor example: test
HTML
is transformed into:
Escape HTML Entities: Encode the HTML tags that include in the fieldFor example: test
HTML
is transformed into:
Add to Sales Order Grid: Choose Yes so that the attribute is displayed in the grid atSale > OrdersAdd to PDF Files:- Show the compatiblity with Mageplaza PDF Invoice extensions (only apply for PDF Order)
- You can refer the guide here
Add to Confirmation Emails:- Show to insert Order Attribute to the email confirm order
- You can refer the guide here
2.2.2. Frontend Properties
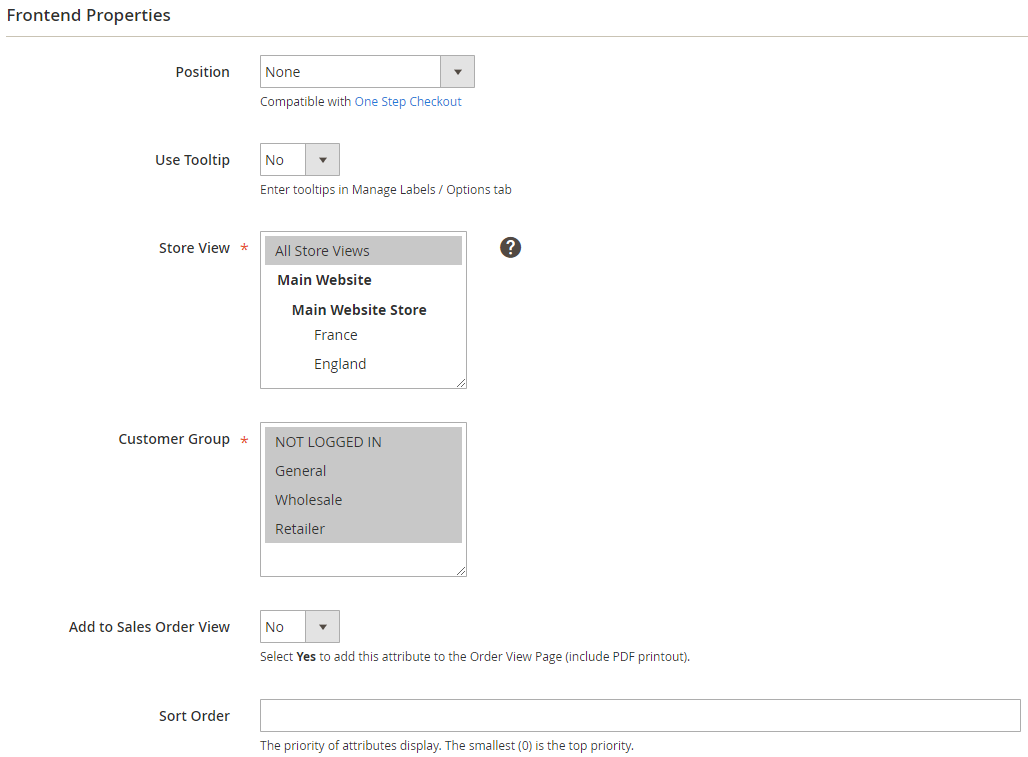
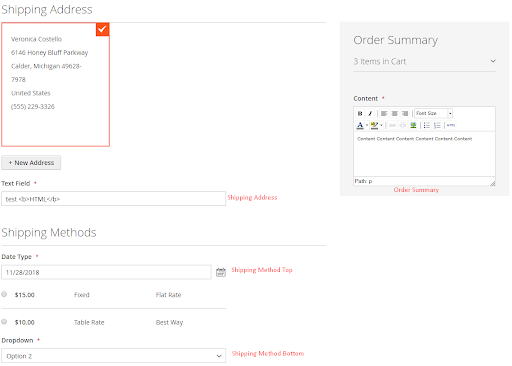
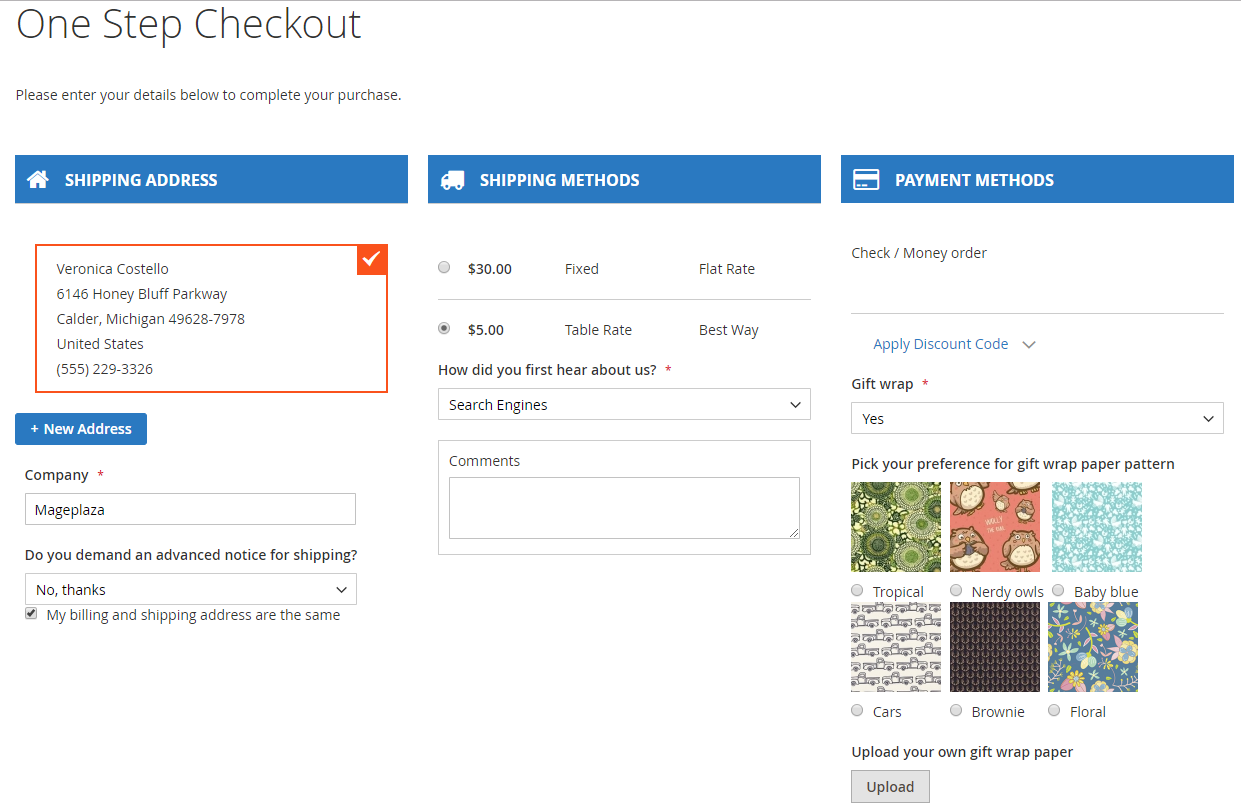
Position: We support 7 positions that can display Order Attribute:
- None: Order Attribute doesn't show on the Frontend and in the Backend
- Shipping Address
- Shipping Method Top
- Shipping Method Bottom
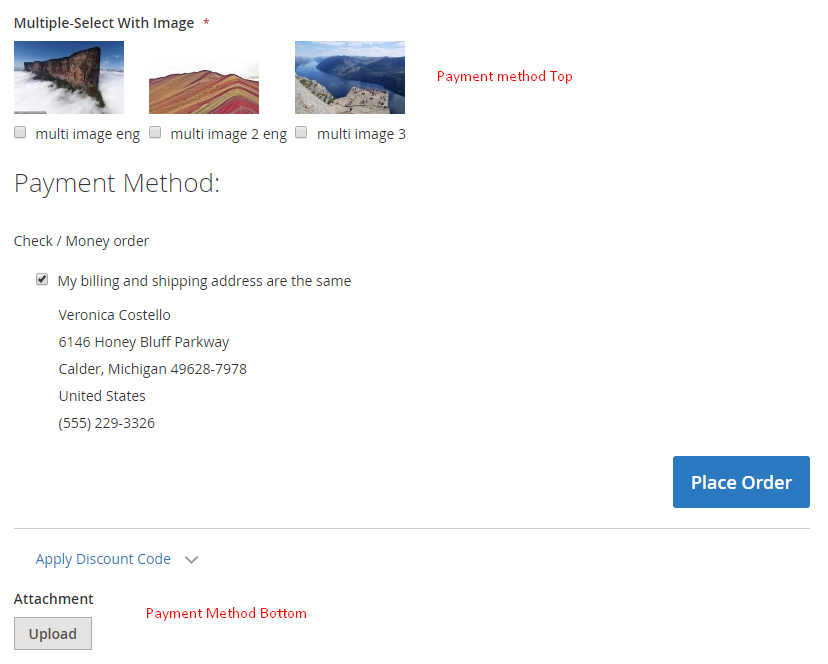
- Payment Method Top
- Payment Method Bottom
- Order Summary
Use Tooltip:
- Select Yes to display the Tooltip
 instructing the customers enter a value in the Field
 - Admins need to enter the Tooltip in the Manage Labels/Options so that the tooltip is displayed on the Frontend
- Select Yes to display the Tooltip
Store View: The attribute is only displayed in the selected Store View
Customer Group: The attribute is only displayed to the Customer in the selected group
Add to Sales Order View: Select Yes to display the Attribute at the Order of the Customer. Customers can check the content of the attribute that was filled after placing order.
Sort Order:
- Set the display order of the Attribute
- 0 is the highest position
- Admins need to pay attention when placing this dependency on another Attribute. It is possible that the attribute child will be displayed on the Attribute parent
2.2.3. Manage Labels/Options
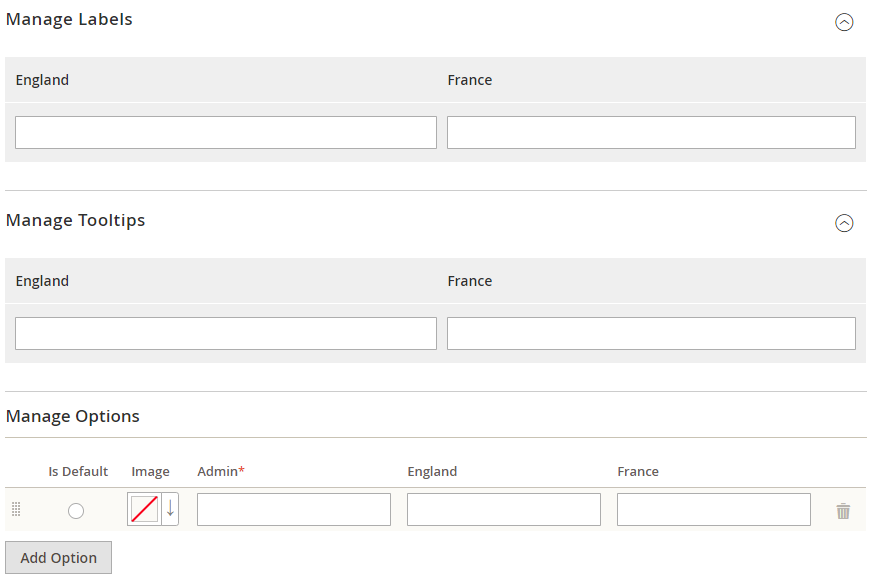
Manage Labels:
- Set the display name outside the frontend for the Attribute in each store view
- If leaving this field blank, the Default Label is populated in the Properties tab
Manage Tooltips:
- Set up short instructional content of Attribute for Customer in each store
- If left blank, the tooltip is not displayed on the Frontend
Manage Options:
- Only display with Input Type = Dropdown, Multiple Select, Single-select with Image, Multiple-select with Image
- Admin can add options for Attribute in each store view for Customer to choose
- Image is only displayed with Input Type = Single-select with Image, Multiple-select with Image. Admin can choose color or upload image for option
2.2.4. Depend Attributes

- Select an attribute with drop type, Single-select with Image to parent field. Parent Field options are automatically loaded into Depend on options
- Attribute editing is only displayed when Customer selects the option selected in Depend on options. Admin can install depend on many options
- In addition, Attribute can also depend on one or more shipping methods
- When the Attribute has been added to another Attribute, just depend on the Shipping method, make sure the 2 dependents are selected so that the attribute is displayed.
- Depend on countries: Select one or multiple countriles to display attributes when customers make orders. Attributes will depend on each selected country. This extra field will be shown:
- Countries: Select countries to apply attributes display. If left empty, will show attributes for all countries.
3. API
Mageplaza Order Attribute supports the use of API to get order attribute information, order information, fullfil attributes in order, upload file for order attributes which allows file to be uploaded.
View supported request here
See how can you create token-based authentication here
4. GraphQL
4.1. How to install
Run the following command in Magento 2 root folder:
composer require mageplaza/module-order-attributes-graphql
php bin/magento setup:upgrade
php bin/magento setup:static-content:deploy
4.2. How to use
Order Attribute GraphQL by Mageplaza allows you to get order attribute information, save ordr attribute when customers order via GrapQL
Note: To start using GraphQL, you need to return your site to developer mode and uee Magento 2.3.x
Check supported GraphQL request here
5. Manage Checkout Step
5.1. Grid
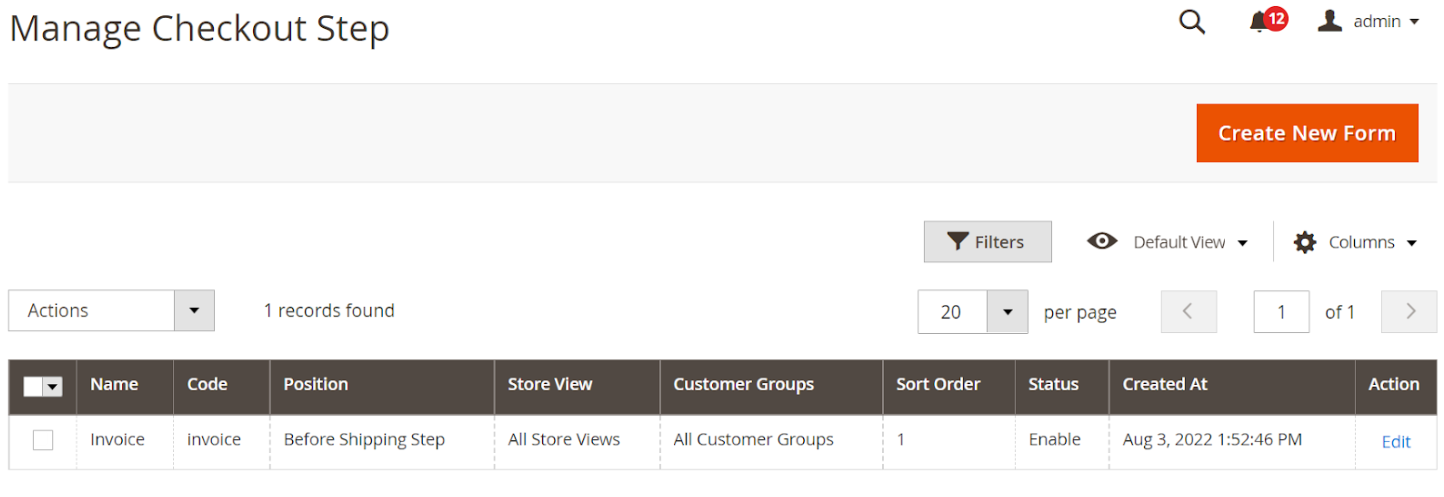
- This is where created steps are stored.
- In the Grid, admin can have basic information of some steps such as: Name, Code, Position, Store View, Customer Group, etc.
- Besides that, admin can delete, edit, filter, change store view, hide/show the columns for those steps. Click Create New Form button to create a new step.
5.2. Add New Order Form
5.2.1. General
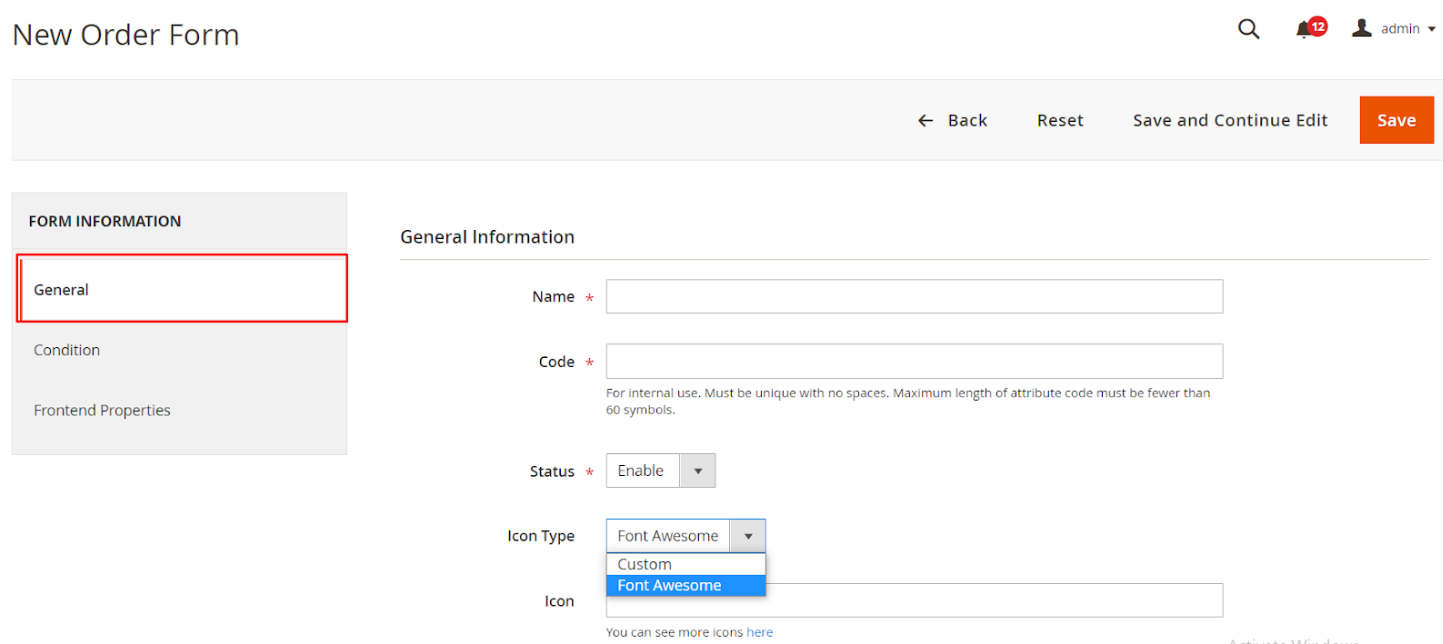
General Information
- Name: Enter the name of the Step to show in the Position field when creating attributes and on the frontend when ordering. This is a compulsory field.
- Code: Enter the code for the Step. This is for internal use, must be unique with no spaces, and the maximum length of attribute code must be fewer than 60 symbols. This is a compulsory field.
- Status: Select Enable to display step in the Position field when creating attributes and on the frontend when ordering. This is a compulsory field.
- Icon Type: Select the icon type to show next to the step during checkout or on the One Step Checkout page by Mageplaza. There are 2 types:
- Font Awesom: Show the extra Icon field yo enter the Class name of the icon. Please refer to these icons here
- Custom: Show the extra Icon field to upload any image file you want. Click Choose File button to upload file and Delete to delete the image.
5.2.2. Condition
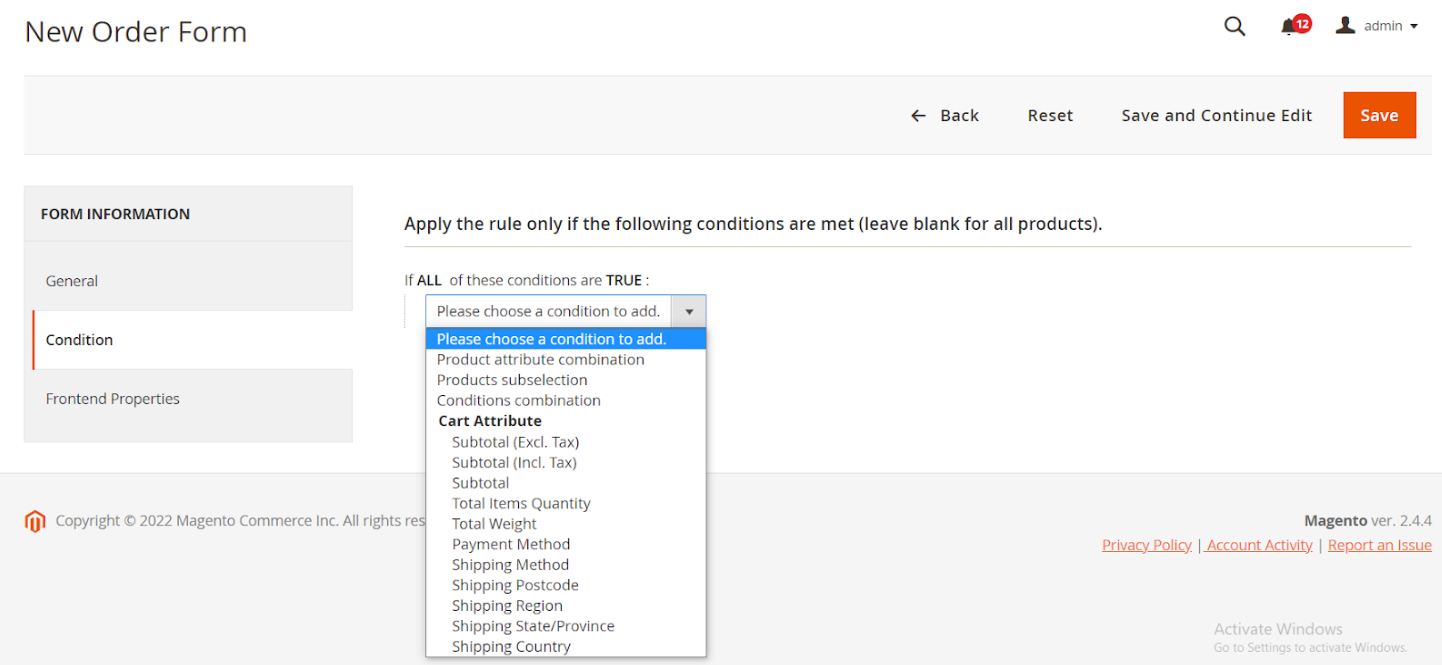
Select the condition to display steps when ordering. In the steps there can be different attributes, and if the conditions to display steps are not satisfied, the step will not be shown, and the attributes of that step will not be shown as well.
5.2.3. Frontend Properties
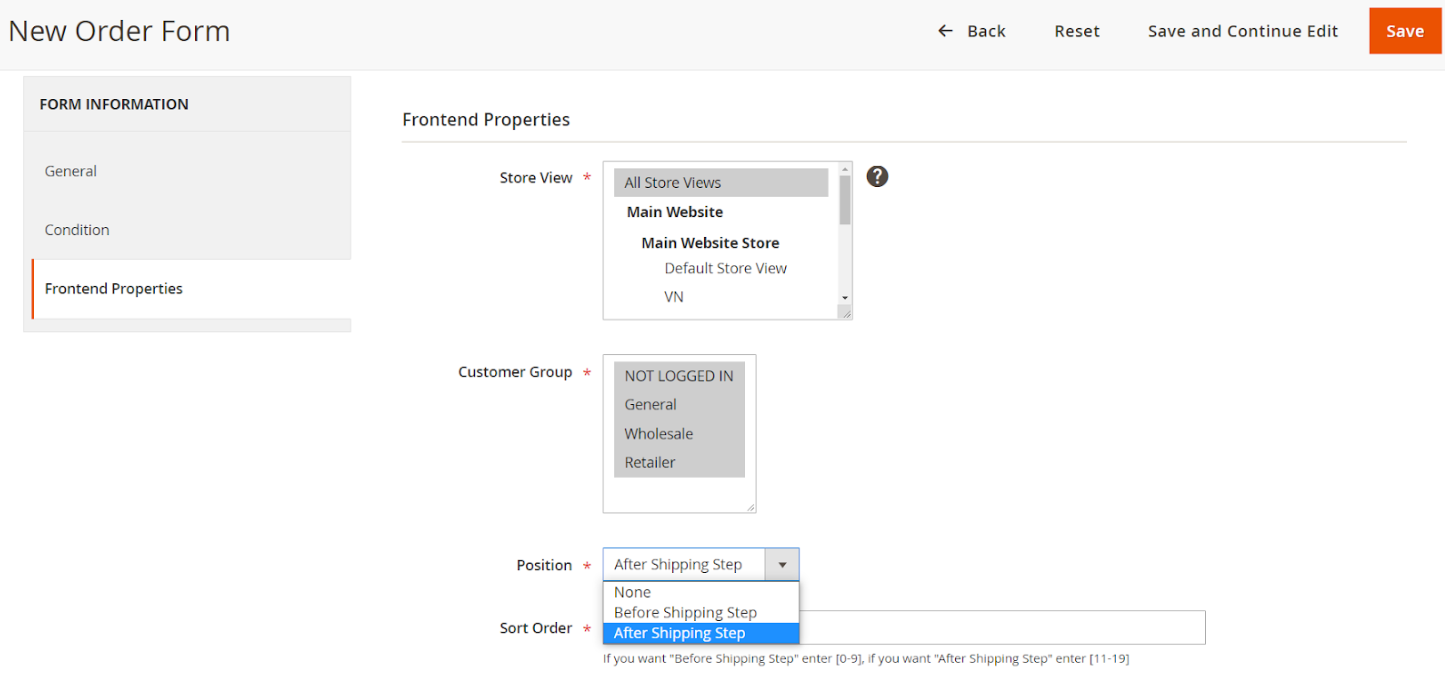
- Store View: Select the store view to show the step.
- Customer Group: Select the customer group to show the step to specific customers of the group chosen when ordering.
- Position: Select the position to show the step, including:
- None: Not display the step on the frontend when ordering, even when all step conditions are satisfied.
- Before Shipping Step: Display the step before the Shipping step. The extra depend field Sort Order will be shown to enter the show the step before the Shipping step. Because the Shipping step has the 9th order, please enter any value within [0,9]. The smaller the Sort Order value is, the higher the step is displayed.
- After Shipping Step: Display the step after the Shipping step. The extra depend field Sort Order will be shown to enter the show the step before the Shipping step. Because the Shipping step has the 9th order, please enter any value within [11,19]. The smaller the Sort Order value is, the closer to the shipping step it is.
Frontend
1. Checkout page Magento
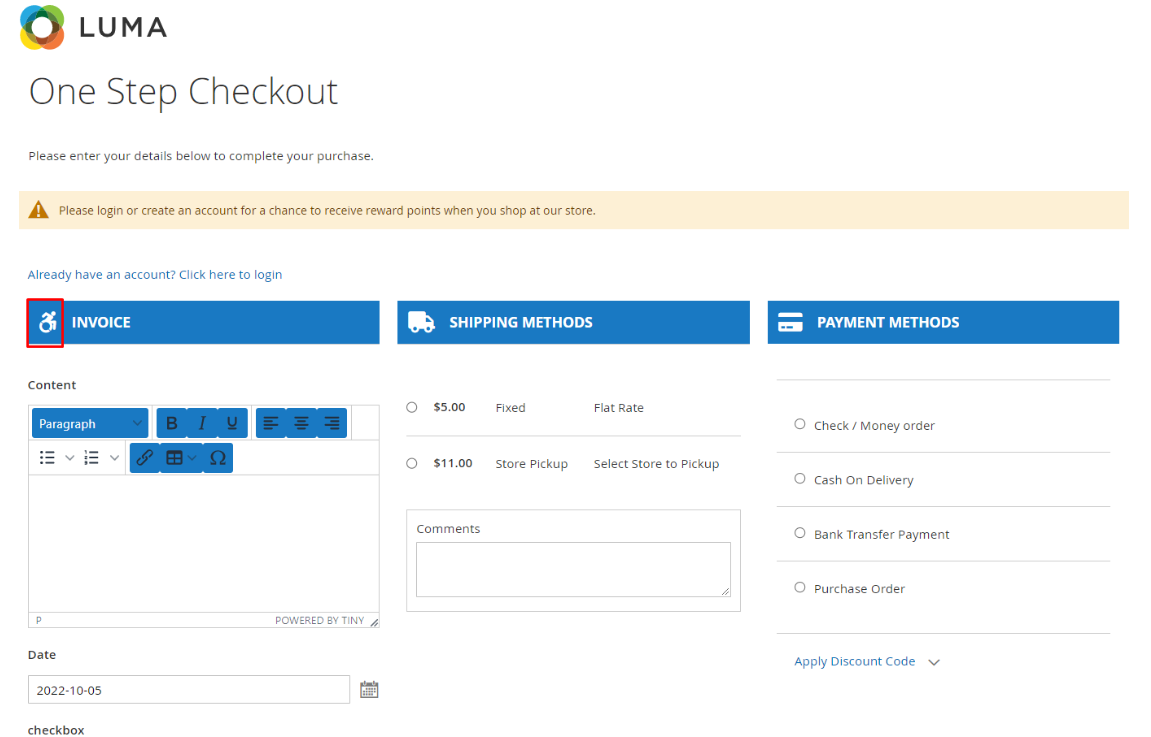
2. Mageplaza One Step Checkout
3. Display attributes in Step
- Checkout Page:
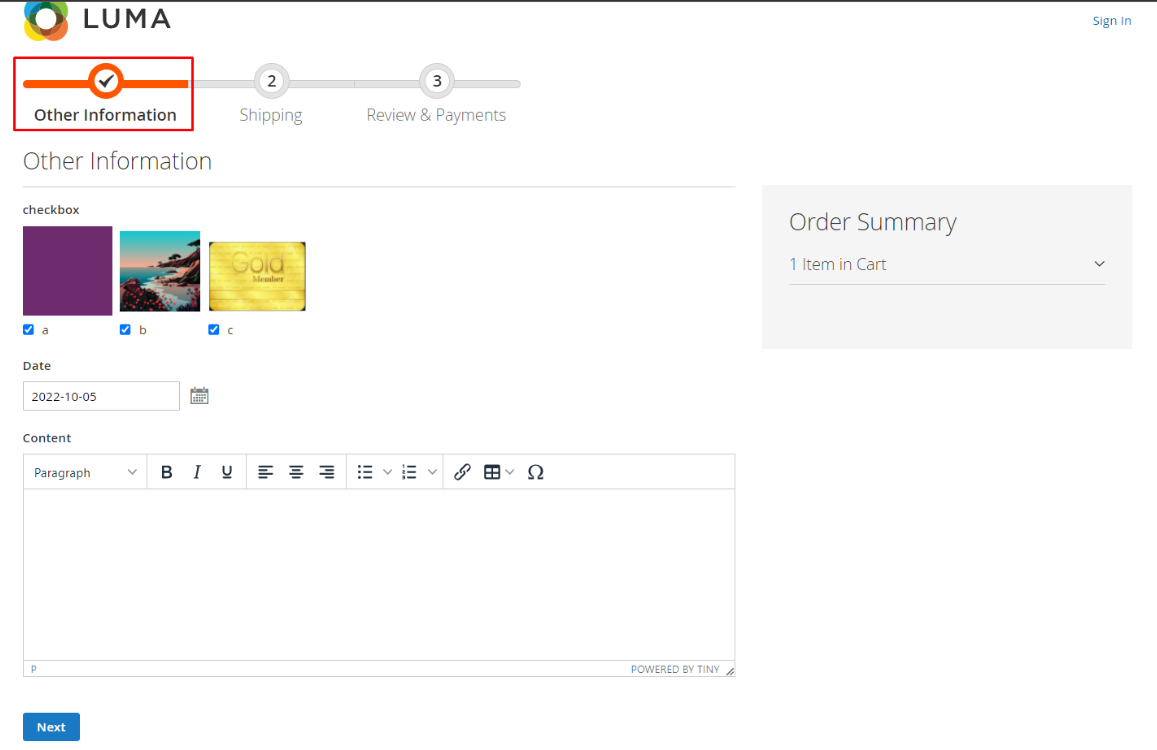
- One Step Checkout Page: