Facebook Plugin
Overview
Nowadays, Facebook is one of the most popular social networks to be used. And almost store owners have the need to advertise their stores on Facebook. However, the cost of advertising on Facebook is quite large. Therefore, Mageplaza has built a new module as Facebook Plugin. It allows store owners to insert a Facebook Page widget easily. This makes it easier, less expensive, and more effective for online stores to reach consumers. Not only that, store owners can manage Facebook comments on the product details page with an ease.
Download and Install
- Download Facebook Plugin
- Install Mageplaza module
How to configure Facebook API
To create the Facebook app and the Facebook App API information, please follow these steps:
Step 1: Go to: https://developers.facebook.com/
Step 2: Log in to Facebook. Click Login to sign in with the existing Facebook account, or register a new account. After logging in, choose My App from the menu at the top.

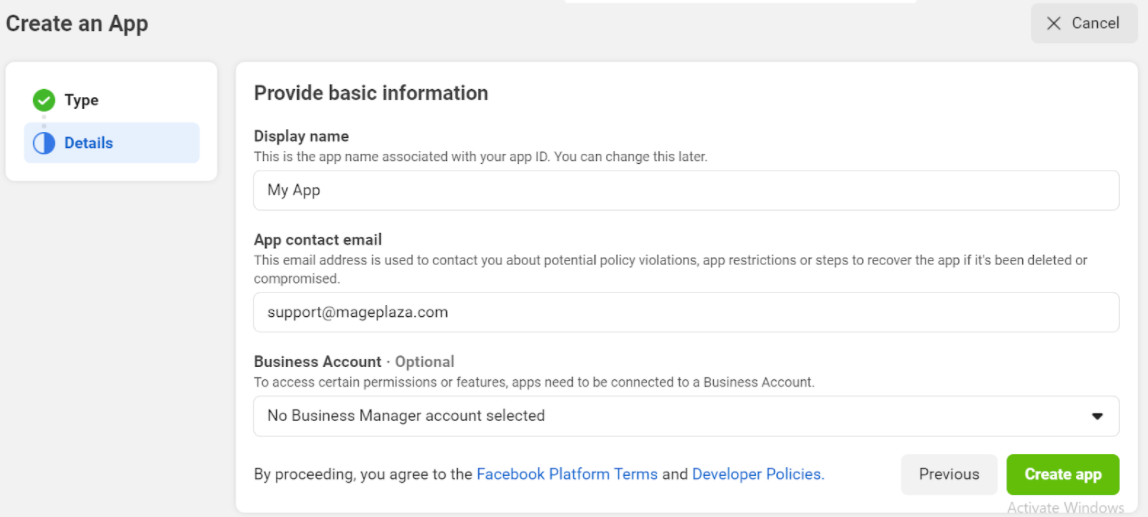
Step 3: Select the app type that you are using. Fill out the Display name for your app.
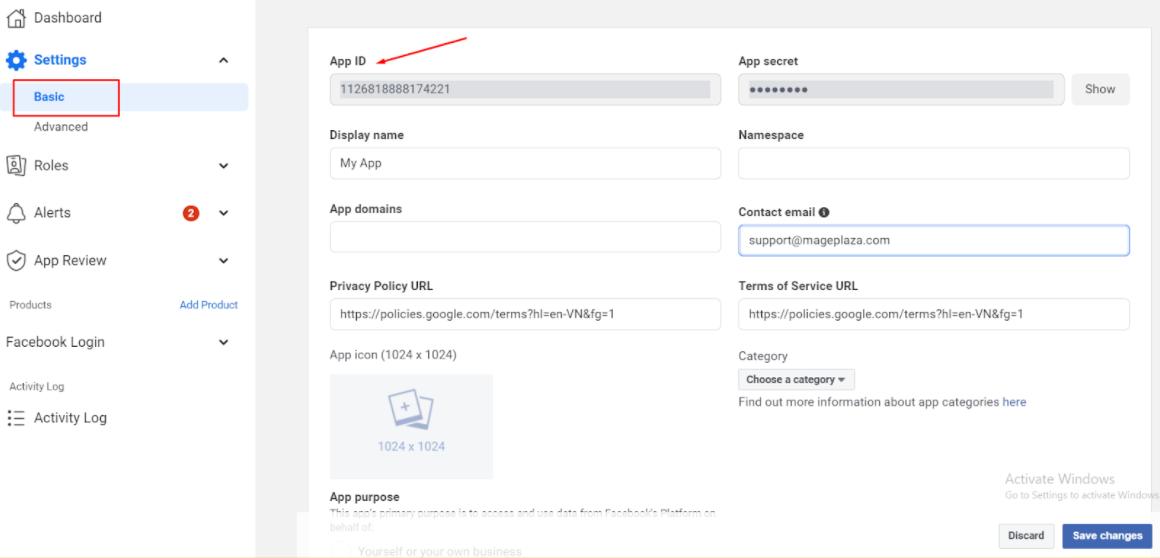
Step 4: Go to Settings > Basic to get the App ID in Facebook to fill in the Facebook App ID field of Mageplaza Facebook Plugin extension to connect with your Facebook.
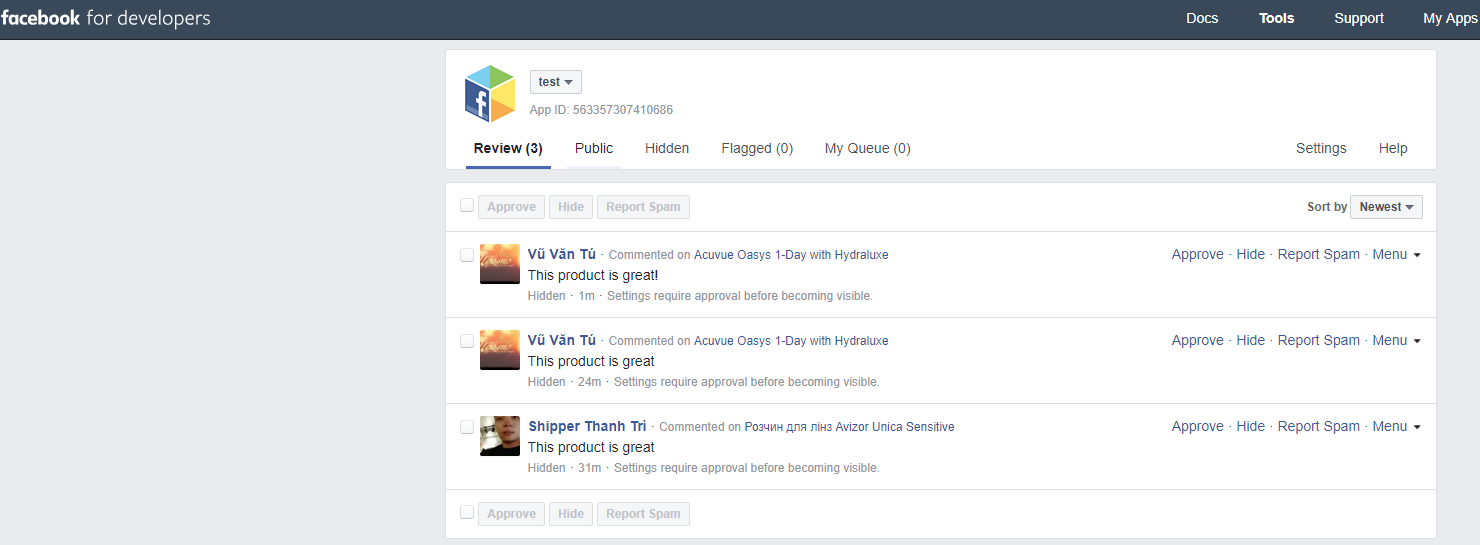
You can go to: https://developers.facebook.com/tools/comments to get the list of your Facebook apps, which lets you moderate all comments associated with each app.
Note: After setting up Facebook API information, you should go to Widget to select the display positions of the post or website,... of Facebook on your website.
How to configure
From the Admin Panel, go to Stores > Configuration > Mageplaza Extensions > Facebook Plugin > Configuration

1. Configuration
1.1. General Configuration
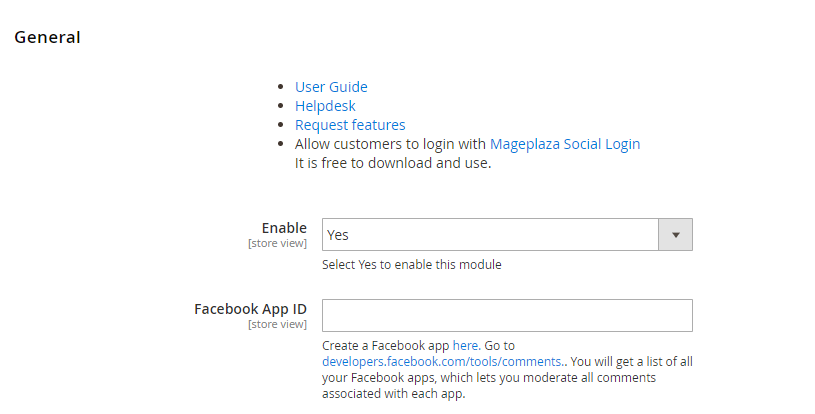
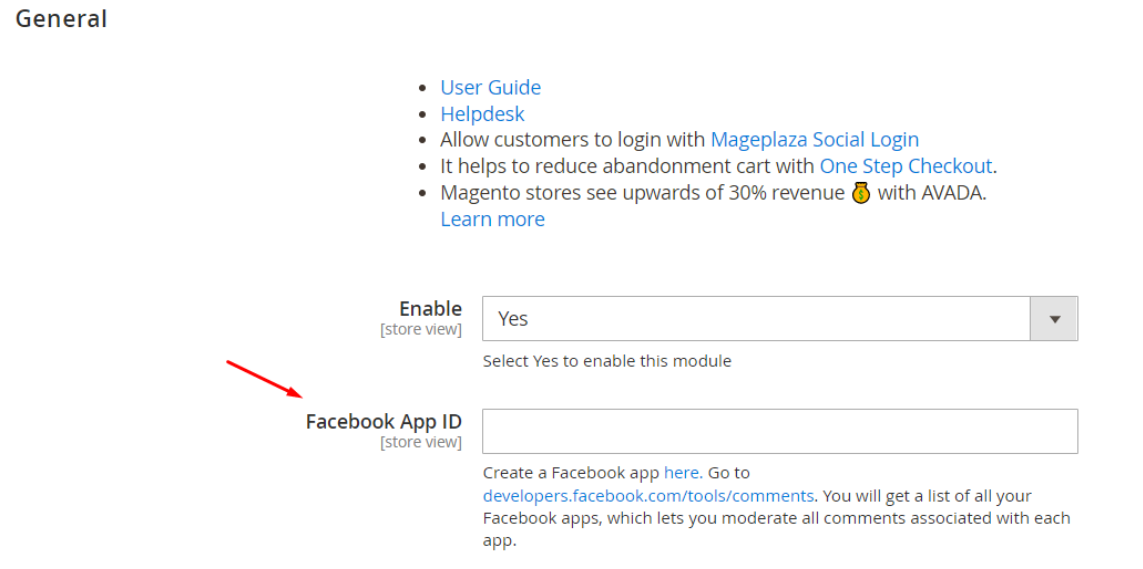
- Enable: Choose Yes to use the feature of this module
- Facebook App ID:
- Enter App ID so that admins can manage the facebook comments on the product page
- You are not allowed to leave this field blank
1.2. Facebook Plugin
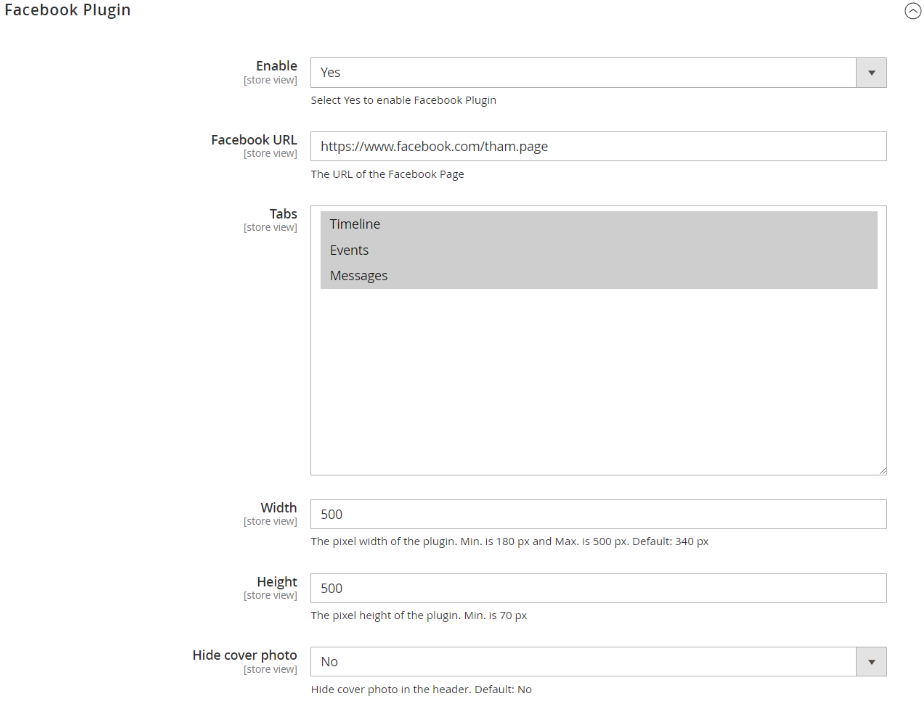
Enable: Select Yes to insert the Facebook page into the Widget
Facebook URL:
- Enter the URL of the Facebook page you want to advertise
- Only show Facebook pages in the public mode
Tabs:
- Select the tabs displayed on the Facebook page
- You can choose from three tabs: Timeline, Event, Messages
- The default is the Timeline tab
Width:
- Enter the width of the Facebook page display frame
- The default width for frames is 340px
- Minimum width is 180px, maximum width is 500px
Height:
- Enter the length of the Facebook page display frame
- The default is 500px
- The minimum length is 70px
Hide cover photo:
- Select Yes to hide the cover of the Facebook page
- The default is No
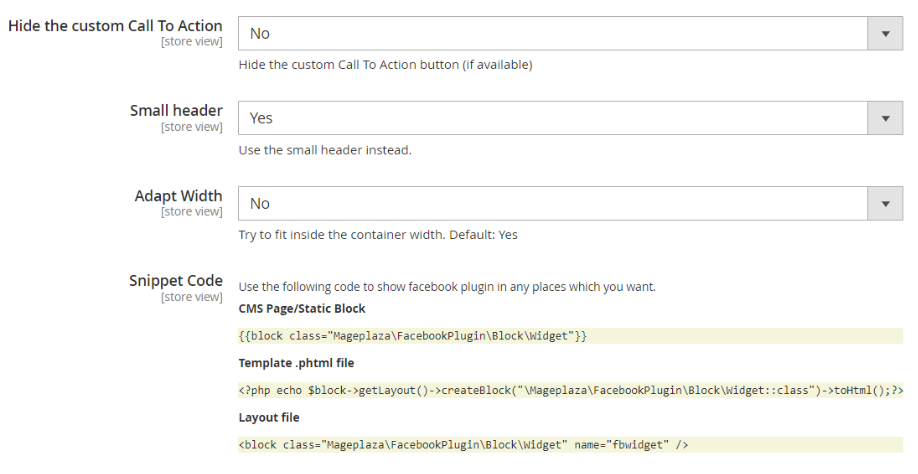
Hide the custom Call To Action: Select Yes to hide the call-to-action button on the Facebook page (if this call-to-action button is available on the page). For example, on the Facebook page there is the buttons: Book Now, Call Now, Send Email, etc, then these buttons will be hidden if
Hide the custom call to action = YesSmall header:
- Select Yes to display the header with the small size
- The call-to-action button will be hidden
Adapt Width:
- Select Yes to automatically adjust the width of the Facebook display frame accordingly
- The default is Yes
Snippet Code:
XML File: Copy and paste the code into a file that includes.xmlwhere you want to display the Facebook page outside the frontend
CMS Page, CMS Static Block: Copy and paste the code to the page or block the page you want to display the Facebook page outside the frontendTemplate .phtml file: Copy and paste the code into the.phtmlfile where you want to display the Facebook page outside the frontend.
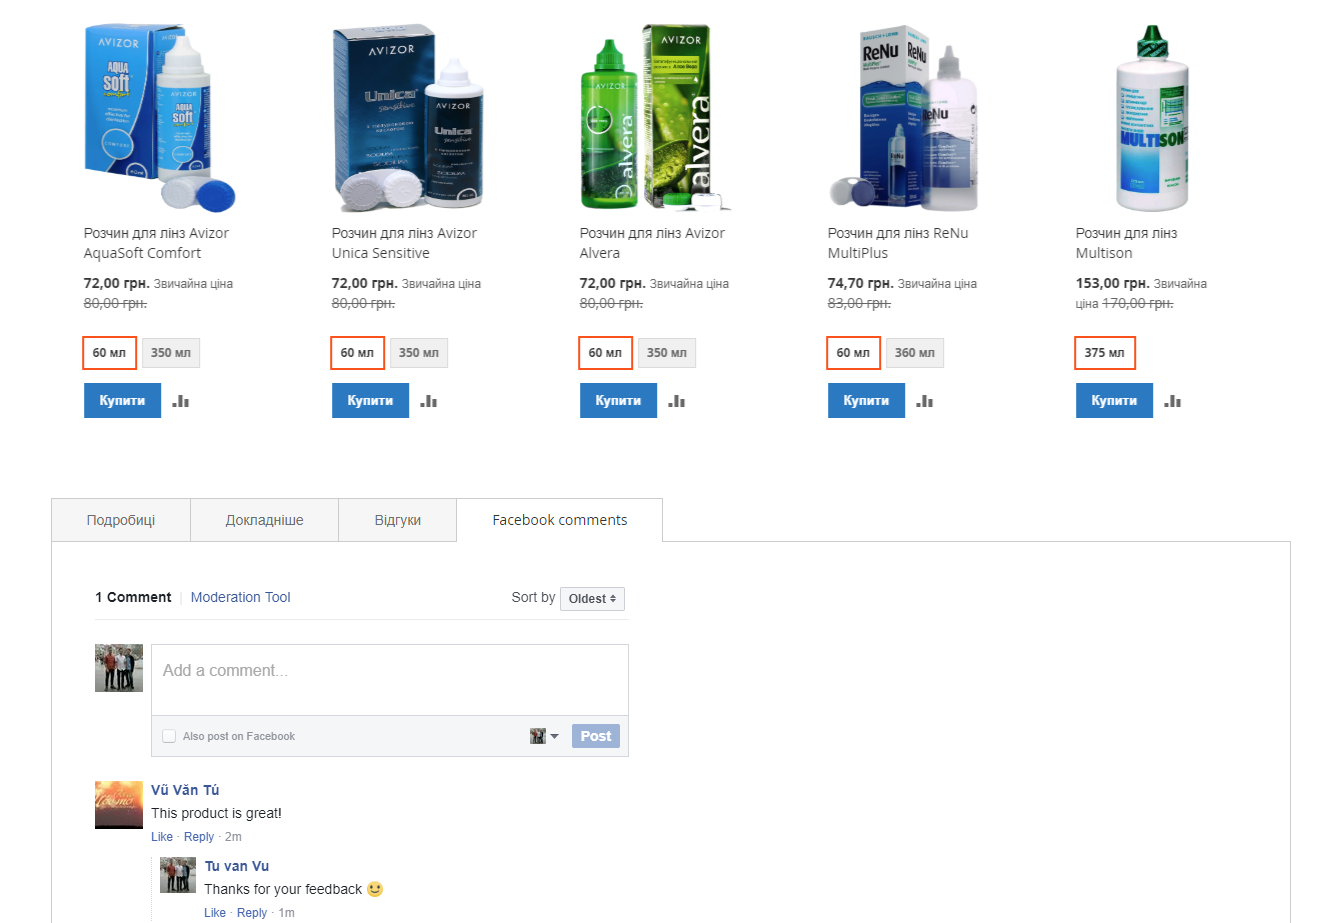
1.3. Facebook Comment
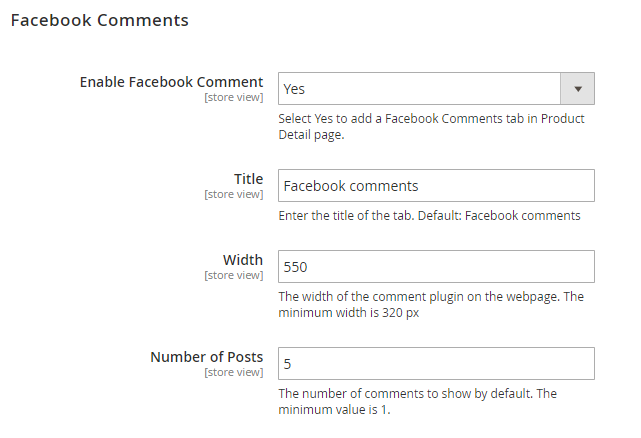
Enable Facebook Comment: Select Yes to enable the comment feature on the
Product Viewpage by FacebookTitle:
- Enter a title for the comment tab
- The default title for the comment tab is Facebook Comment
Width:
- Enter the width for the comment section
- The minimum width is 320px
Number of Posts:
- Enter the number of comments you want to display
- The minimum number of comments for the display is 1
2. Product
From the Admin Panel, go to Catalog > Product
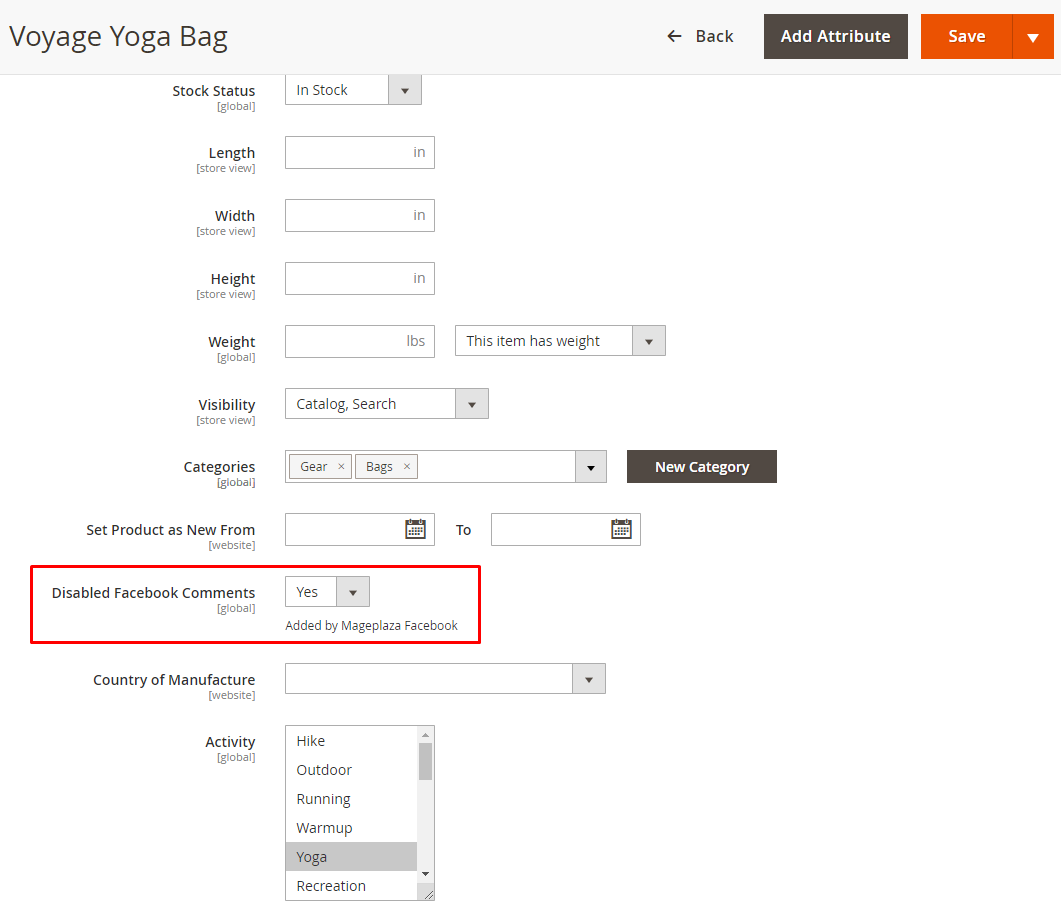
- Disabled Facebook Comments: Select
Yesto allow the function Disabled Facebook Comments on the Product Detail Page
3. Widgets
How to add the widget
- Step 1: Select the type
- Step 2: Complete the Storefront Properties section
- Step 3: Configure Widget Options to display the Facebook page
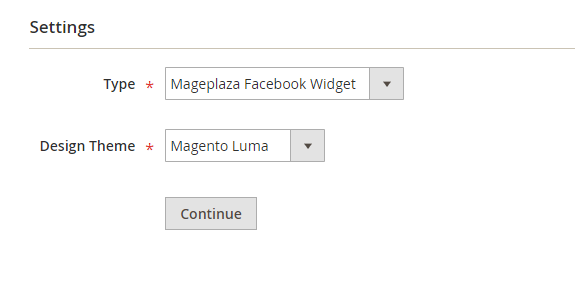
Step 1: Select the type
- On the Panel Admin,
Content > Elements > Widgets - In the upper-right corner of Widgets workplace, click on
Add Widgetbutton. - In the
Settingssection:- Choose
CMS Static Blocktype in the Type box. - Choose the current theme you are applying in the
Design Theme. - Click
Continuebutton.
- Choose
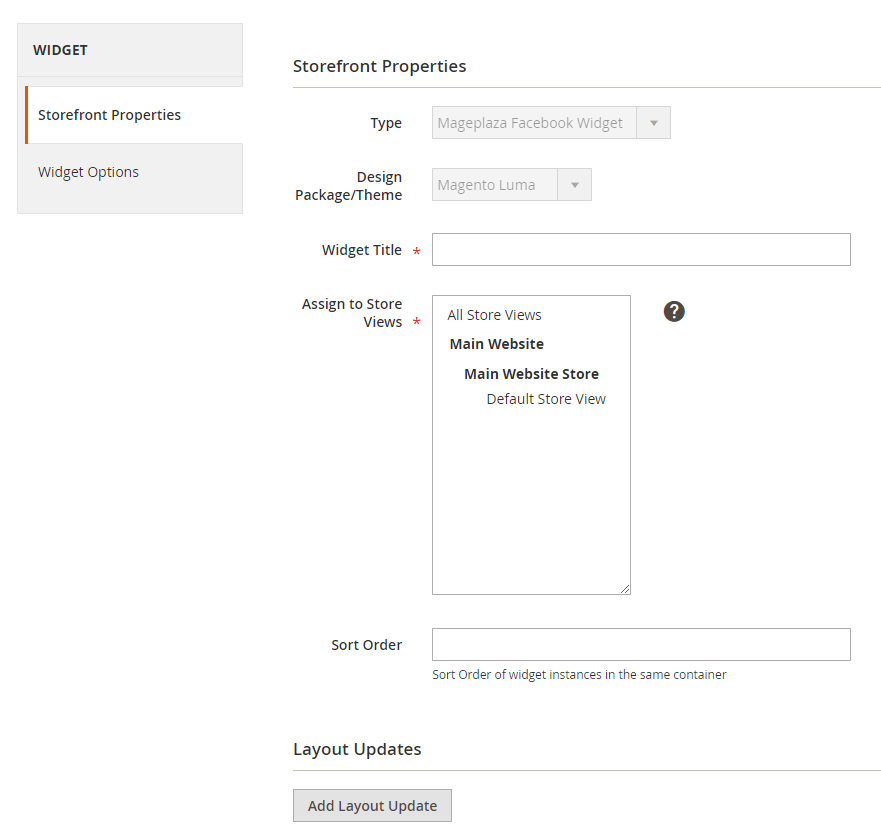
Step 2: Complete the Storefront Properties section
- In the Storefront Properties section,
- Enter
Widget Titlefor the internal reference. - Assign the block to all store views in the
Assign to Store Viewfield or to any store view you want to apply the block. - Set the
Sort Orderif many blocks are placed at the same container. The block is at the top if the inserted value is zero.
- Enter
- In the Layout Updates section, click on
Layout Updateto set the layout.- Choose the category, product, or [page]https://www.mageplaza.com/kb/how-to-add-a-new-cms-page-magento-2.html) where shows the block in the
Display onfield. - If set to a specific page, you need to choose Page you want to the block to display and set Container that is the position of the page the block appears.
- Choose the category, product, or [page]https://www.mageplaza.com/kb/how-to-add-a-new-cms-page-magento-2.html) where shows the block in the

Step 3: Configure Widget Options to display the Facebook page
Facebook Widget options:
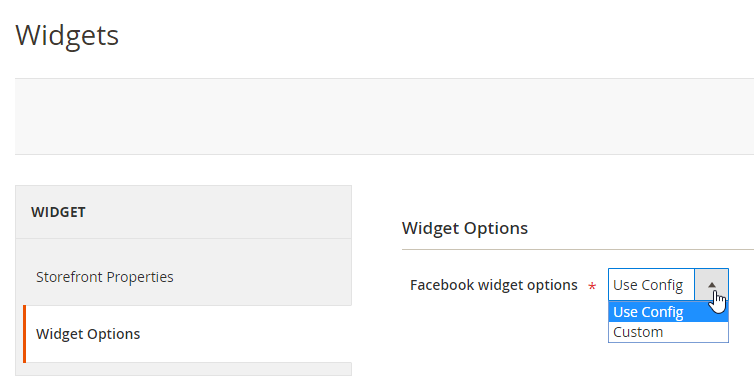
Facebook Widget options = Use Config: Use the configuration displaying for Facebook page in theConfigurationsectionFacebook Widget options = Custom: Admins set the display for Facebook page
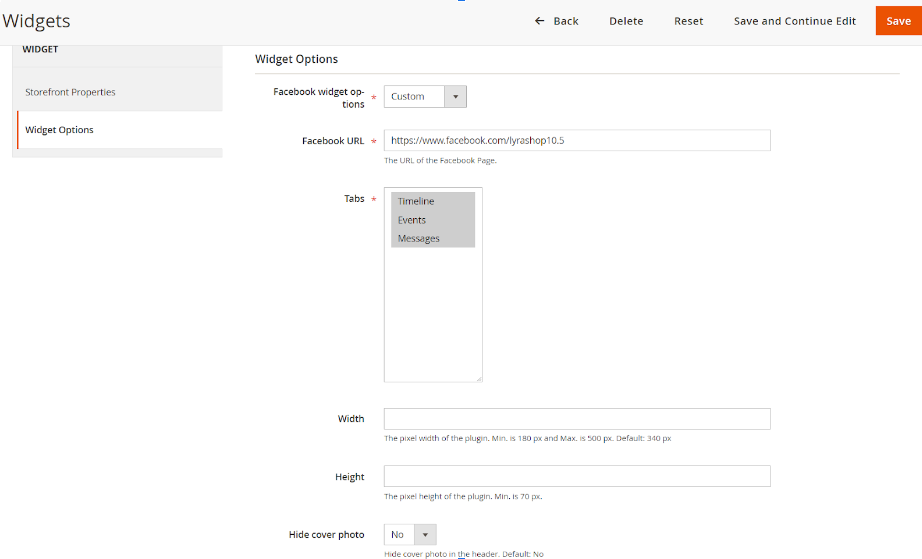
Facebook URL:
- Enter the URL of the Facebook page you want to advertise
- Only show Facebook pages in the public mode
Tabs:
- Select the tabs displayed on the Facebook page
- You can choose from three tabs: Timeline, Event, Messages
- The default is the Timeline tab
Width:
- Enter the width of the Facebook page display frame
- The default width for frames is 340px
- Minimum width is 180px, maximum width is 500px
Height:
- Enter the length of the Facebook page display frame
- The default is 500px
- The minimum length is 70px
Hide cover photo:
- Select Yes to hide the cover of the Facebook page
- The default is No
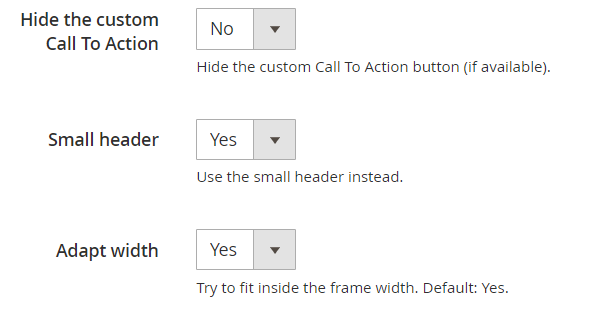
Hide the custom Call To Action: Select Yes to hide the call-to-action button on the Facebook page (if this call-to-action button is available on the page). For example, on the Facebook page there is the buttons: Book Now, Call Now, Send Email, etc, then these buttons will be hidden if
Hide the custom call to action = YesSmall header:
- Select Yes to display the header with the small size
- The call-to-action button will be hidden
Adapt Width:
- Select Yes to automatically adjust the width of the Facebook display frame accordingly
- The default is Yes
4. Frontend
4.1. The display of the Facebook page

4.2. The display of facebook comment on the product page
4.3. Manage the comment on the App of Facebook
Note
If you want to uninstall the extension, please use the composer to run the command:
bin/magento module:uninstall Mageplaza_FacebookPluginIn case you have deleted the extension manually, you need to delete the
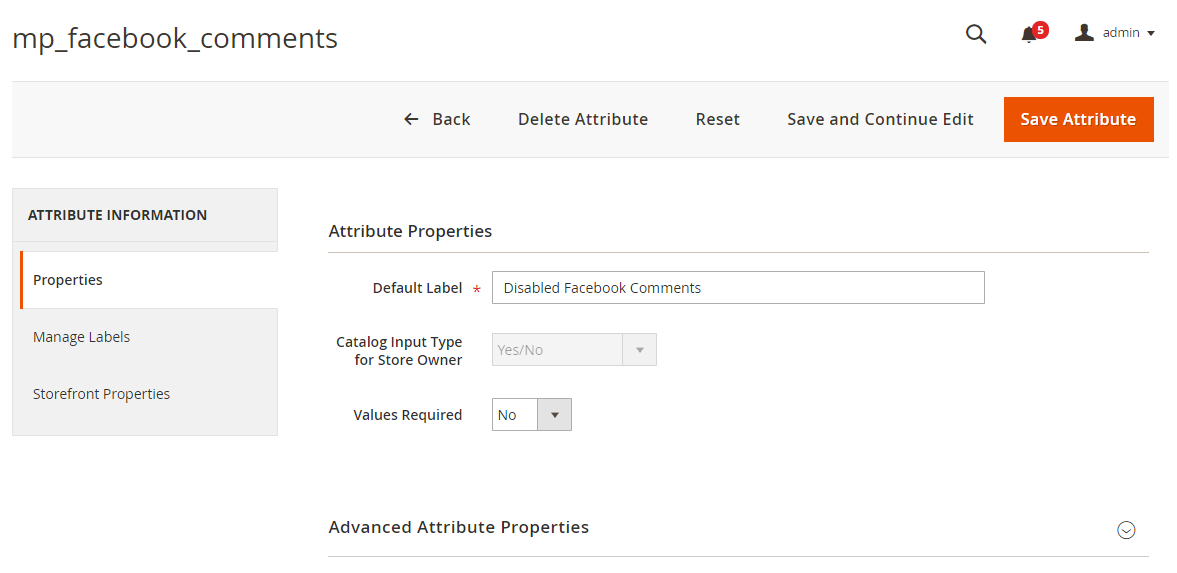
mp_facebook_commentsattribute as well in the data base or at backend- Method 1 Backend: From the Admin Panel, go to
Stores > Attributes > Product. At column Attribute Code, look for attributemp_facebook_comments, click to it and delete.
- Method 1 Backend: From the Admin Panel, go to
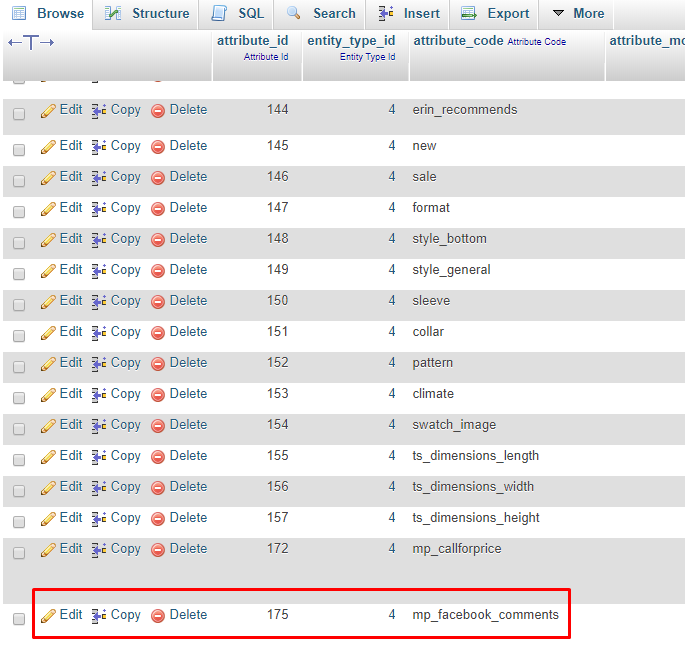
- Method 2 Data base: Navigate to eav_attribute table. At column Attribute_code, look for attribute
mp_facebook_comments, click to it and delete.