Company Accounts
Introduce
Mageplaza's Company Account Extension is a useful tool that allows you to create and manage company customers easily. With Mageplaza Company Account, store admin and customers can create company accounts, in which, each company will have a company admin and multiple sub-accounts with different roles. Each role will be assigned certain access permission with the company. Mageplaza Company Account extension is fully compatible with Mageplaza One Step Checkout extension and Mageplaza PDF Invoice extension.
How to use
Customers create the Company Account request on the front end
Once the request is approved, users can take multiple actions with the company
- View/ Edit Company
- Manage Users
- Manage Orders
- Manage Company Downloadable Products
- Manage User Roles
- Admin can manage all company accounts in the backend with a grid: add/ edit/ remove companies
How to configure
1. Configuration
1.1 General Configuration
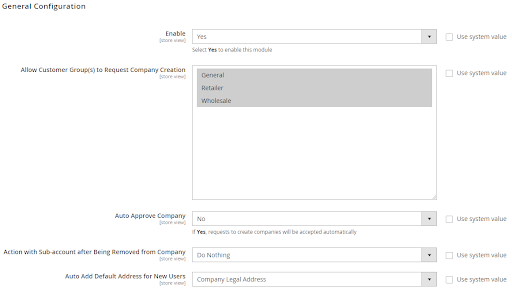
- Enable: Choose “Yes” to use the module
- Allow Customer Group(s) to Request Company Creation : Choose customer groups that are allowed to request the company creation
- Auto Approve Company: Choose “Yes” if the you allow company creation request to be auto-approved
- Action with Sub-account after Being Removed from Company: Choose the actions for any sub-account after it’s removed from the company

Do Nothing: remove the account from the company completely but still keep it in the customer list of the store
Inactive account: keep the account in the customer list of the store but inactive it
Completely delete: remove the user from both the company and the customer list of the store
Unassign all company orders: remove the user from the company and all orders that have been placed by this user will also be removed from the company orders
Auto Add Default Address for New Users:
- Choose No if you don’t want to auto-add the default addressed for new users
- Company Admin Address: auto-add the address of the company admin user for new users
- Company Legal Address: auto-add the company legal address for new users
1.2 Email configuration
1.2.1 Admin Notification
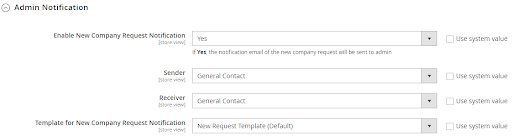
- Enable New Company Request Notification: Choose Yes to enable notification for the store admin when there is a new company account creation request
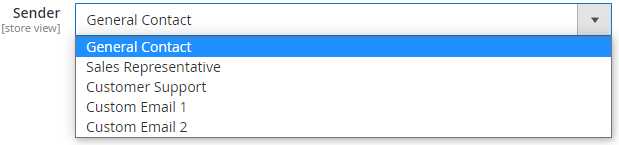
- Sender: Choose the sender for the email. There are five values to choose from the dropdown.

- Receiver: Choose the receiver for the email. There are five values to choose from the dropdown.

- Template for New Company Request Notification: Choose the template for the email. You can create a new template in Marketing > Communications > Email Templates > Add New Template.
1.2.2. Company Admin Notification
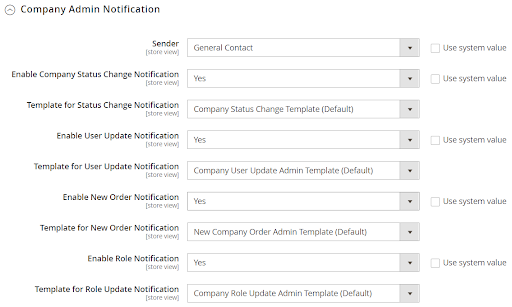
- Sender: Choose the sender for the email. There are five values to choose from the dropdown

- Enable Company Status Change Notification: Choose Yes to allow Company Admin to receive an email notification when there is a change in Company Status. If you choose Yes, the field Template for Status Change Notification will show up.
- Template for Status Change Notification: Choose the template for the email. You can create a new - template in Marketing > Communications > Email Templates > Add New Template.
- Enable User Update Notification: Choose Yes to allow Company Admin to receive email notifications when there are updates of company users
- Template for User Update Notification: Choose the template for the email. You can create a new template in Marketing > Communications > Email Templates > Add New Template
- Enable New Order Notification: Choose Yes to allow Company Admin to receive email notifications when new company orders are placed
- Template for New Order Notification: Choose the template for the email. You can create a new template in Marketing > Communications > Email Templates > Add New Template
- Enable Role Notification: Choose Yes to allow Company Admin to receive email notifications when there are company user role updates
- Template for Role Update Notification: Choose the template for the email. You can create a new template in Marketing > Communications > Email Templates > Add New Template
1.2.3. Company User Notification
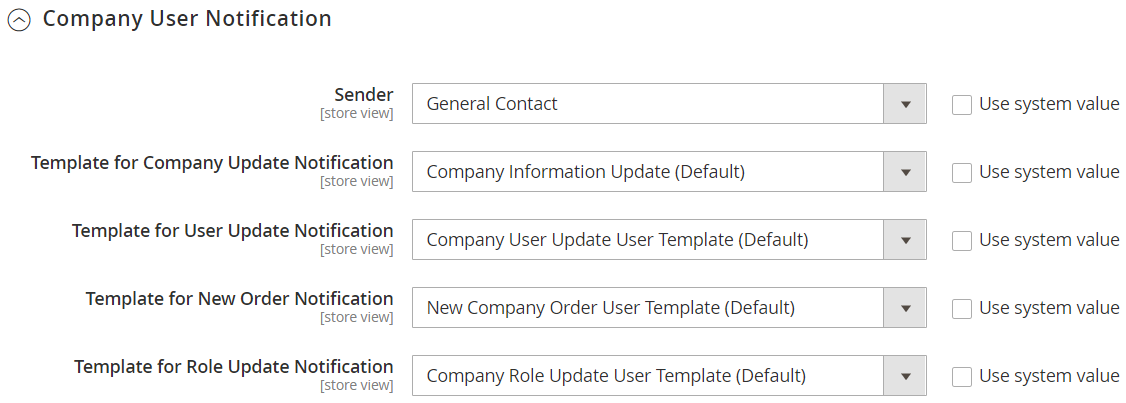
- Sender: Choose the sender for the email. There are five values to choose from the dropdown
Choose the template for all email notifications as following. You can create a new template in Marketing > Communications > Email Templates > Add New Template
- Template for Company Update Notification
- Template for User Update Notification
- Template for New Order Notification
- Template for Role Update Notification
2. Manage Companies
2.1 Grid
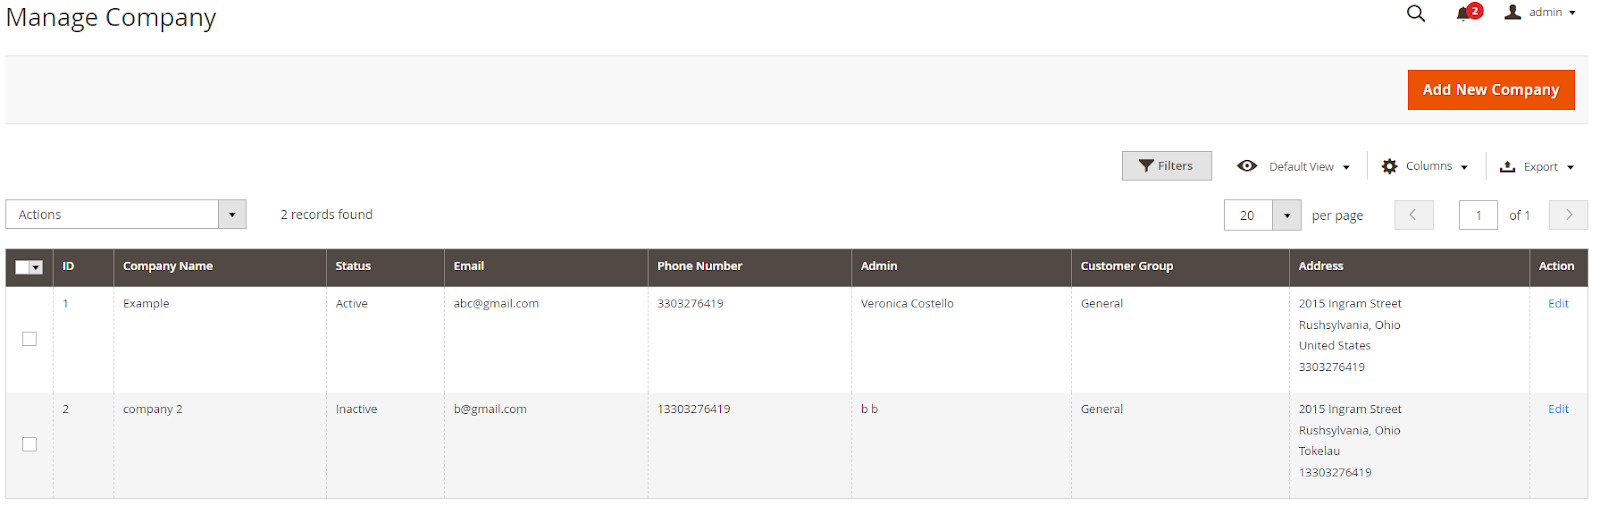
From the Admin Panel, go to Customers > Company Accounts > Manage Companies

- The grid shows information about all Companies including ID, Company Name, Status, Email, Phone Number, Admin, Customer, Address, Created, Modified
- Action:
- Delete: Delete company
- Change Status: Change the status of the company
- You can edit each company in the grid by hit button Edit
- You can sort/ filter companies, show/ hide column in the grid and export the grid into csv or xml files
2.2 Create/Edit Company
From the Admin Panel, go to Customers > Company Accounts > Manage Companies > Add New Company/Edit Company
2.2.1 Company Information tab
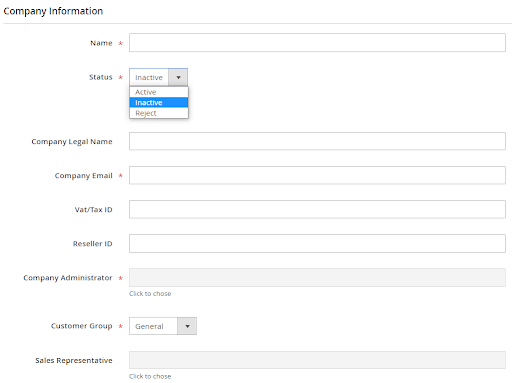
- Name: fill in the Company name
- Status:
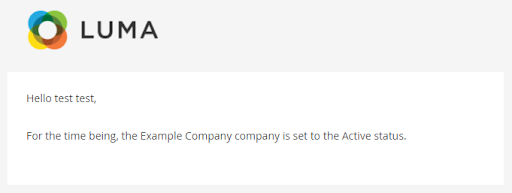
- Active Company: Allow the company to take actions
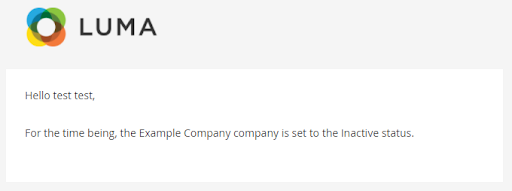
- Inactive Company: Stop the company from taking actions
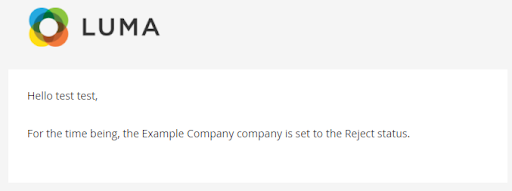
- Reject Company:
- Company Legal Name
- Company Email
- Vat/Tax ID
- Reseller ID
- Company Administrator: click to choose an admin for the company from the user list
- Customer Group: Choose the customer group for the company and its users
- Sales Representative: Select the Sales Representative for the company. You can configure Sale Presentative in System > Permissions > All users
2.2.2. Company Legal Address tab
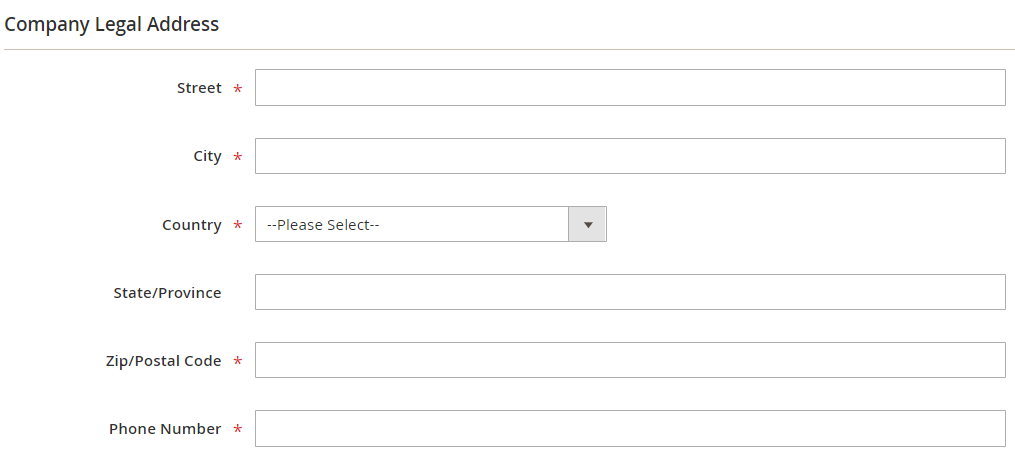
- Street: Fill in the street where the company address is
- City: Fill in the city where the company address is
- Country: Choose the country where the company address
- State/Province
- Zip/Postal Code
- Phone Number
2.2.3. Company Users tab

After creating new company, go to *Edit Company you will see Company Users** tab. Here there are information of company users including ID, First Name, Last Name, Status, Email, Role and Remove action.
Note
When removing an user, you cannot remove the admin user
Users after being removed from the company will be treated due to the setting in General Configuration
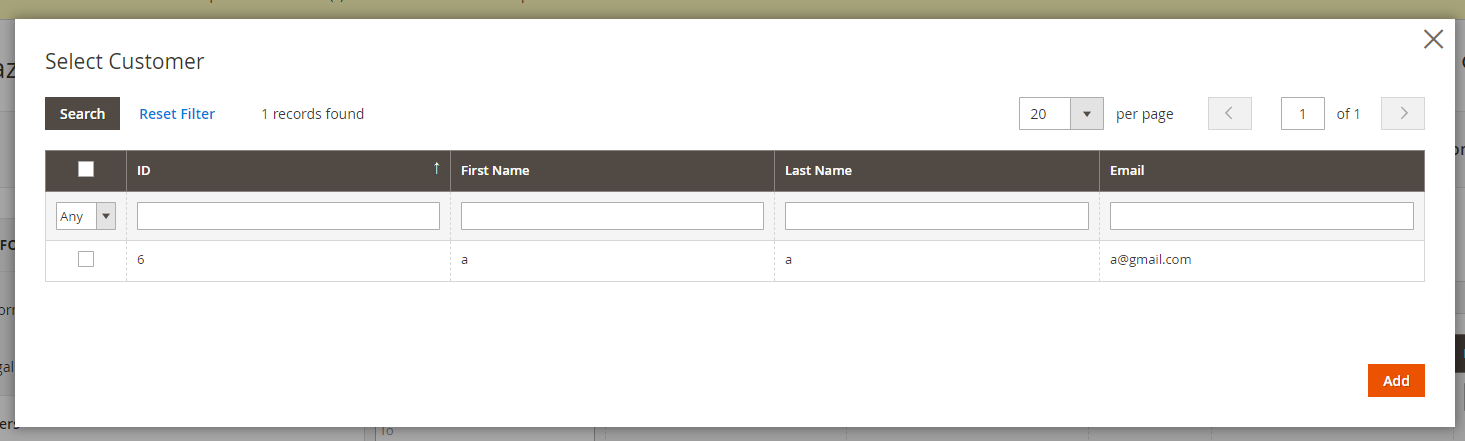
Add New User: After you click on the button Add New User, a pop up will show up to let you add multiple users to the company at once
3. Add company for each customer
Go to Admin panel > Customer > All Customer > edit Customer > Company tab
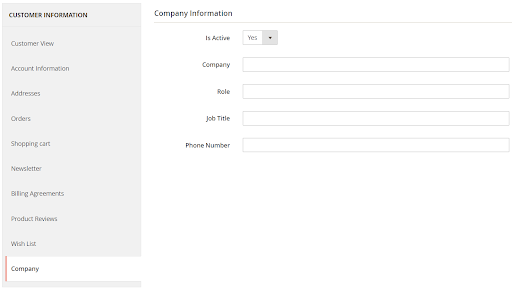
- Is Active: Choose Yes to activate the user
- Company: Choose the company for the customer
- Role : Choose the user role for the customer
- Job Title: Fill in the Job title for the customer vPhone Number: Fill in the contact number
- Frontend settings
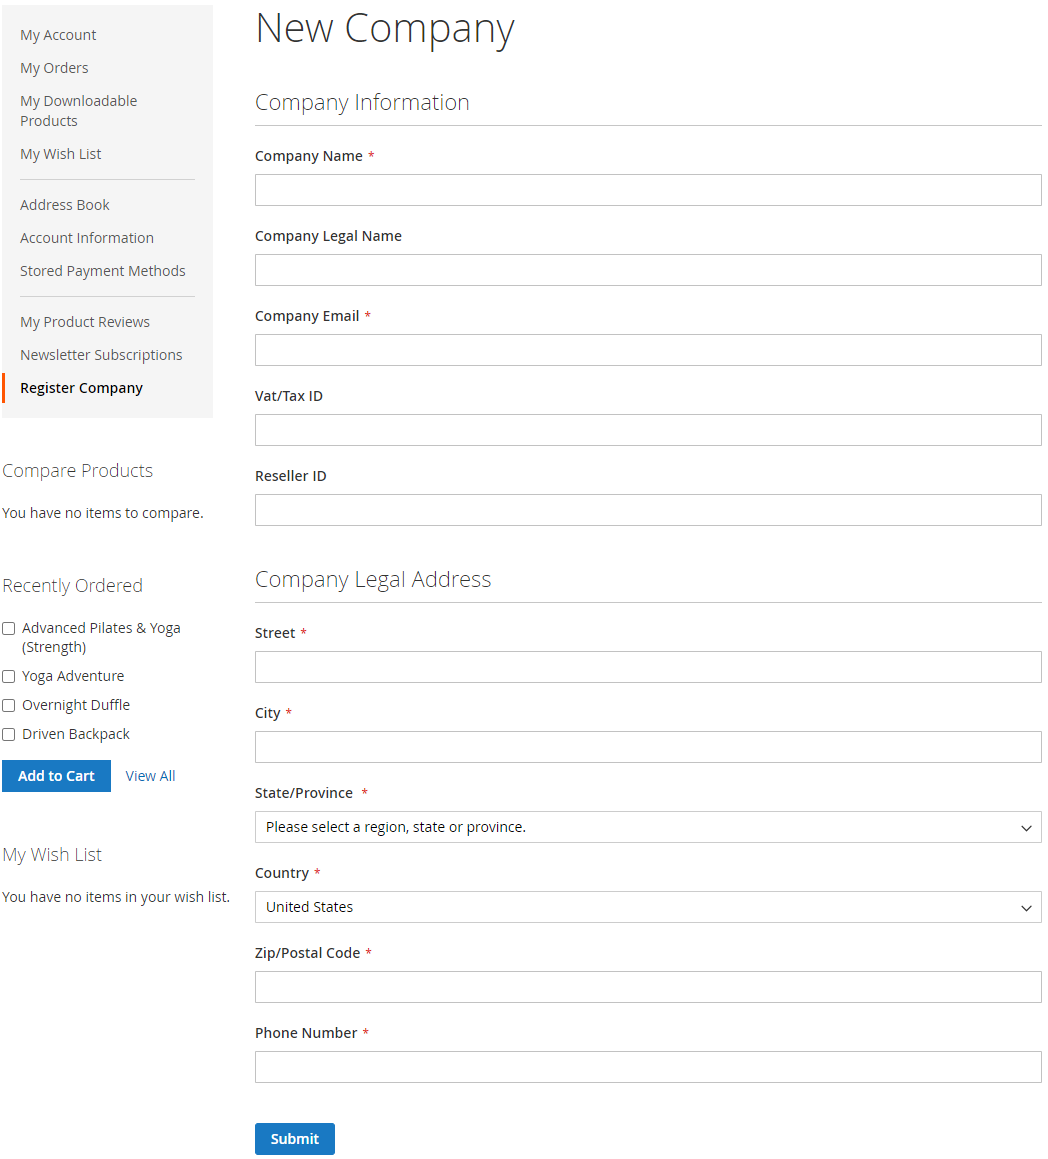
4.1. Register Company
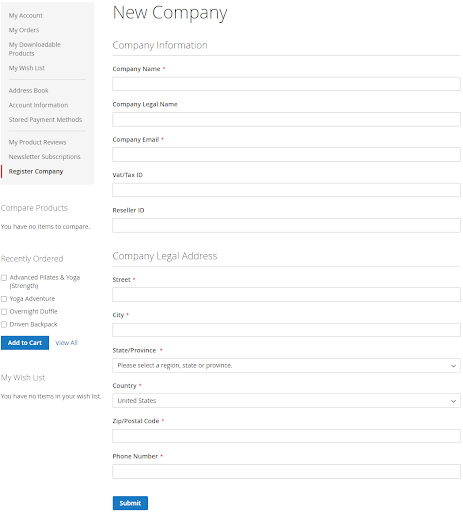
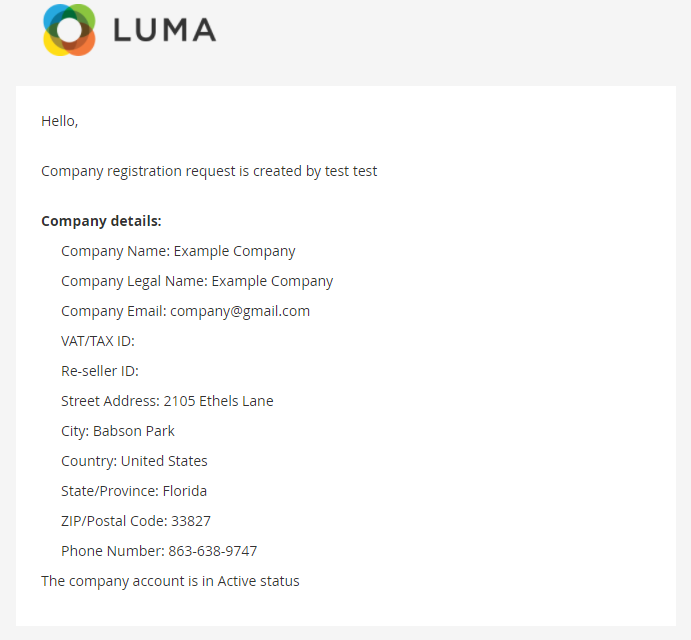
- Company Information:
- Fill in all required fields: Company Name, Company Email
- Fill in optional fields: Company Legal Name, Vat/Tax ID, Reseller ID
- Company Legal Address: Fill in all fields
- Click on Submit button to finish to creating company request
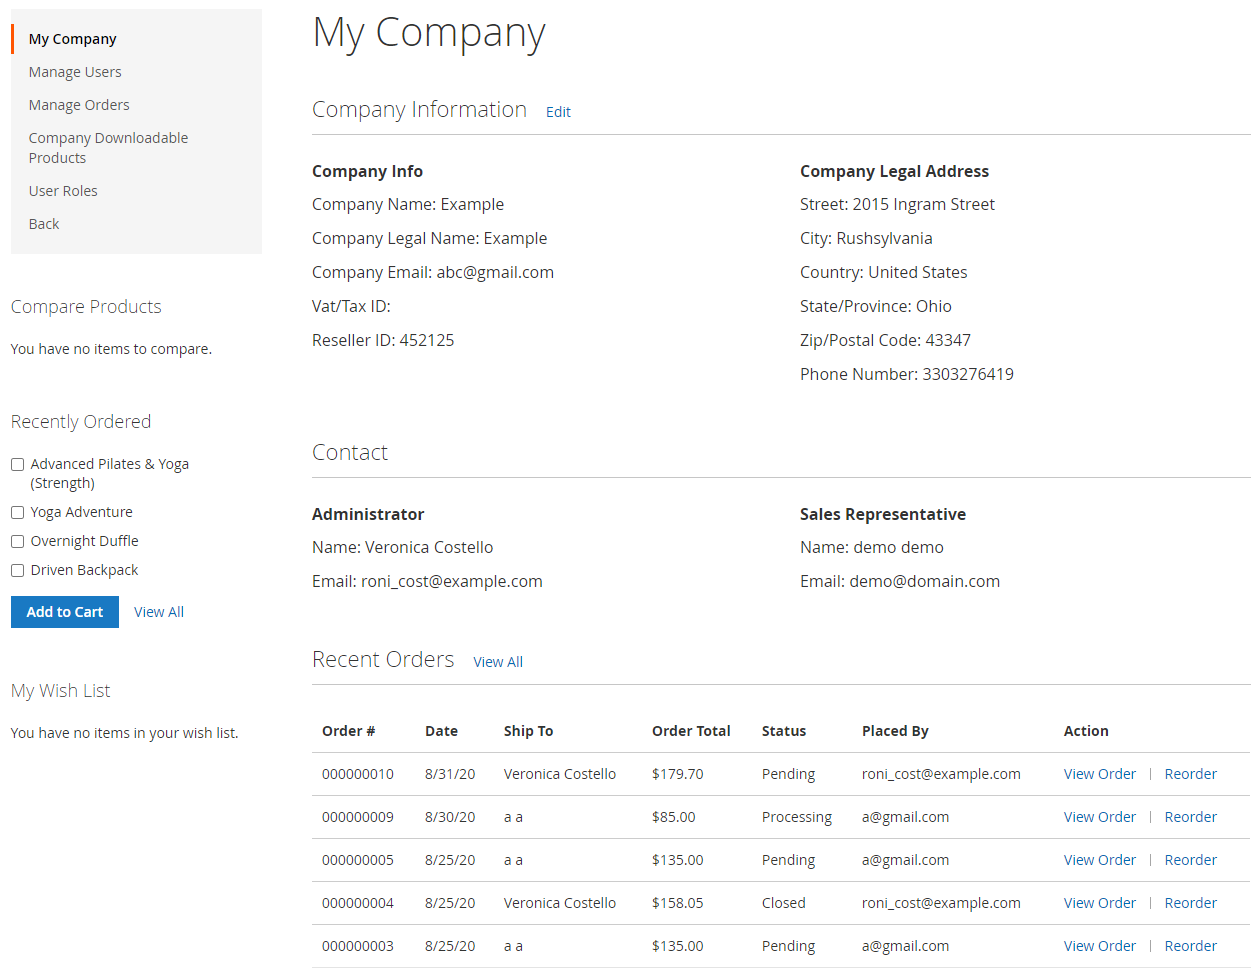
4.2 Edit Company info
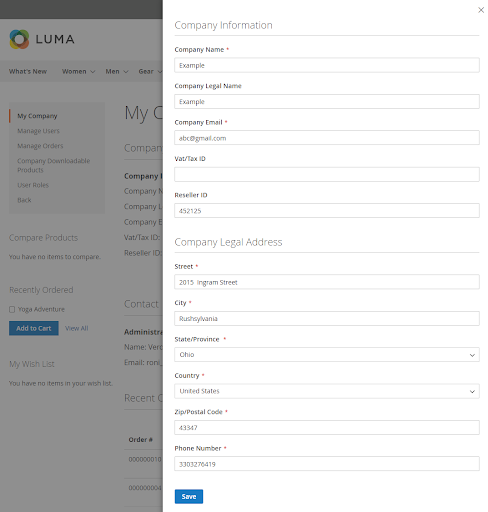
After the company is activated, users can edit the company information by clicking the link Edit and change the information.
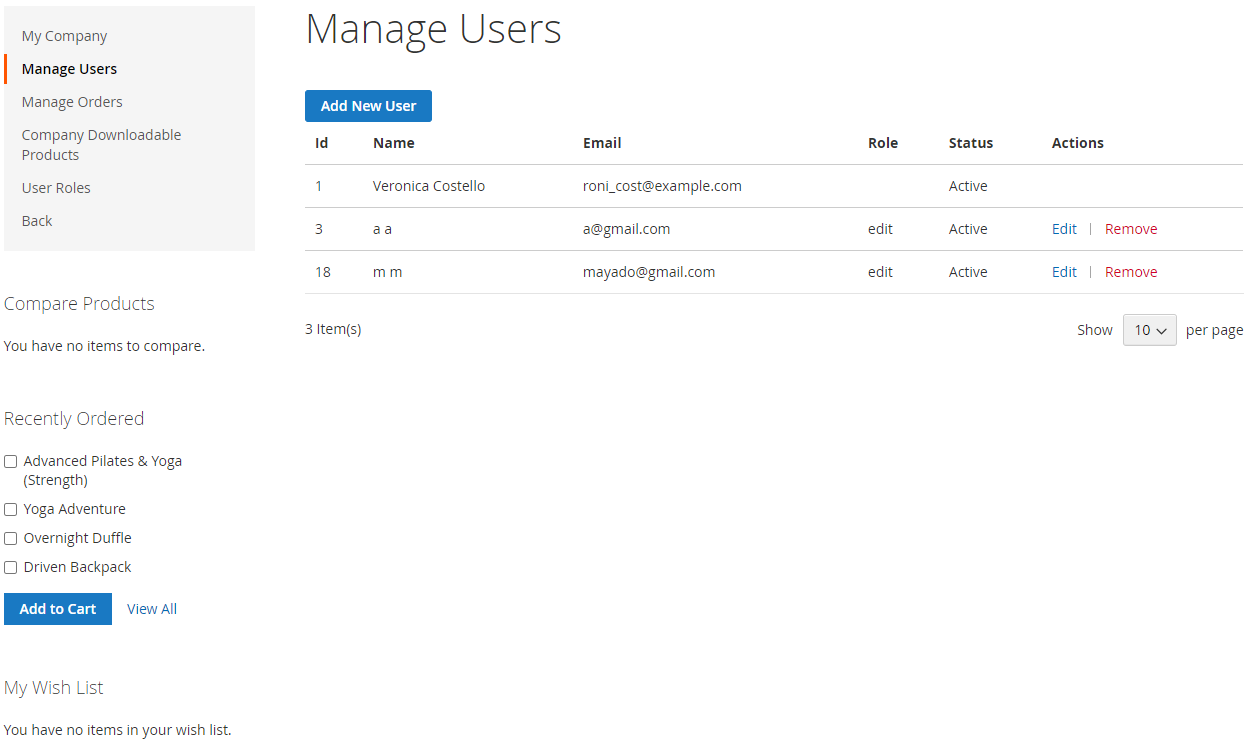
4.3. Manage Users
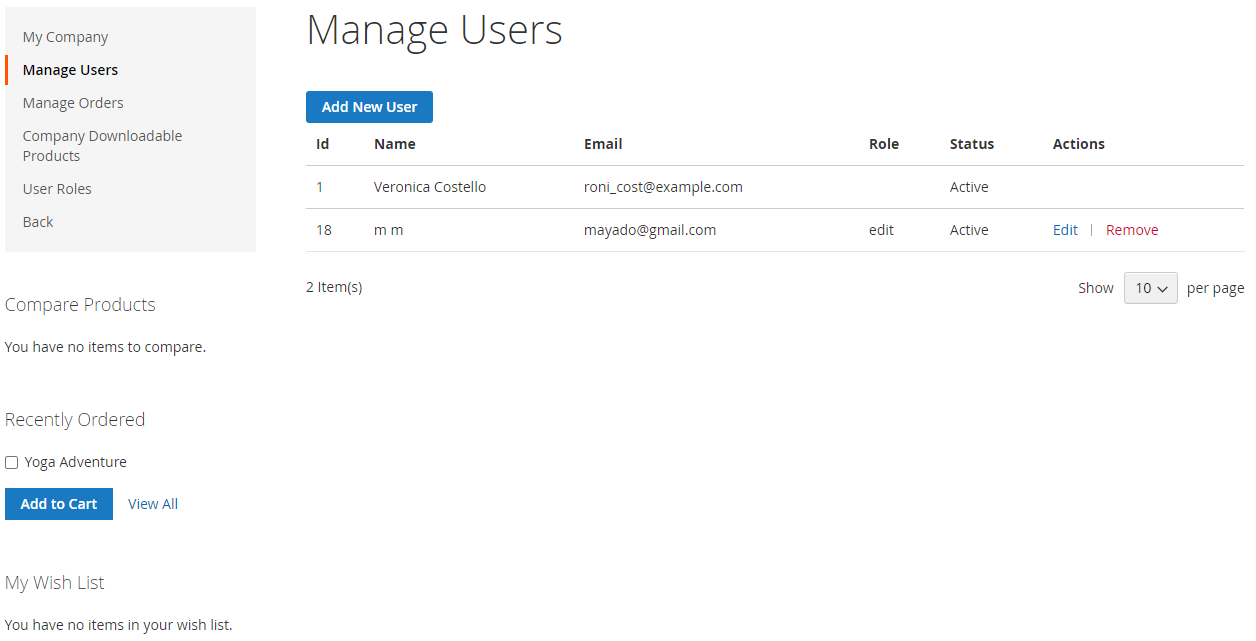
- Manage all company users
- Add New User: Click on Add New User button to edit the new user information in the pop up
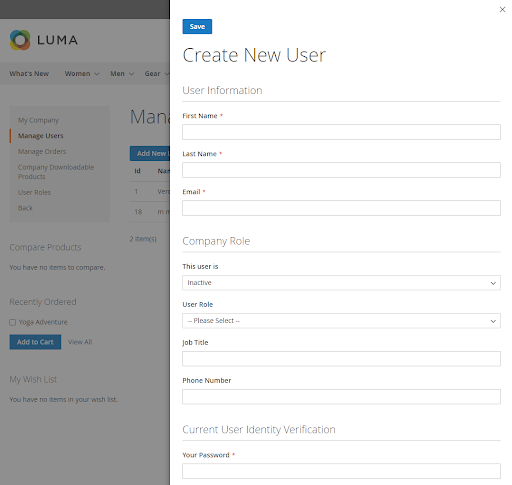
User Information: Fill in First Name, Last Name, Email for the user
Company Role:
- This user is: Active or Inactive
- User Role: Select a role for the user from the dropdown
- Job Title
- Phone Number
Current User Identity Verification: fill in the password of the account that you are using to add the new user
Click on Save button
Edit user
- Click on Edit to change the user information

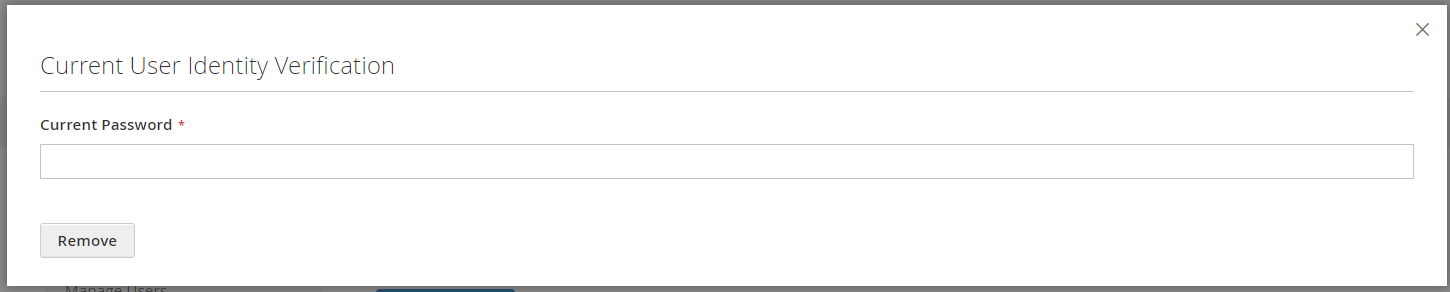
- Remove user
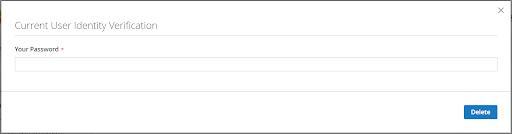
- Click on link Remove, you will see the confirmation pop-up requiring a password > fill in the password of the current account that you are using > click on Delete button
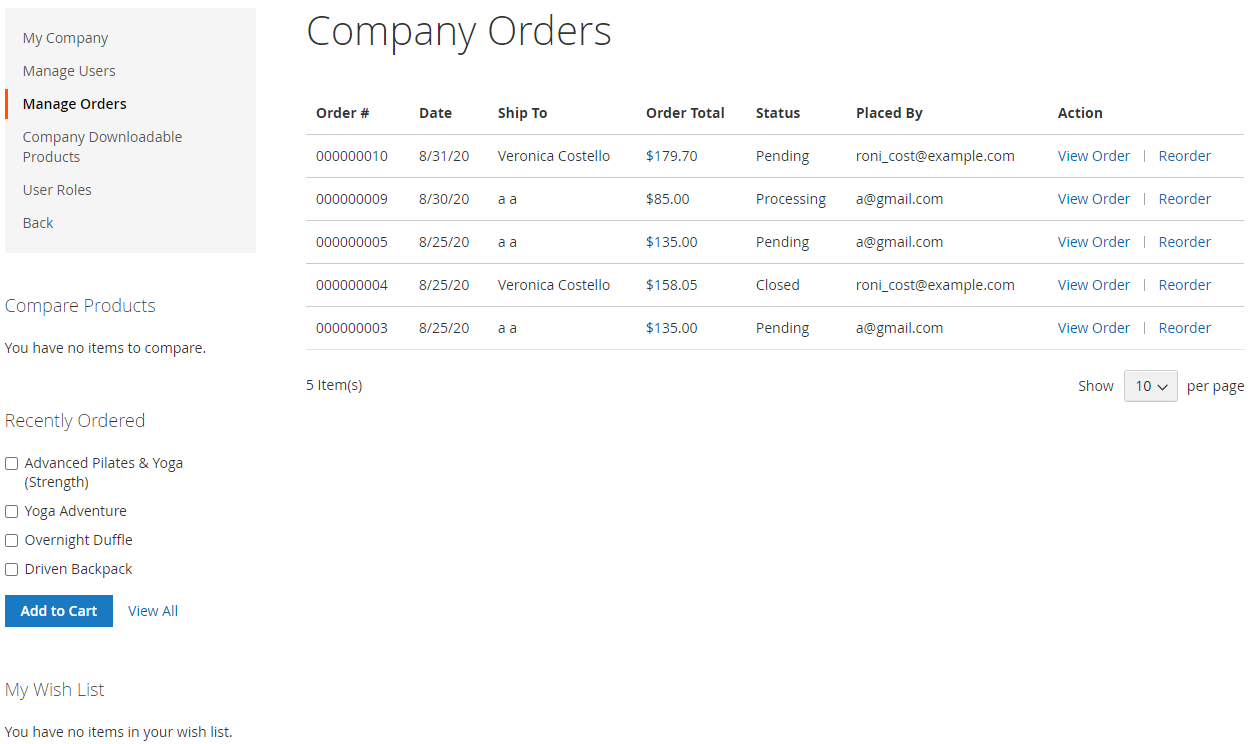
4.4. Manage Orders
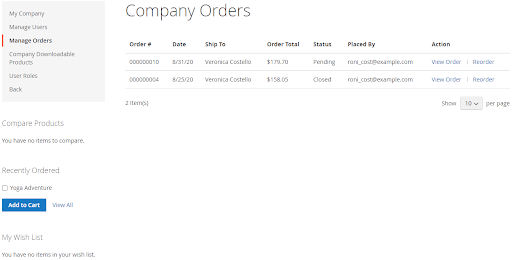
- Manage all orders of the company
- Company users/sub-accounts can take actions such as View order Reorder and other actions if allowed by the admin
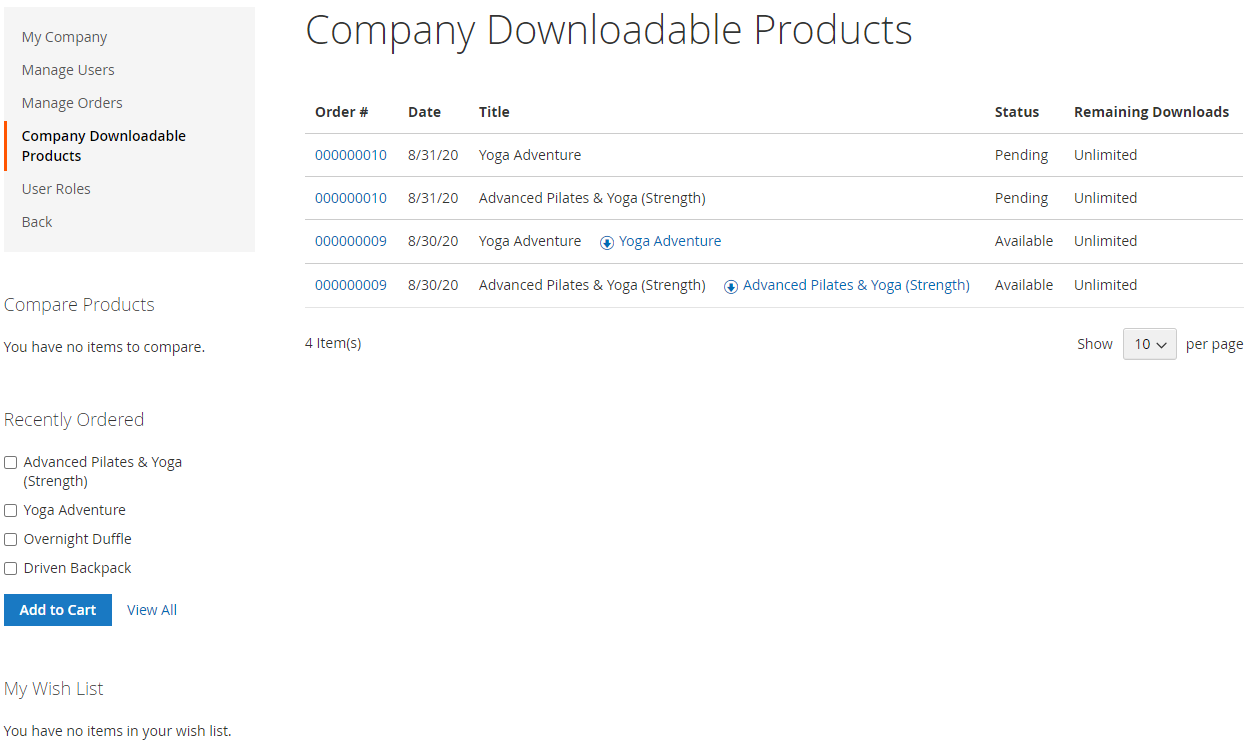
4.5 Company Downloadable Products
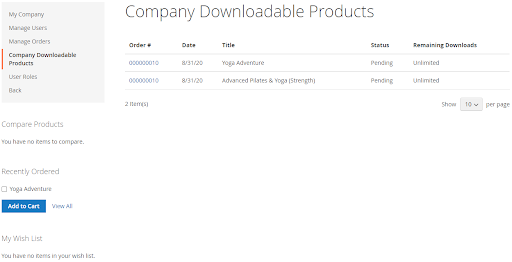
All Downloadable products ordered by the company will show up here.
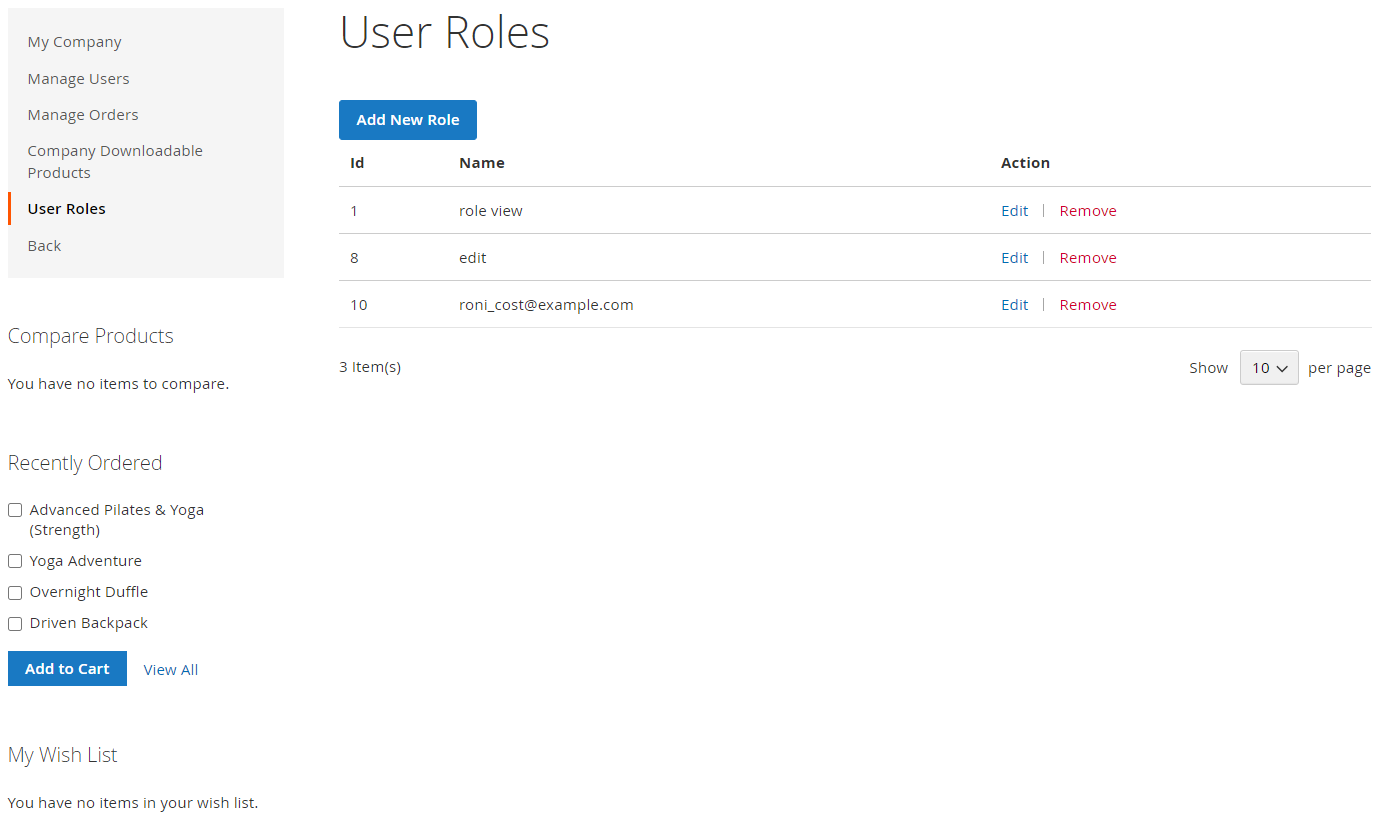
4.6 User Roles

Manage all company roles
- Add New Role: click on Add New Role button to open the editing pop-up
- Info tab:
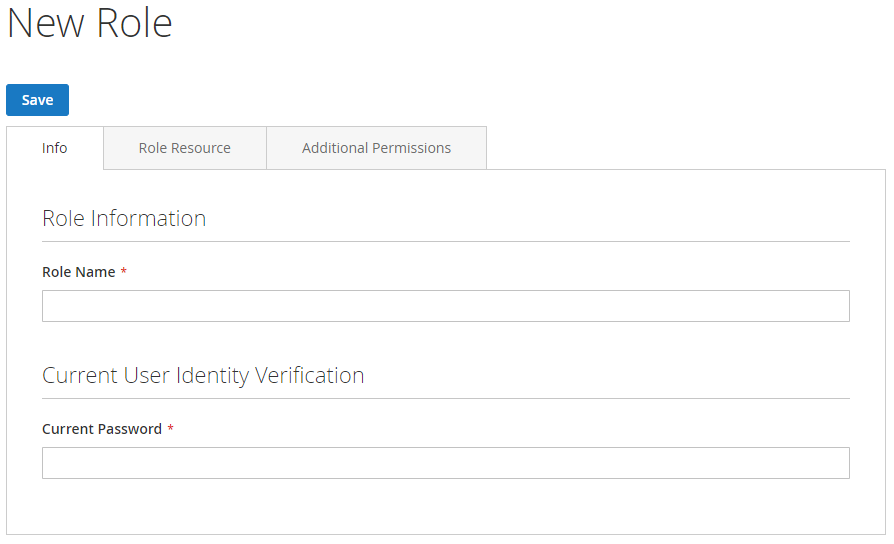
- Role Information: Fill in the Role Name
- Current User Identity Verification: Fill in the Current Password of the account that you are using to create the new role
- Role Resource tab:
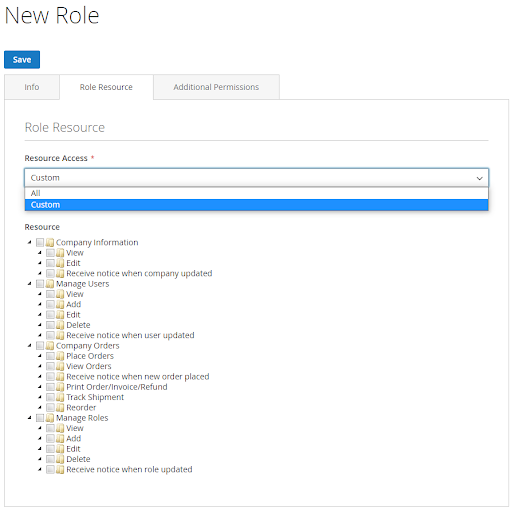
- Resource Access: there are two option which is **All** and **Custom**
  - All: allow full permission
  - Custom: the role can only have selected permission
- Additional Permissions tab:
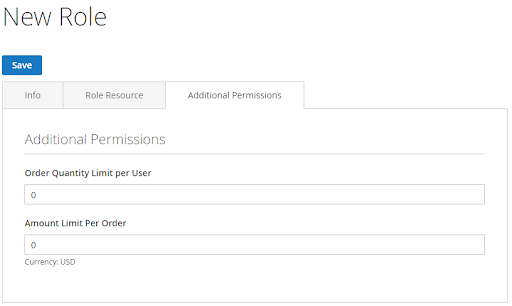
- Order Quantity Limit per User: The maximum number of orders can be placed (the role cannot place more orders if until the admin or authorized users increase this number)
- Amount Limit Per Order: The maximum amount can be placed **per order**
- Click Save to finish
- Edit Role:
- Click on the Edit link

- All fields will be the same as when Add New Role
- Click Save button to finish
- Remove Role
- Click on the Remove link
- In the pop-up > Fill in Current Password of the account your are using
- Click on Remove button to finish deleting the role
5. Email
- Email for the store admin when there is a new company creation request
- Company Status Change Notification
- New User Notification

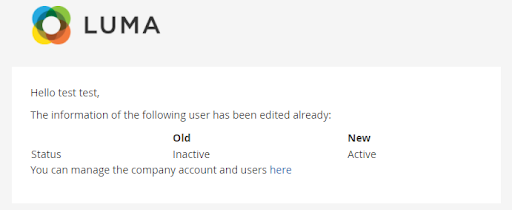
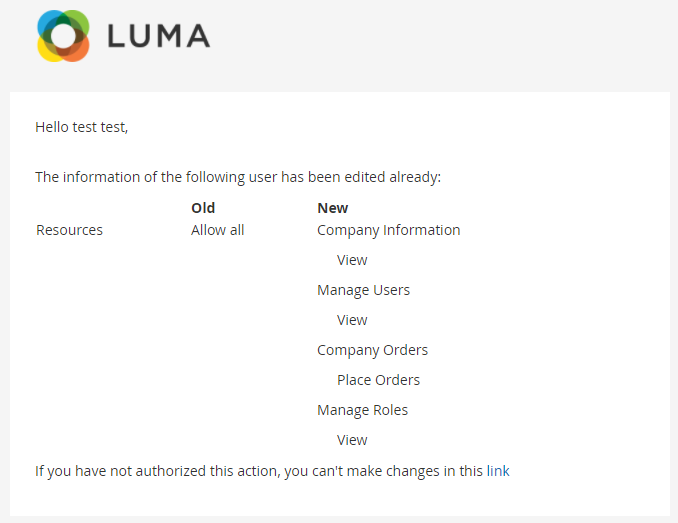
- User Update Notification
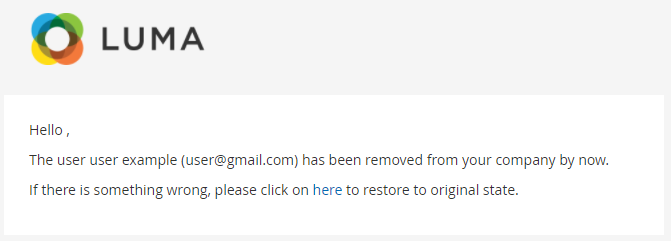
- User Deleted Notification
- New Order Notification
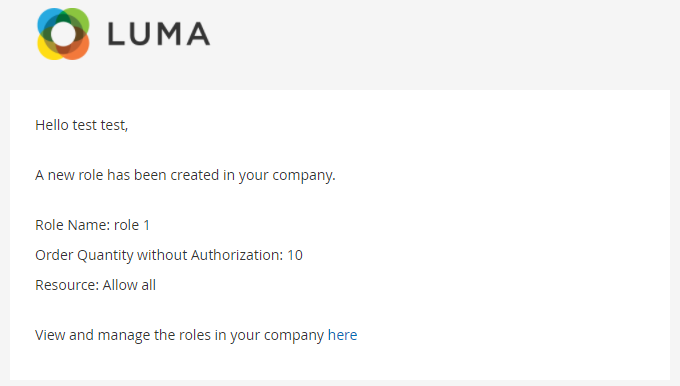
- New Role Notification
- Role Update Notification
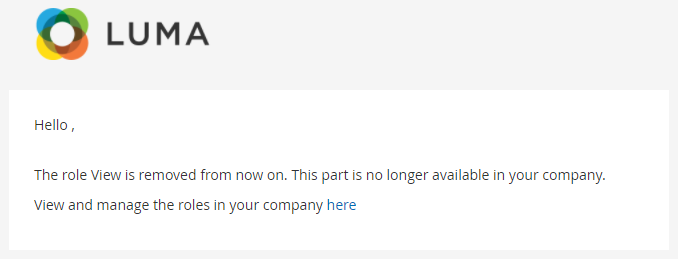
- Role Deleted Notification
- User Invited Notification
6. How to add Company Name to sales emails?
6.1 Create an email template
- Go to Marketing > Communications > Email Template > Add New Template or Edit Template
- Load the Email Template which you want to add the company name to
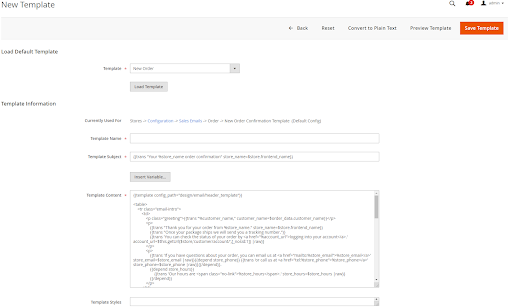
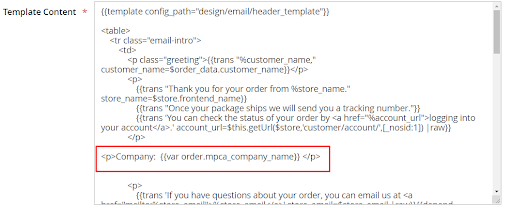
- Add this variable to any position that you wish to: {{var order.mpca_company_name}}
For example: If you want to add the company name to Order Confirmation emails, just add the variable to the template New Order emails:
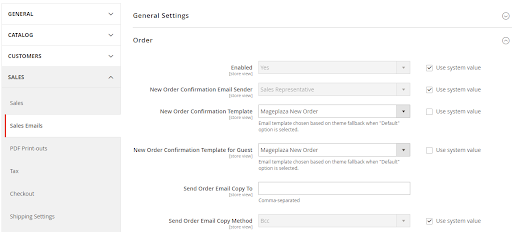
6.2. Apply new email templates
Go to Stores > Settings > Configuration > Sales > Sales Emails
- On tabs Order/ Invoice/ Shipment/ Credit Memo, select the corresponding “just-created” Email Templates
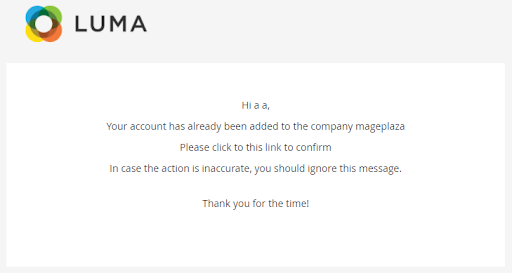
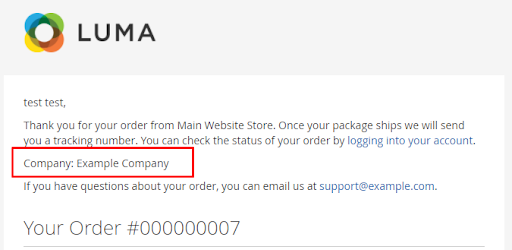
6.3 Check the display of the company name
- Place a test order on the frontend
- Check the automatic email sent to the customer
7. REST API
Mageplaza Company Account extension supports the use of API Rest to view company information. The extension also supports adding, modifying and deleting user roles, user companies directly through API request.
Details can be found here.
Instructions for creating integrated tokens are here.
8. GraphQL
Run the following command in Magento 2 root folder:
composer require mageplaza/module-company-accounts-graphql
php bin/magento setup:upgrade
php bin/magento setup:static-content:deploy
To start working with Company Account GraphQL in Magento need the following requirements:
- Use Magento 2.3.x.
- Return the site to developer mode
- Set the GraphQL endpoint to
http://<magento2-3-server>/graphqlin the URL box, click Set endpoint. (for example: http://develop.mageplaza.com/graphql) - Details of the supported queries can be found here.