Mass Order Actions
Overview
Currently, when having to process orders at the management page, the shop owner must go to each order to be able to create invoices, shipping methods, email notifications to customers in each order. From now on, with Mageplaza Mass Order Actions extension, admins can create more features at the order grid page to manage and handle multiple orders at the same time. In addition, we support Mass Order Actions compatible with some extensions such as Delete Orders, PDF Invoice, SMTP, Order Archive to reduce workload for your sites. This extension helps you quickly process orders and dramatically improve your order management.
How to download and install
How to Configure
I. Configuration
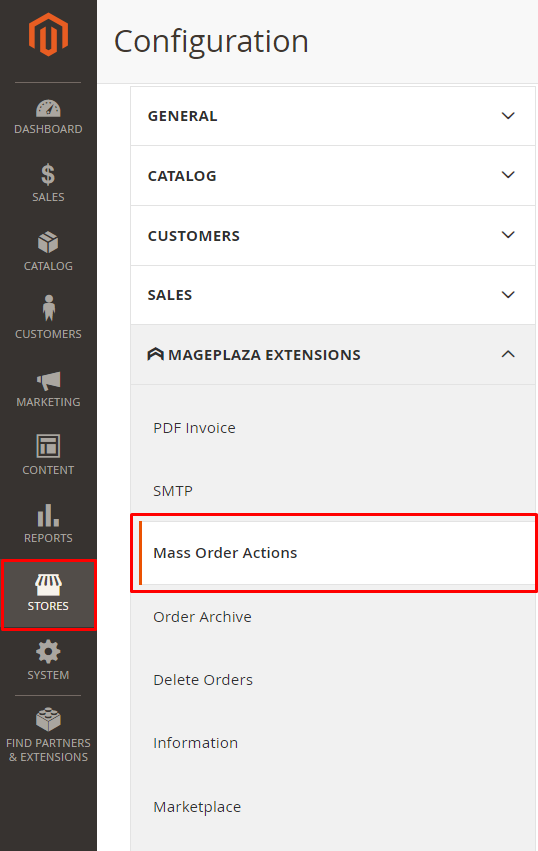
Login to the Magento Admin, choose Store > Configuration > Mageplaza > Mass Order Actions.
1. General
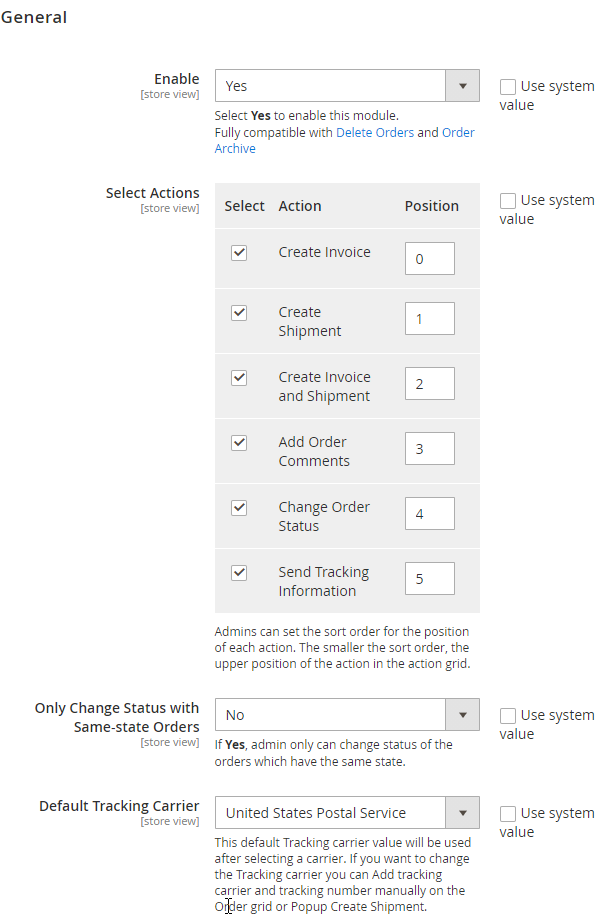
Select Enable = Yes to enable the module. Mass Order Actions extension is compatible with Delete Orders and Order Archive.
Select Actions:
- Click the checkbox to allow the corresponding Action to work. Admin is allowed to select multiple actions.
- Position: Create priority for Action to display Grid creation.
- Note:
- The smaller the Position value, the higher the priority.
- If Position is equal, the grid will display the order of actions that are the same as the order at Select Actions.
- Note:
Only change status with same state orders:
- Select Yes, the admin is allowed to change the status of the orders in the same state.
- Select No, the admin is allowed to change the status of orders in the same state and not in the same order.
Default Tracking Carrier: choose the default value for Carrier of Tracking Information in the Order grid or Create Shipment pop-up
2. Create Invoice
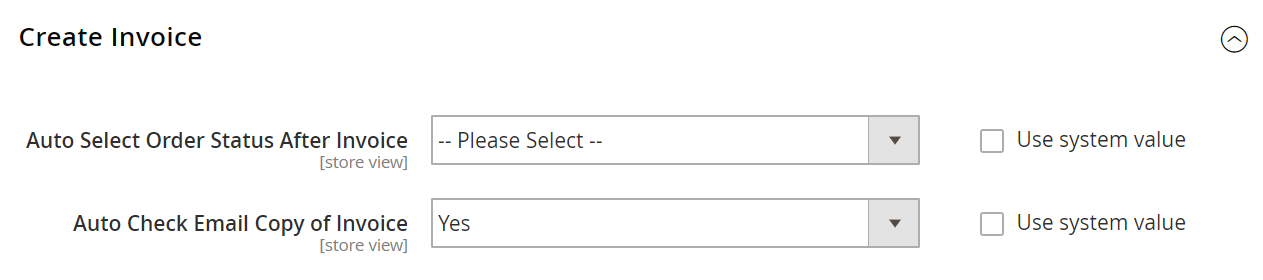
- Auto Select Order Status After Invoice: Select the status, the selected status will automatically be assigned to the Create Invoice popup at the grid.
- Auto Check Email Copy of Invoice: Select Yes to automatically send mail to customers.
3. Create Shipment
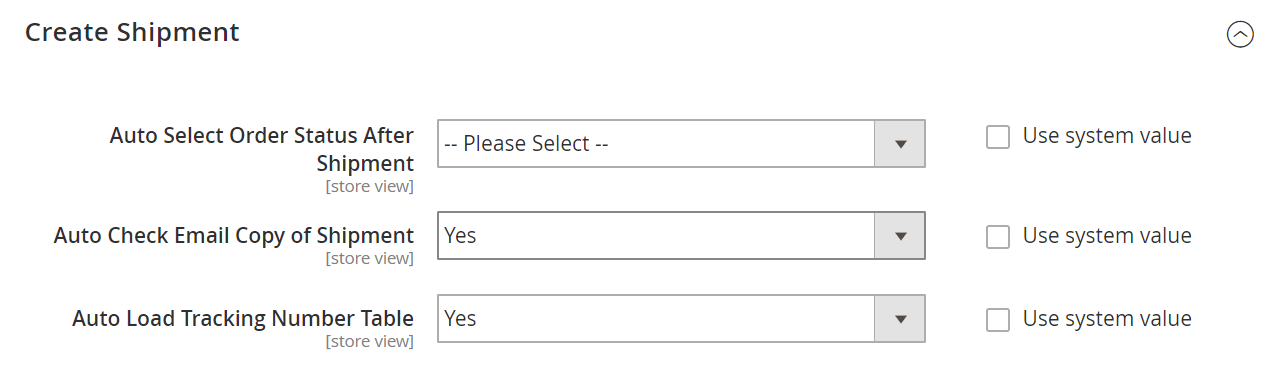
- Auto Select Order Status After Shipment: Select the status, the selected status will automatically be assigned to popup Create Shipment at the grid.
- Auto Check Email Copy of Shipment: Select Yes to automatically send mail to customers.
II. Grid
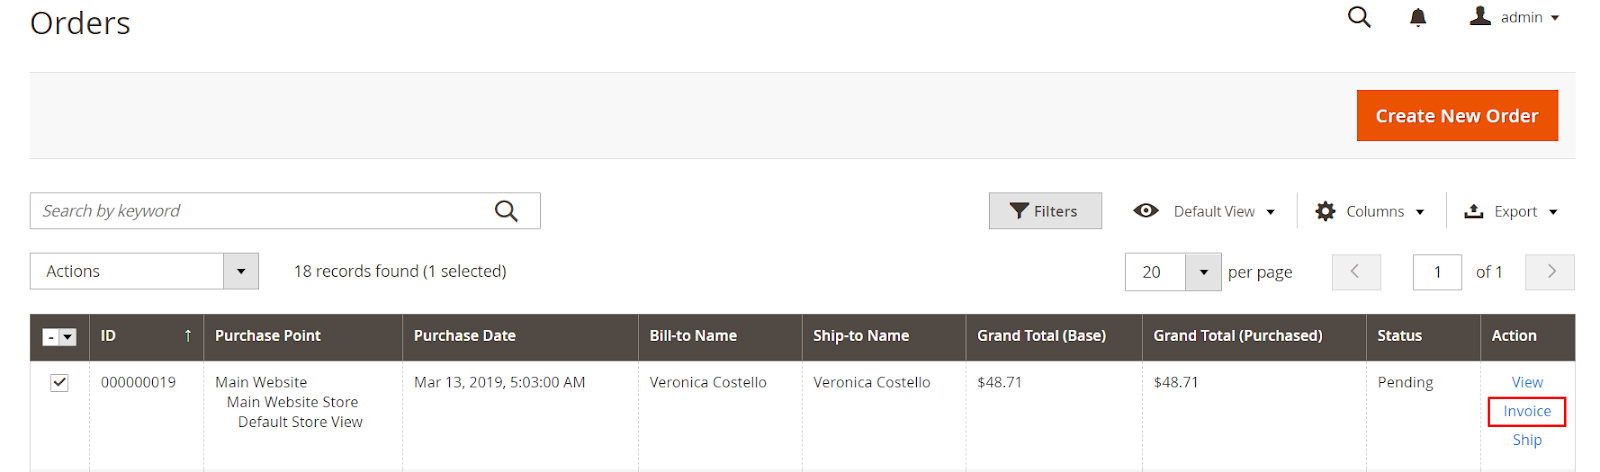
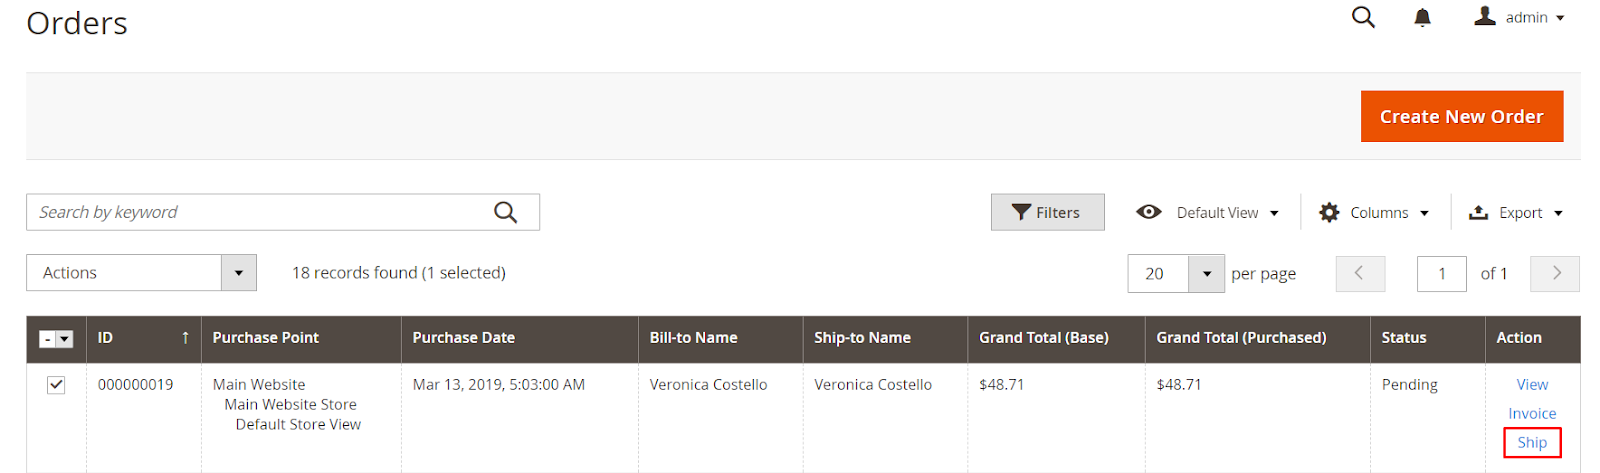
Login to the Magento Admin, choose Sales > Orders
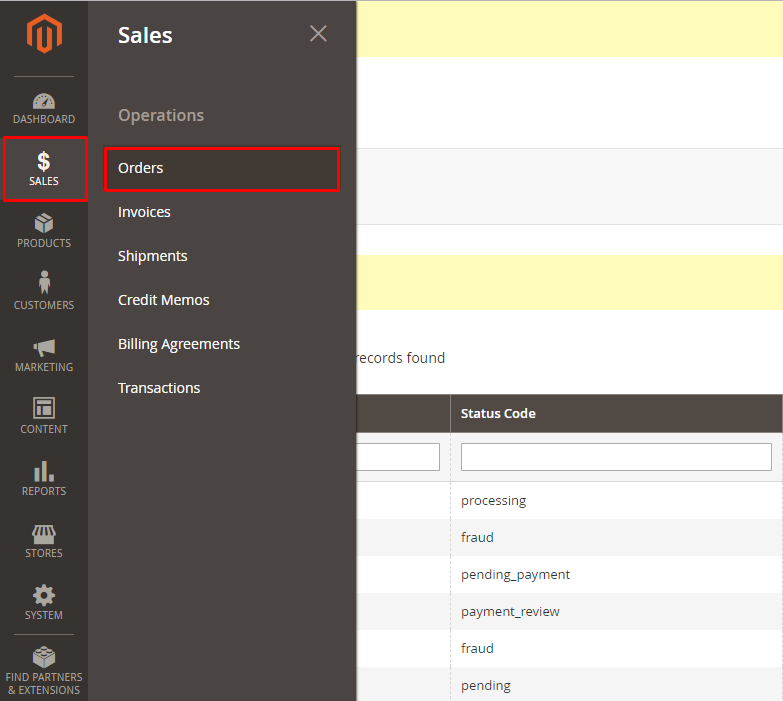
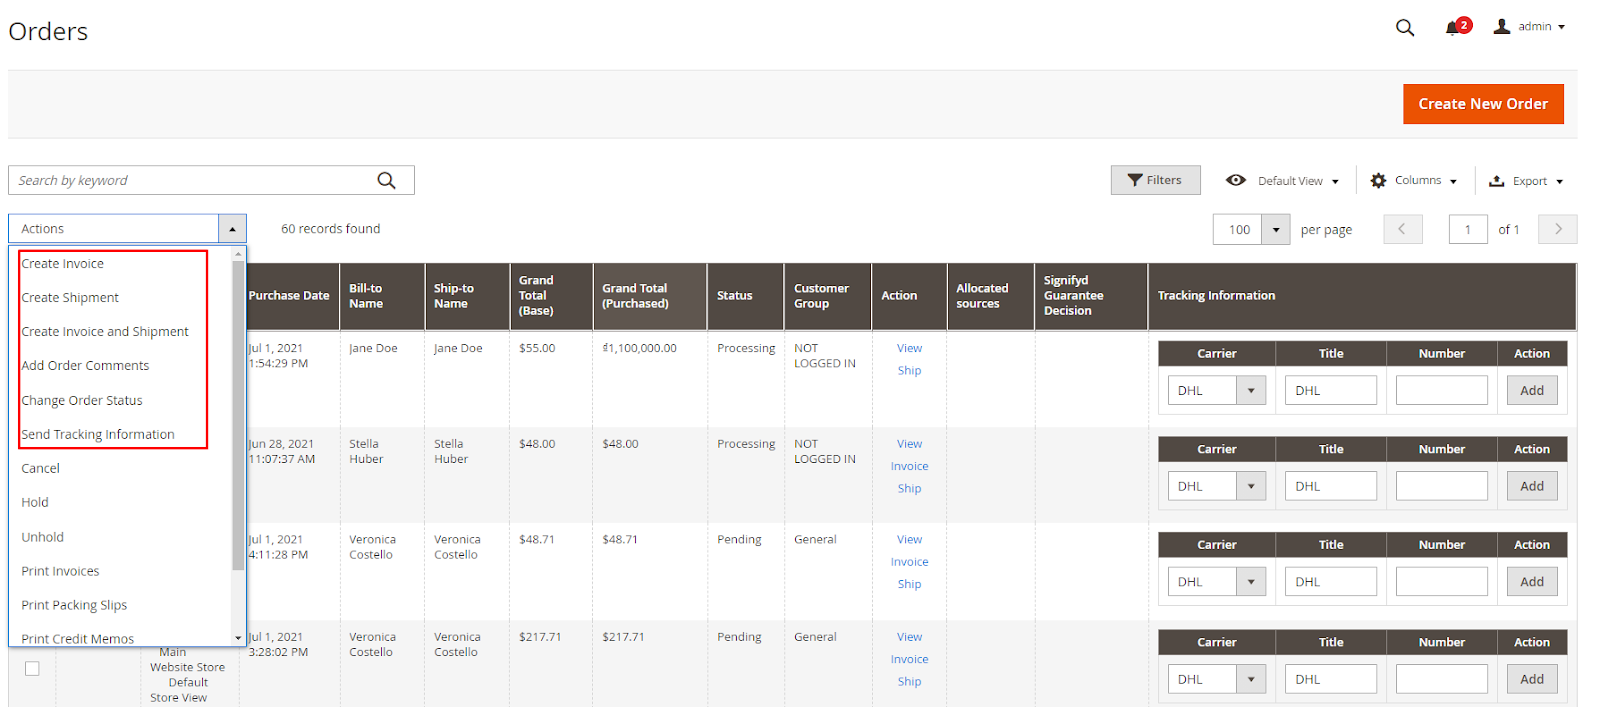
Click Actions, where the actions will display in the Select Actions configuration created at the Configuration section.
2.1. Create Invoice

- Change order status to: Select to change the status display for the invoice.
- Note: If at the Configuration, in the Create Invoice section you have selected the default display status for Invoice, then at Change order status to will display that status.
- Email Copy of Invoice: Select to send a copy of the invoice to the customer via email.
- Invoice Comments: Add a comment for the invoice.
- Append comment: Tick it to display comments on email.
- Note: If you do not select Email Copy of Invoice, the Append Comments checkbox will not allow you to select.
- Select Process to create an invoice
- Select Process & Print to create and print invoices.
- Select Process & Print PDF Invoices to create and print invoices in PDF format.
- Note: PDF Invoice only appears when Admin install extension PDF Invoice.
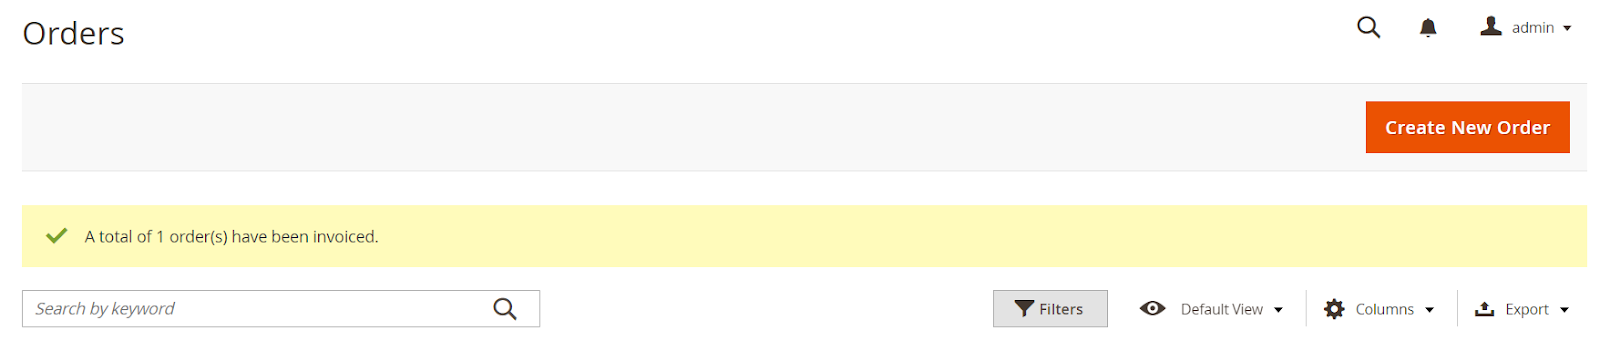
- Show message to notify of creating Invoice successfully:
- Note: You can create an Invoice for Order by: Move the mouse to the Order you want to create an invoice and click Invoice. The next configurations you do as the same as we guided above.
2.2. Create Shipment
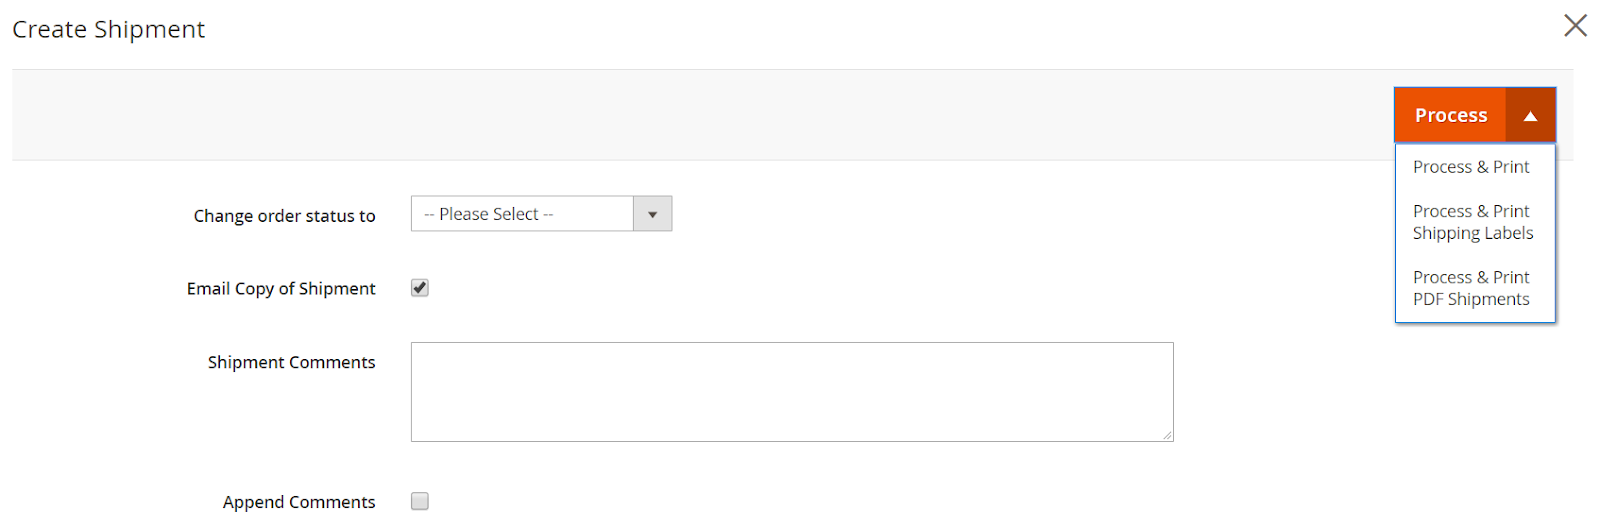
- Change order status to: Select to change the status display for the shipment.
- Note: If at the Configuration, in the Create shipment section you have selected the default display status for shipment, then at Change order status to will display that status.
- Email Copy of Shipment: Select to send a copy of the shipment to the customer via email.
- Shipment Comments: Add a comment for the shipment.
- Append comment: Tick it to display comments on email.
- Note: If you do not select Email Copy of Shipment, the Append Comments checkbox will not allow you to select.
- Add Tracking Number:
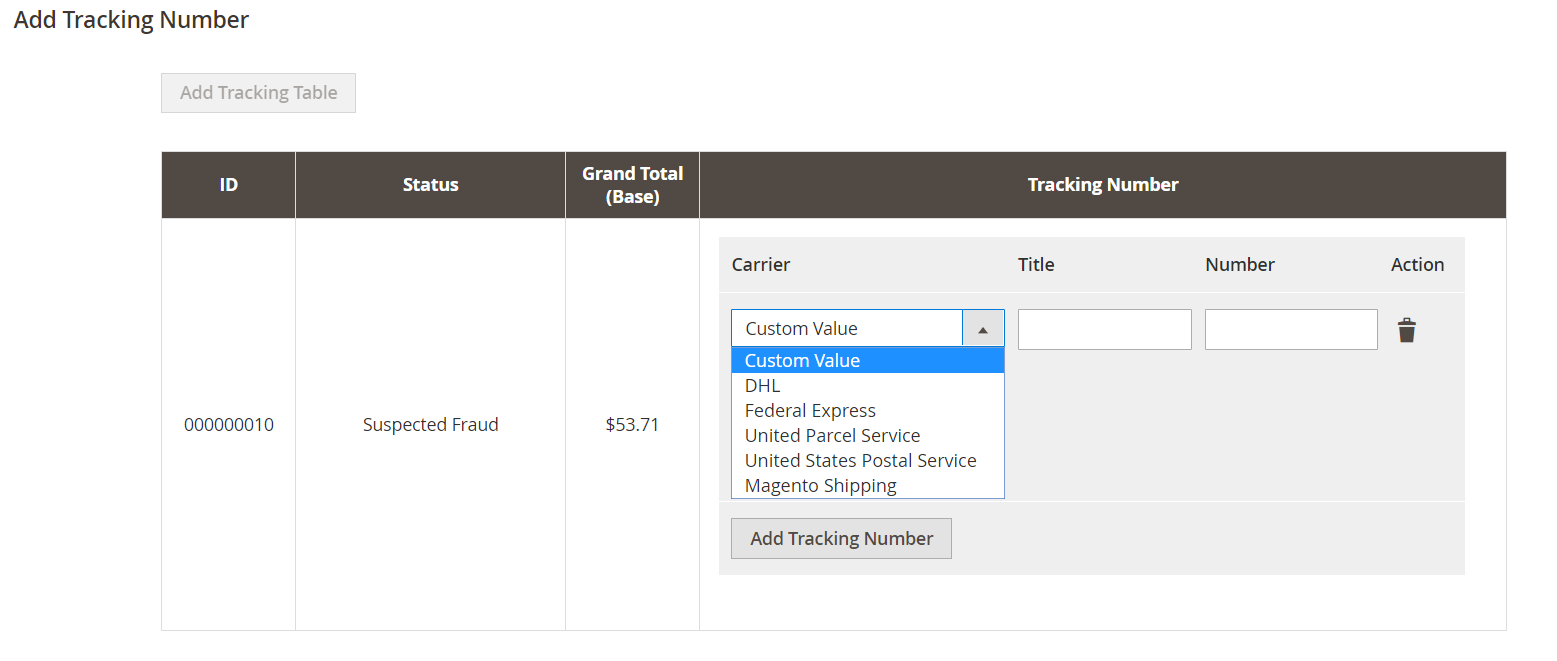
Admin chooses the delivery method for order.
- Select Process to create an shipment method
- Select Process & Print to create and print shipment.
- Select Process & Print Shipping Labels to print shipment labels.
- Note: To create Shipping labels, please see the guide here
- Select Process & Print PDF Shipment to create and print shipmets in PDF format.
- Note: PDF Shipment only appears when Admin install extension PDF Invoice.
- Select Process & Print Shipping Labels to print shipment labels.
- Show message to notify of creating Shipment successfully:
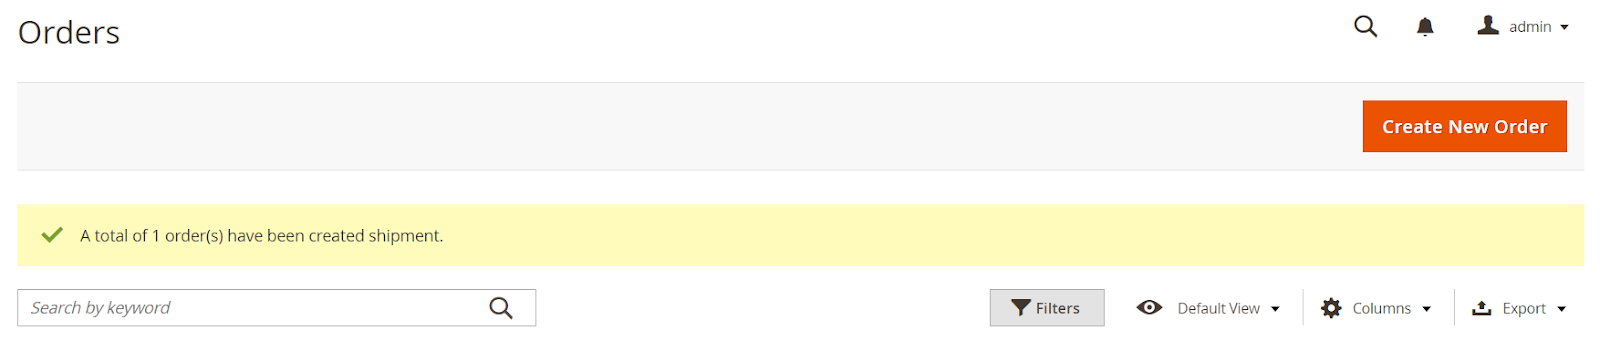
- Note: You can create an Shipment for Order by: Move the mouse to the Order you want to create an invoice and click Ship. The next configurations you do as the same as we guided above.
2.3. Create Invoice and Shipment
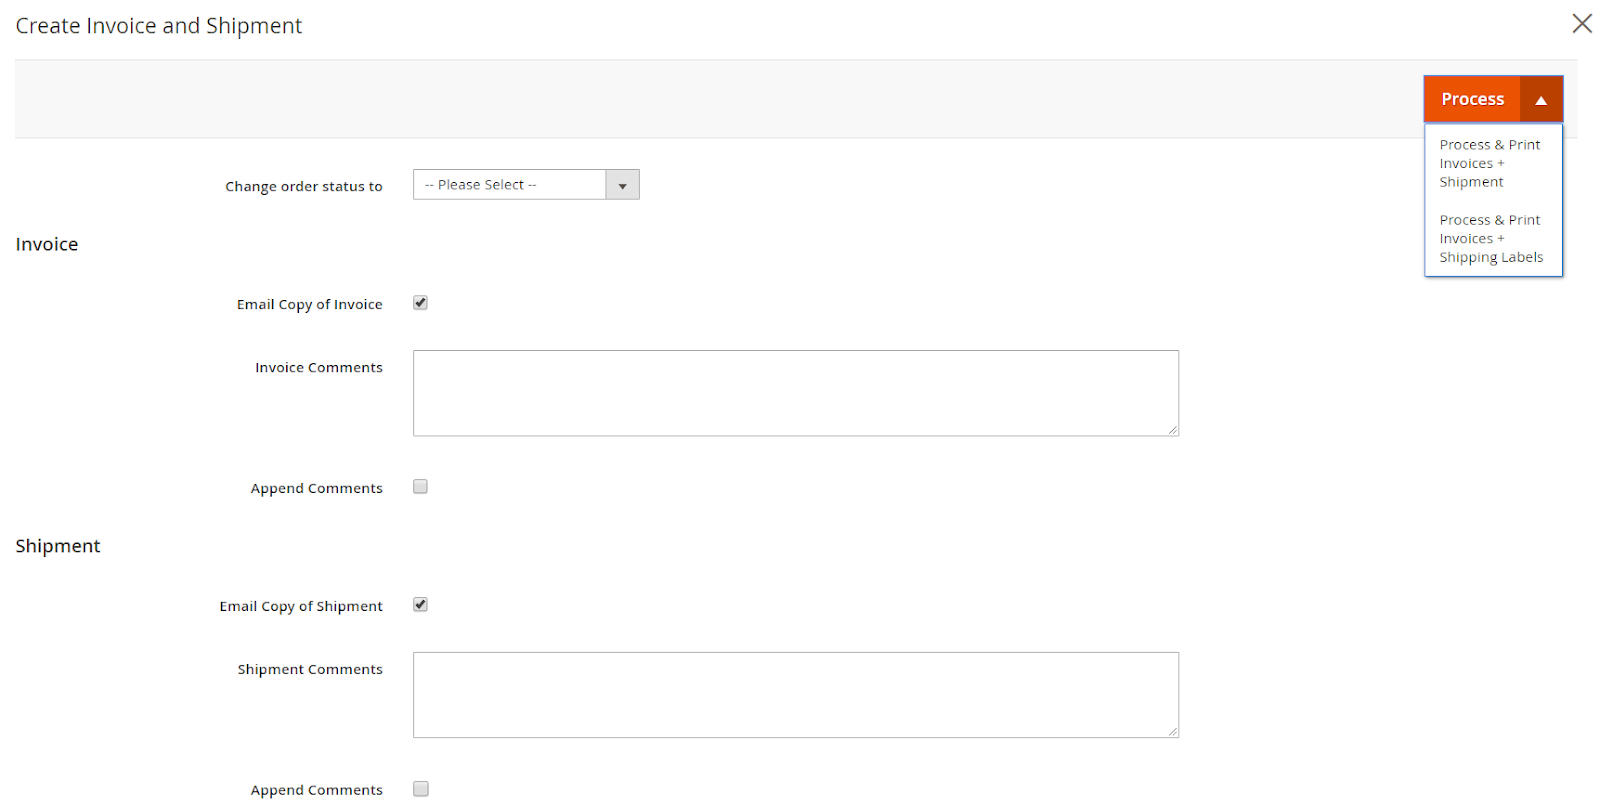
Change order status to: Select to change the order status
Invoice
- Email Copy of Invoice: Select to send a copy of the invoice to the customer via email.
- Invoice Comments: Add a comment for the invoice.
- Append comment: Tick it to display comments on email.
- Note: If you do not select Email Copy of Invoice, the Append Comments checkbox will not allow you to select.
Shipment
- Email Copy of Shipment: Select to send a copy of the shipment to the customer via email.
- Shipment Comments: Add a comment for the shipment.
- Append comment: Tick it to display comments on email.
- Note: If you do not select Email Copy of Shipment, the Append Comments checkbox will not allow you to select.
- Add Tracking Number:
Admin selects the shipment method for order
- Select Process to create invoices and shipping
- Select Process & Print Invoices + Shipment: create, print invoices and print shipping methods.
- Select Process & Print Invoices + Shipping Labels: create, print invoices and print shipping labels.
- To create Shipping Labels, you can refer here.
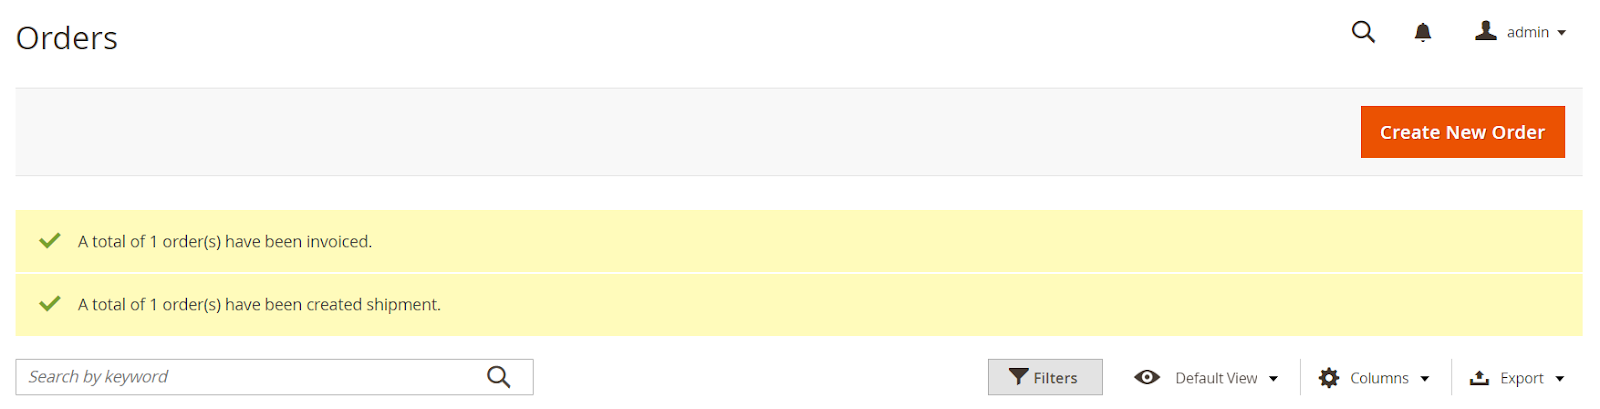
- The message displays successful generating of Invoice and Shipment
2.4. Add Order Comments
- Change order status to: Select to change the invoice status display.
- Comment: Add a comment for the invoice.
- Send Email to Customer: Select to send email to customers.
- Visible on Store Front: Select to allow displaying comments on the store.
- Select Submit Comment to create a comment.
- Display message Add comment successfully:
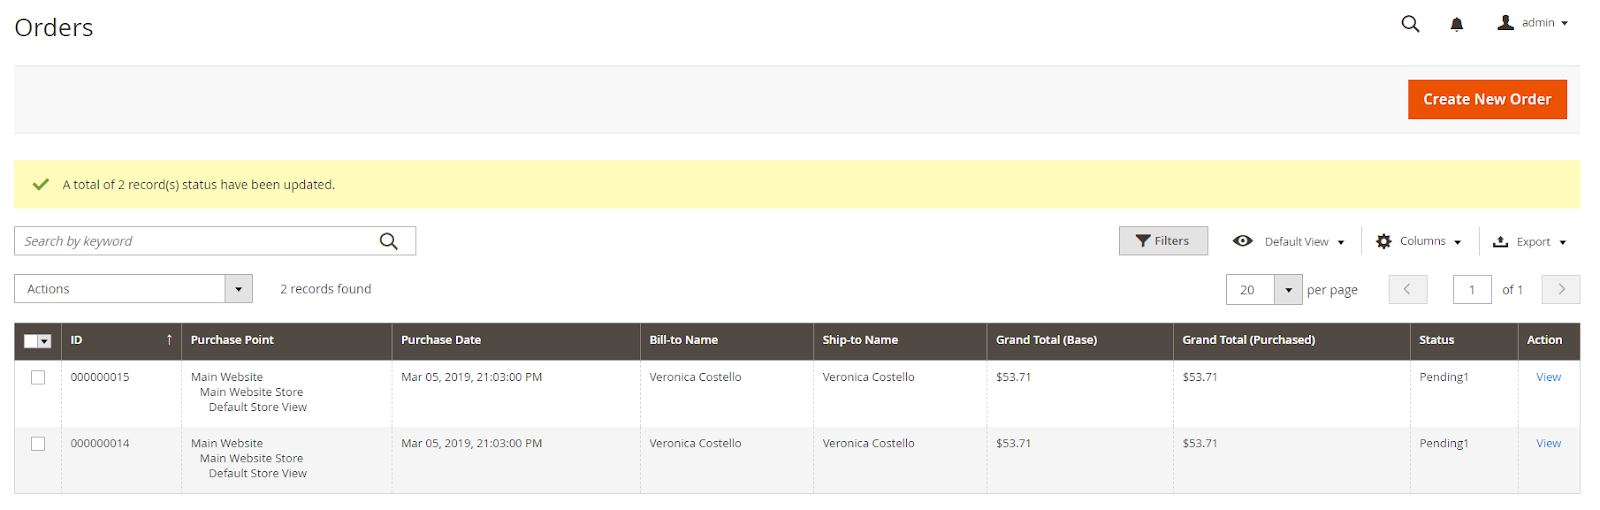
2.5. Change Orders Status
- Admin select to change the status of Orders.
- Admin can select multiple orders to change to the same status and not allowed to select multiple statuses for one order.
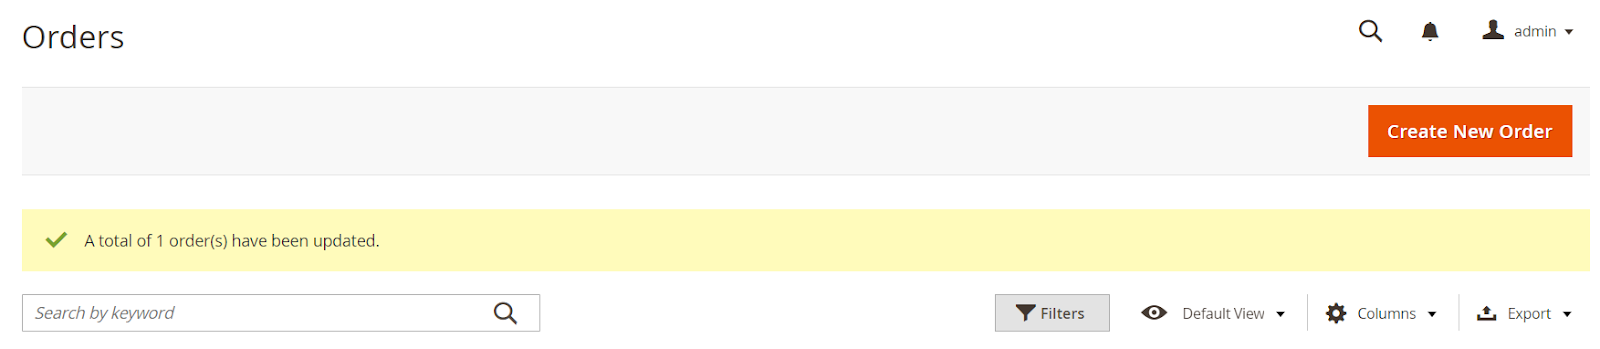
- Notice of changign status successfully:
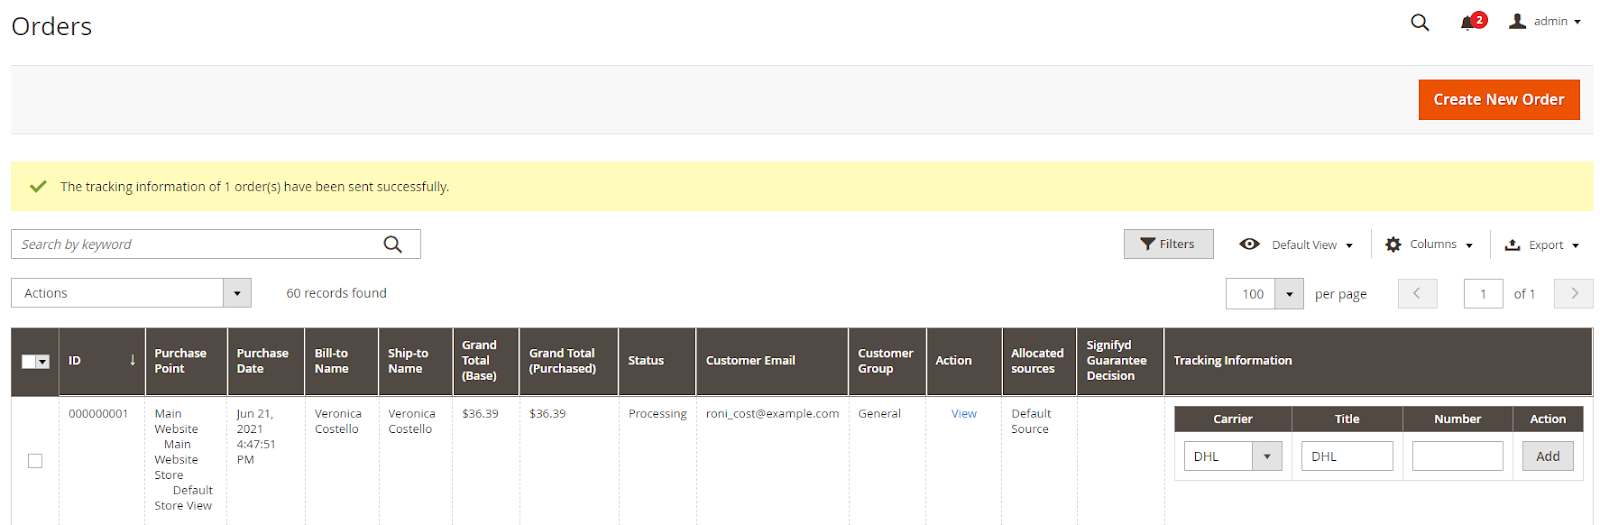
2.6. Send Tracking Information
- Admins can send Tracking Information right from the Order grid by ticking on the checkbox of the desired order. Go to mass actions, select Send Tracking Information
- Admins can send tracking information of multiple orders at once
- Here is the success notification of Send Tracking Information

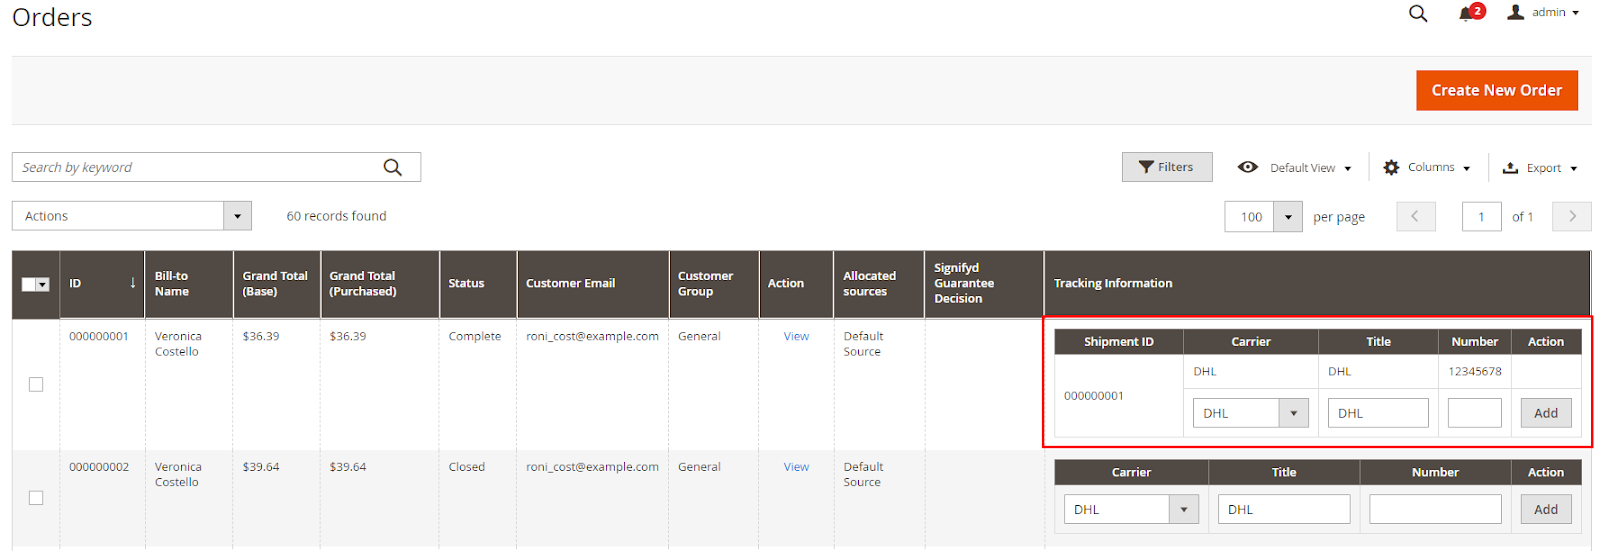
Order grid > Tracking Information
- Carrier: select a value from the droplist
- Type in the value for Title and Number
- Action: click on Add button to add tracking information
2.7. Add Tracking Number In Order Grid
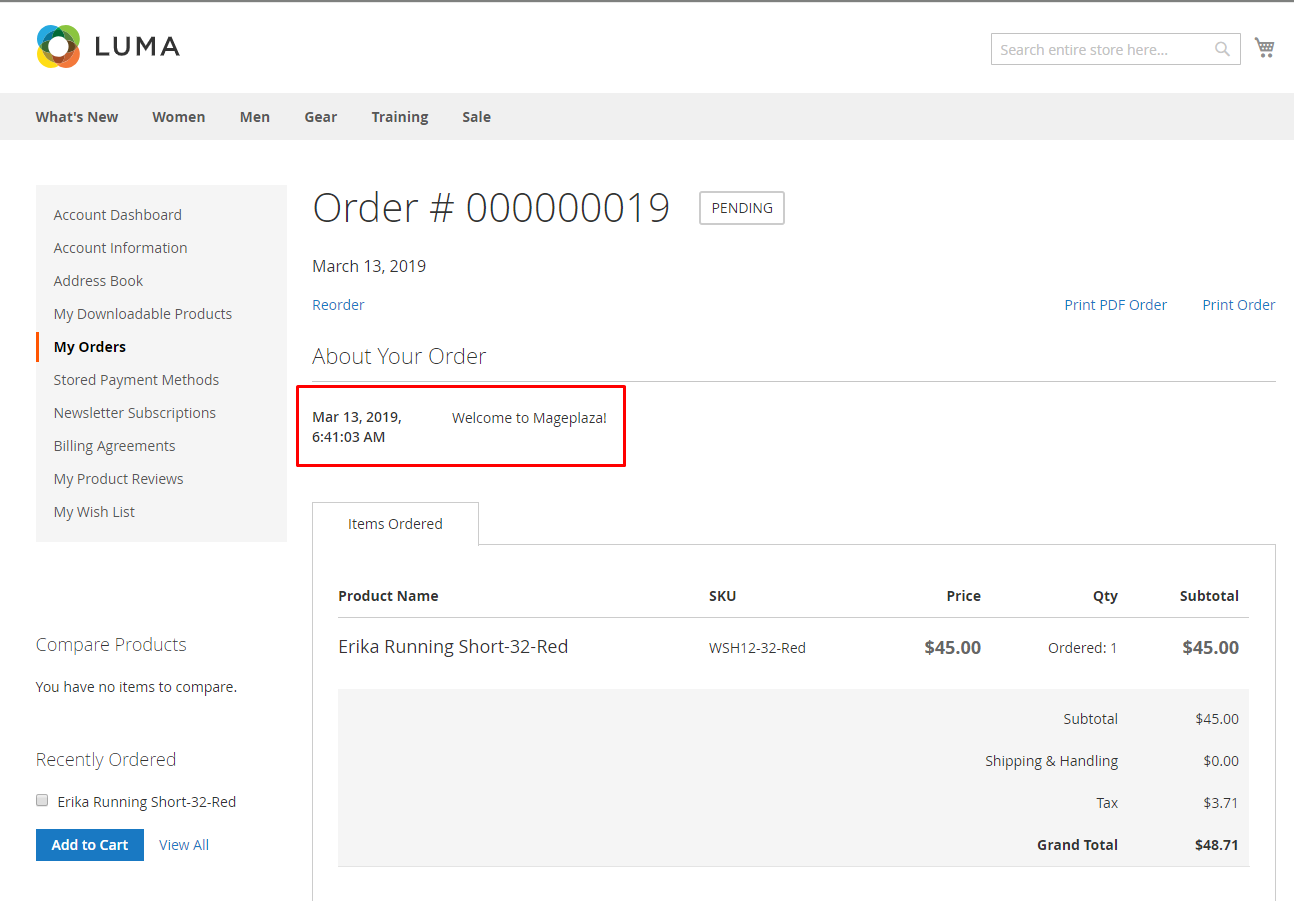
III. Frontend
3.1. Display Comments
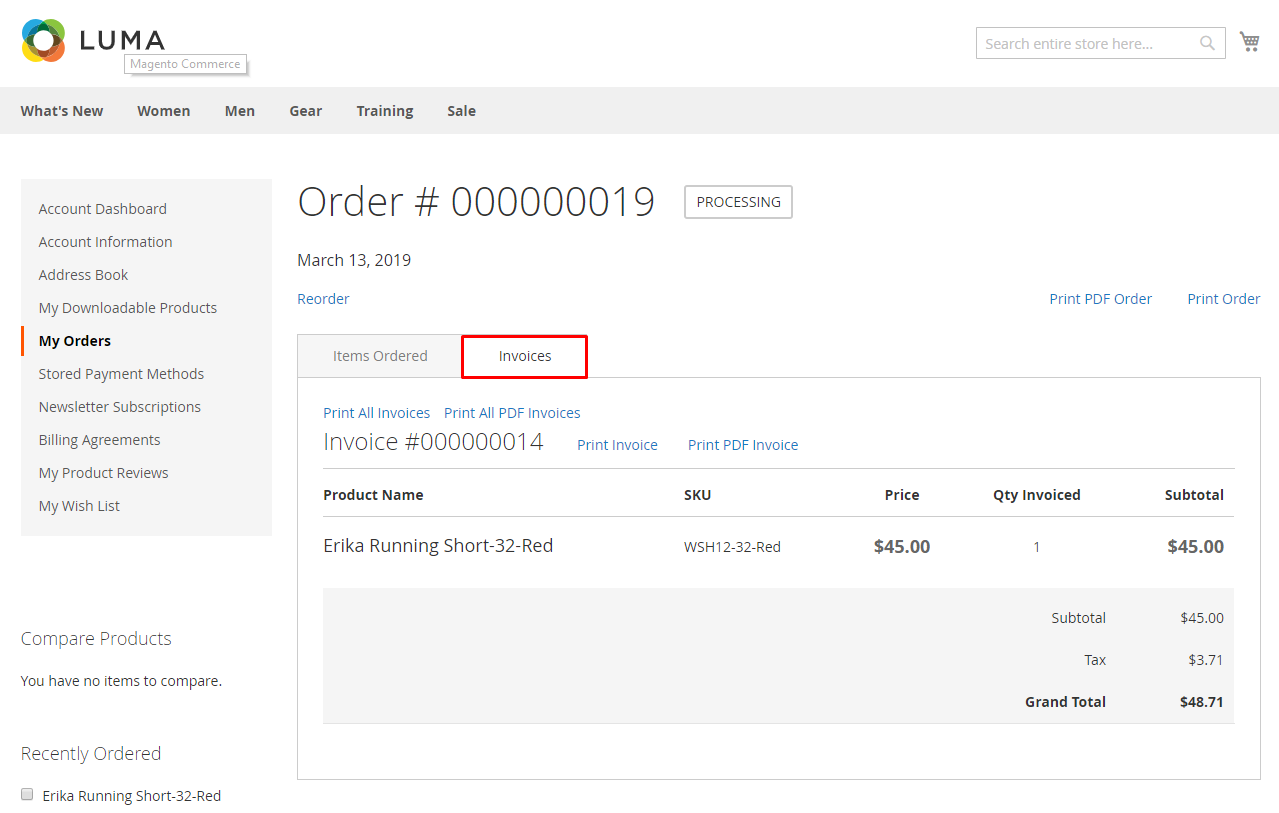
3.2. Display Invoice
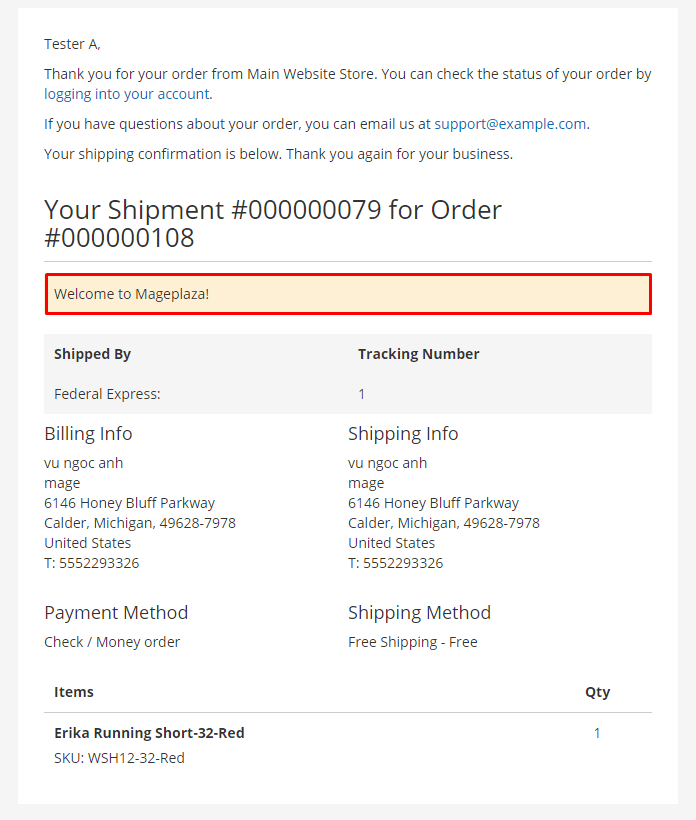
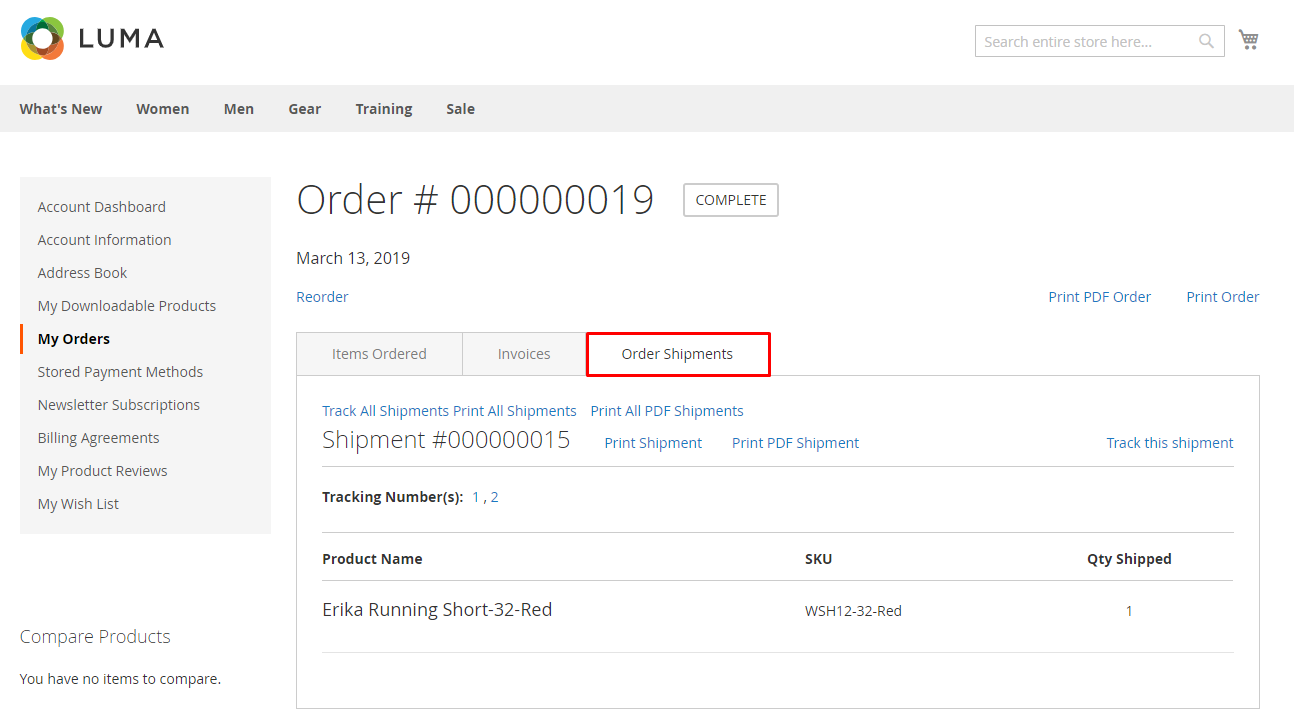
3.3. Display Shipment
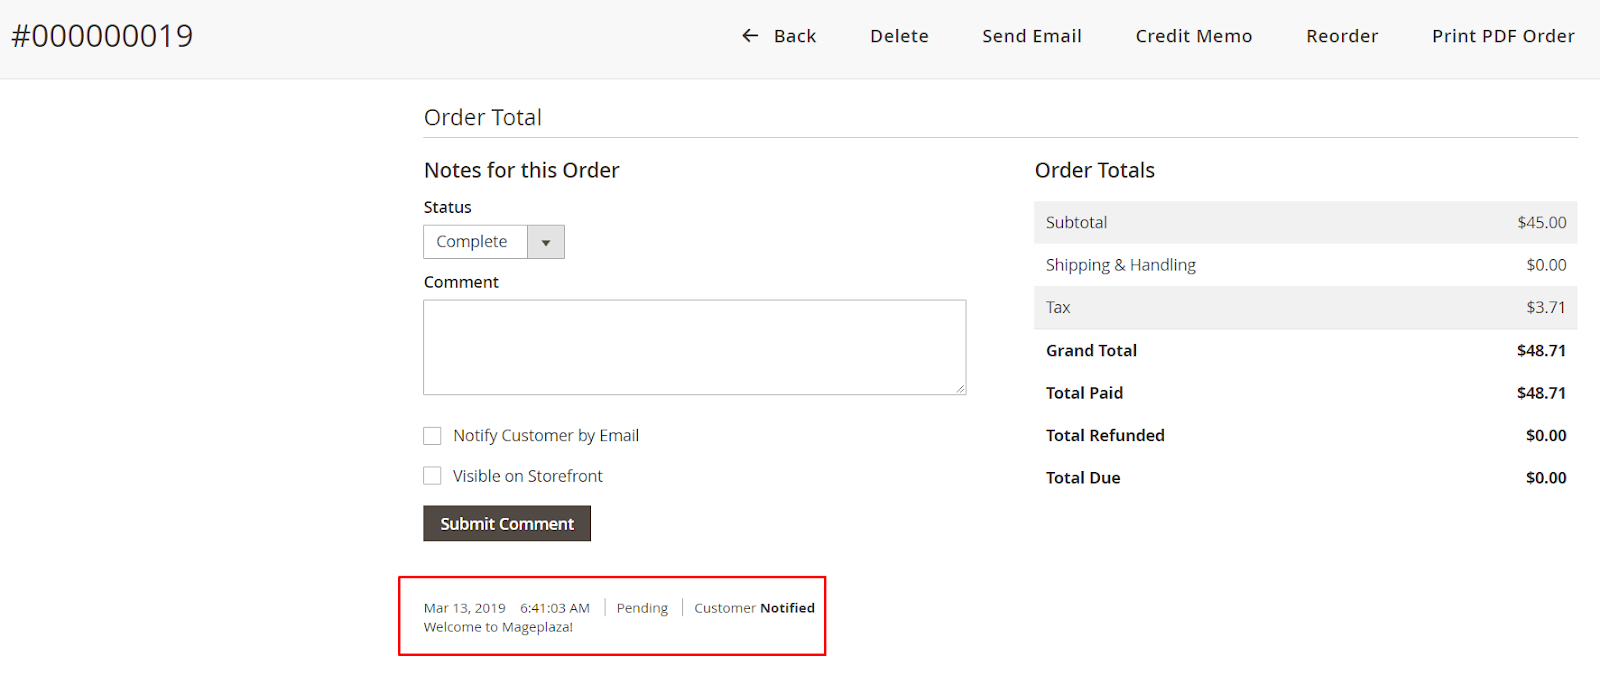
IV. Backend
4.1. Display Comments
4.2. Display Tracking Information in Order grid
V. Email
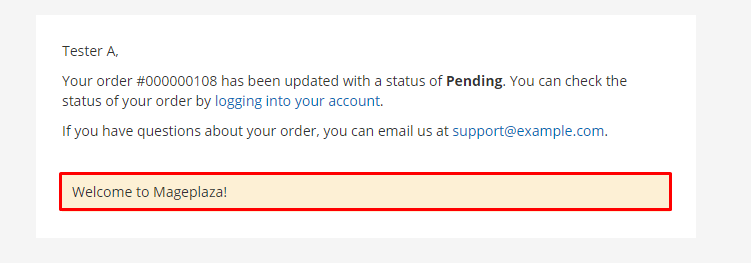
5.1. Display Comments
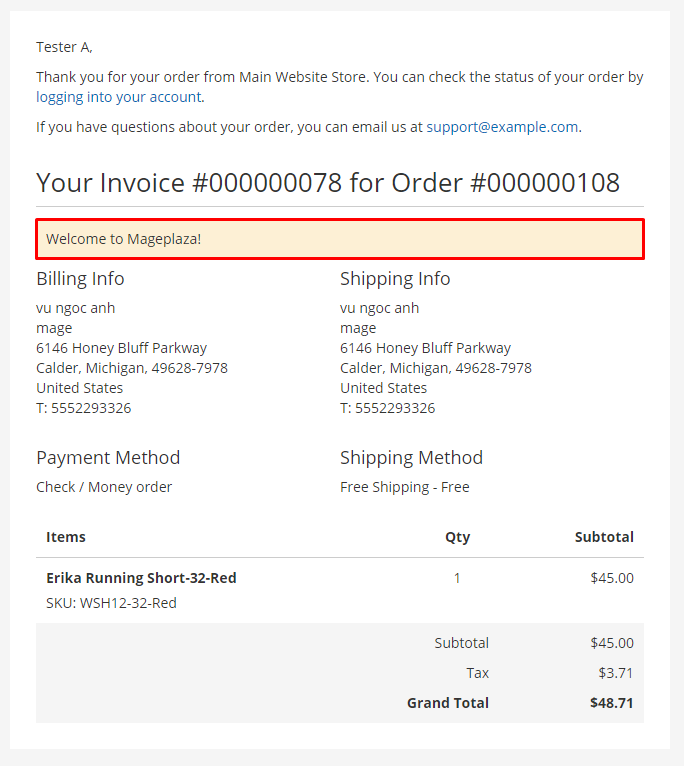
5.2. Display Invoice
5.3. Display Shipment