Magento 2 Import Export Categories
Overview Import/Export Categories
Currently, stores use e-commerce sites more and more, thus shop owners must cooperate with suppliers to add categories pages to their stores. With Mageplaza Import Export Categories extension, customers can perform import and export of their categories. By this, admins can easily manage products by categories, update new categories quickly hence help them lessen time and increase the efficiency of product data management.
How to download and install Magento 2 Import Export Categories
How to Configure Magento 2 Import Export Categories
1. Import Categories
Step 1: Prepare data
Login to the Magento Admin, choose System> Import
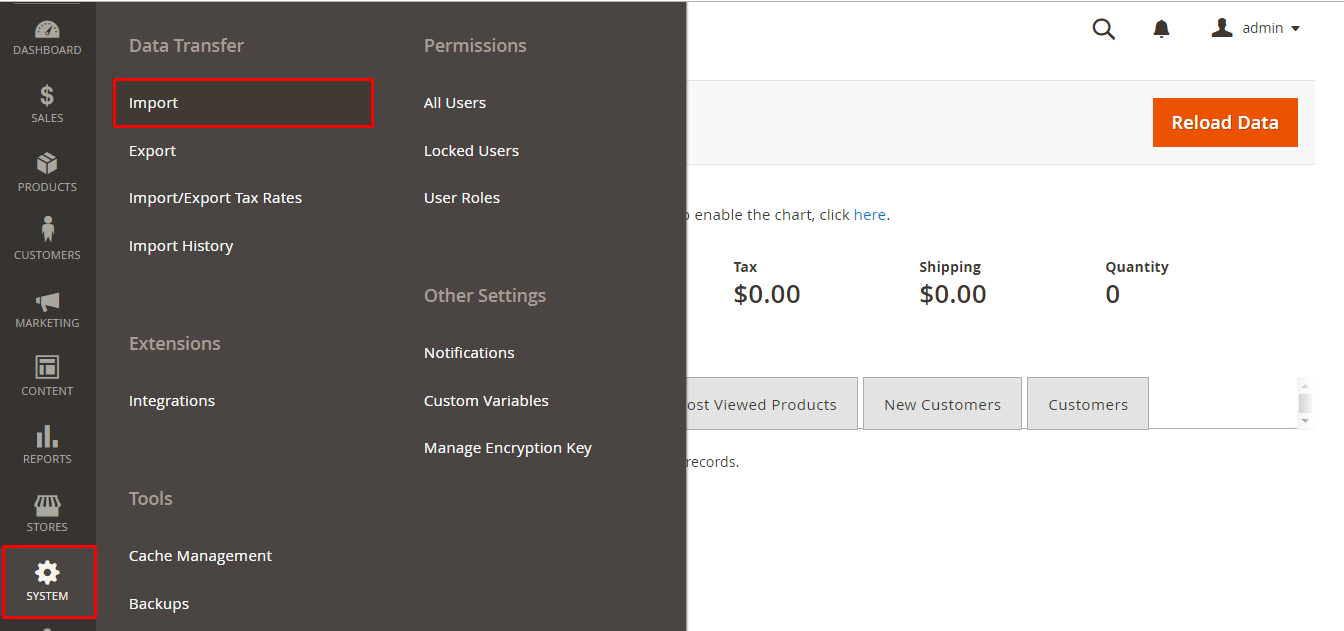
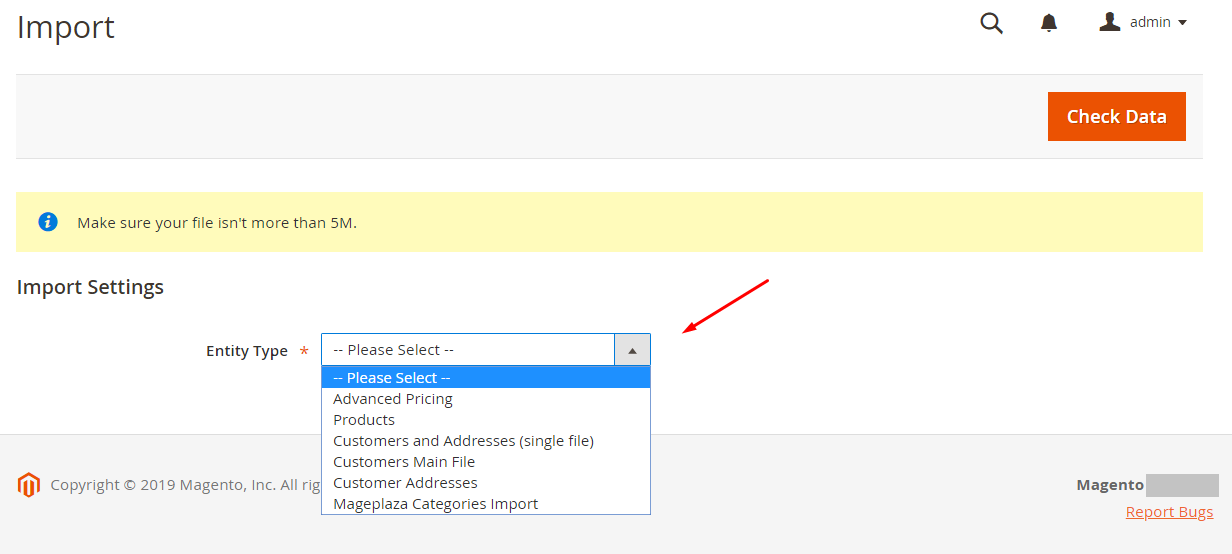
- In the Import Settings section, select Entity Type = Mageplaza Categories Import and click Download Sample File to download the file. We support the imported file type as CSV.
- Make sure that the input file size isn't more than 5M.
- Edit the information you want to import in the template file

Step 2: Configure Import Behavior
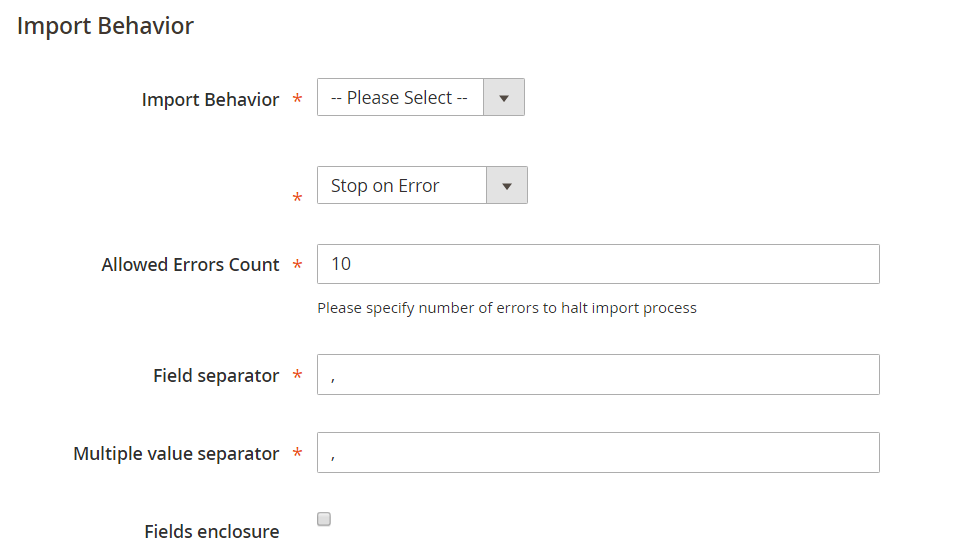
- In the Import Behavior section,
- Select the action you want when importing data:
- Add/Update
- Replace
- Delete
- The data stream is compared and executed based on the identify action of each categories imported
- With the option Stop on Error means to stop importing when you get an error or Skip Error Entries is to ignore the error and continue importing.
- Select the action you want when importing data:
- Next, in the Allowed Errors Count field, enter the error number to pause the import process. The default value is 10.
- Field separator:
- Field separator: Enter a marker to separate the fields in the column. Default value is a comma (,)
- Multiple value separator: Enter the mark to separate multiple values in the cell of 1 column. Default value is a comma (,)
- Note: In a CSV file, a comma is the default delimiter. To use a different character, make sure that the data in the CSV file matches the character you choose.
- Fields enclosure: Click the checkbox to enclose the value in the column. The default value is apostrophe (")
- Note: If you want Replace or Delete, please enter the correct category_id of the category to be able to perform your action.
Step 3: Select File to Import
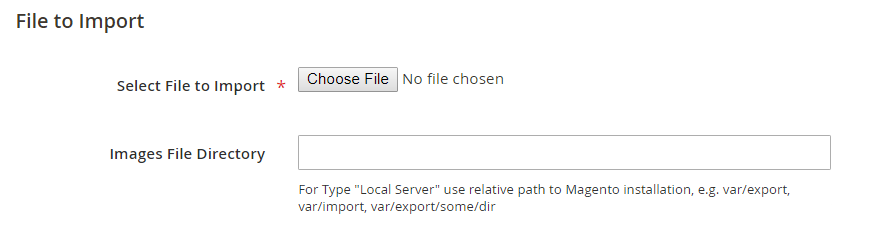
- In the Select File to Import section, click Choose File to select the imported categories file.
- Note: If Entity File = Mageplaza Categories Import then your entity file must be matched with the fields in that file. The file format is CSV.
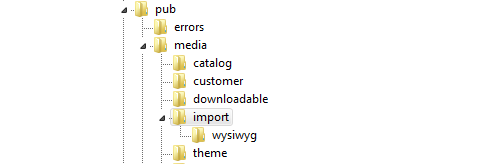
- If the imported files contains a path to the product image, in case the Images File Directory is empty, include your image in the directory with the path:
pub/media/import/wysiwyg(if not available, you need to create this folder)
Step 4: Check data and finish data entry
- After entering the above information, click Check Data at the top right to check if the data you entered is correct.
- If the file is valid, click Import in the Validation Results section.

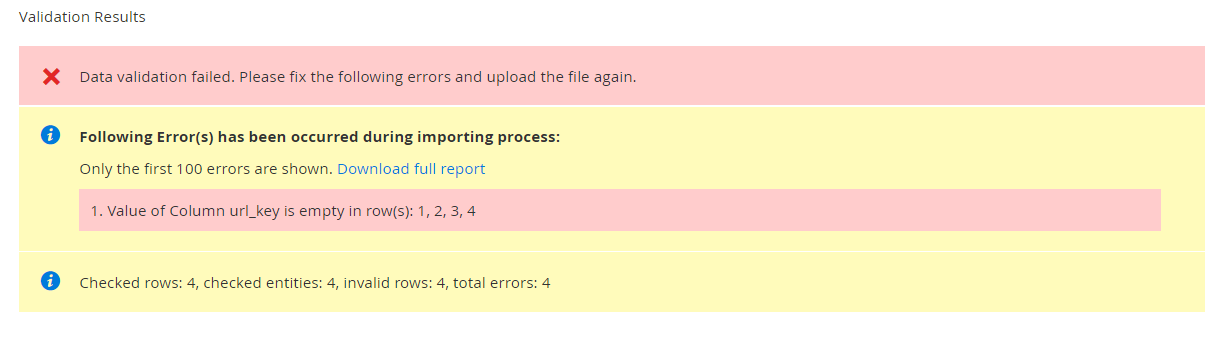
Otherwise, if the upload file is invalid or your process is wrong, correct the error reported in the message and try again.
Examples of displaying error messages when entering data incorrectly:
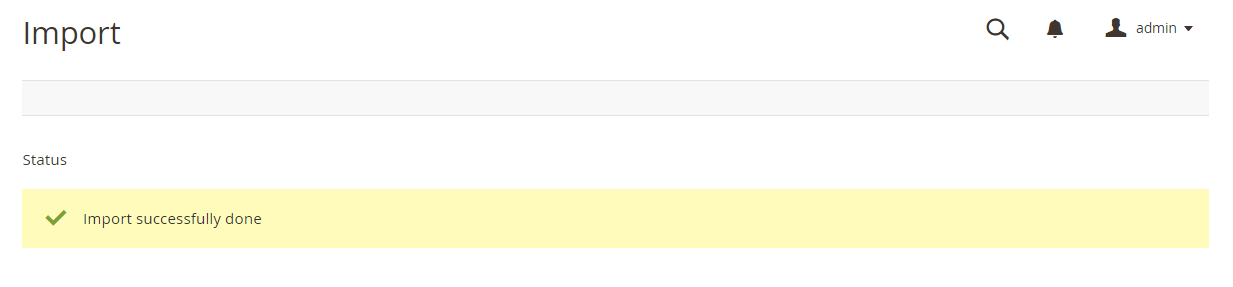
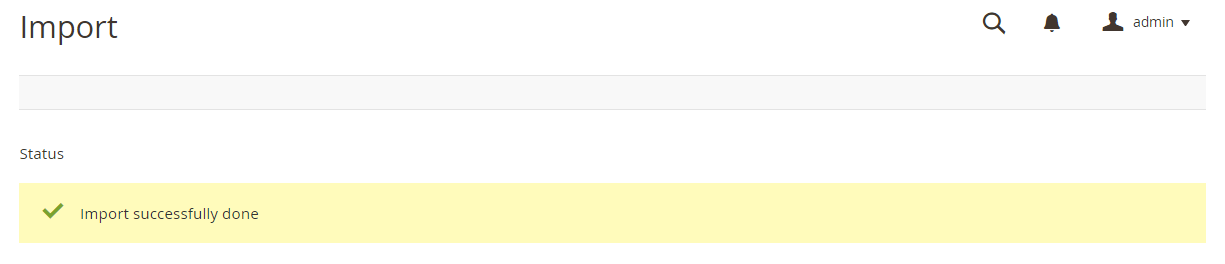
When the import process is complete, the system displays your successful message.
2. Export Categories
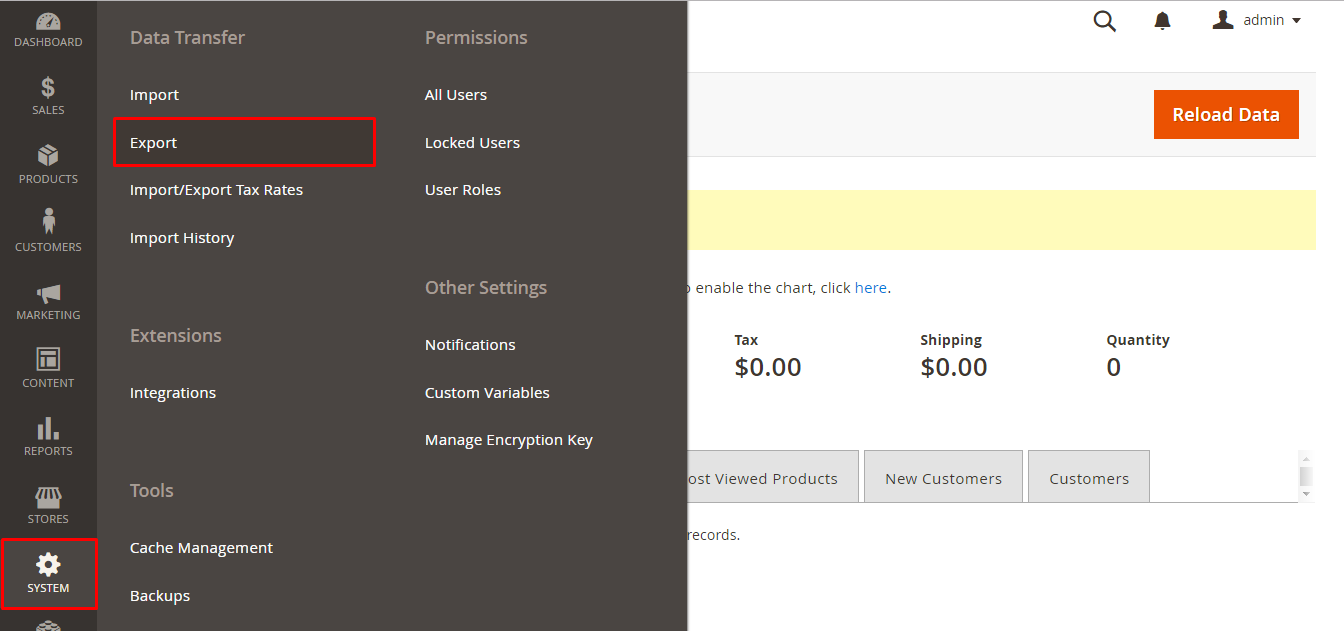
Login to the Magento Admin, choose System > Export
Step 1: Prepare to export product data
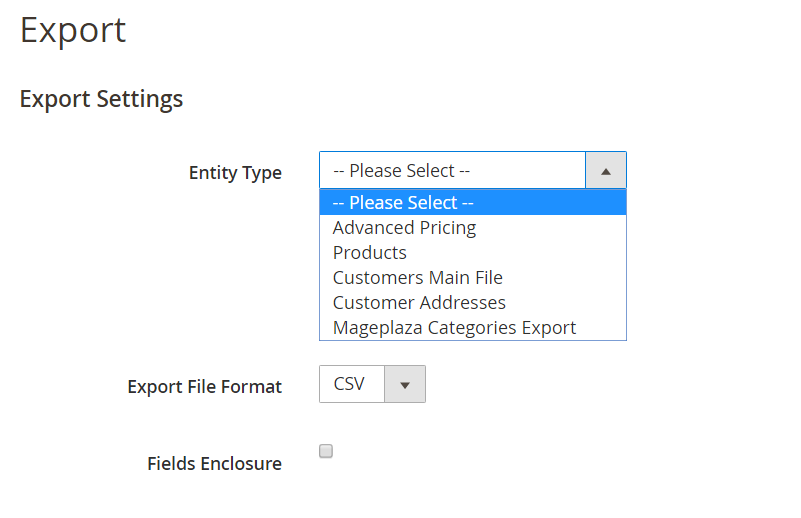
- In the Export Settings section, select Entity Type = Mageplaza Categories Export to start exporting your categories.
- Set the file format when exporting at Export File Format, select CSV.
- Fields enclosure: Click the checkbox to enclose the value in the column. The default value is apostrophe (")
Step 2: Configure export data
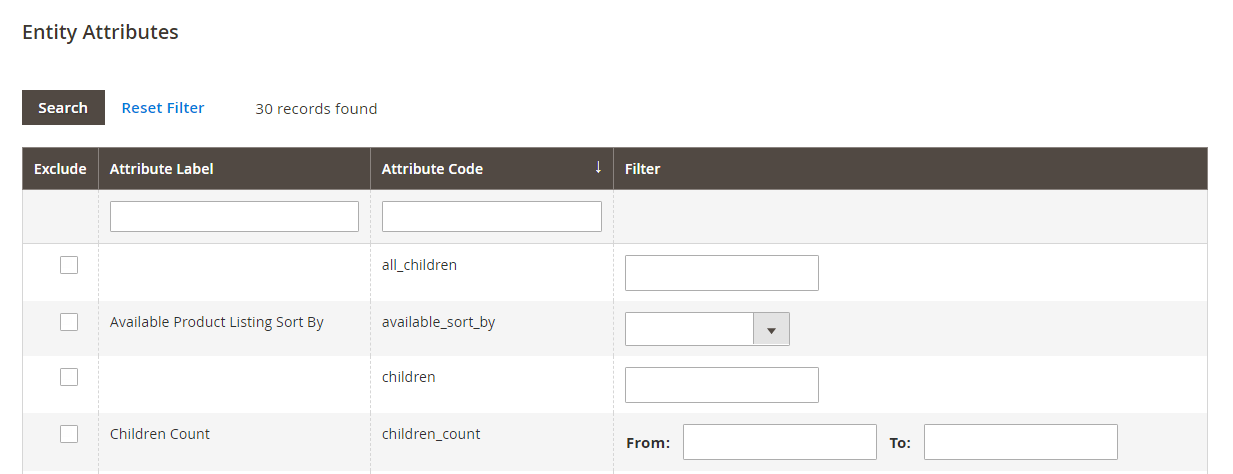
After completing step 1, the Entity Attributes section will appear, listing all the properties available in alphabetical order.
To search for categories categories by category or category codes, enter the label/code in the Attribute Label/Attribute Code then click the Search button.
- To export only records with specific attribute values, enter the value in the Filter column.
- To not export properties, click the checkbox in the Exclude column.
Step 3: Export your data and open the CSV file to view
- After completing Entity Attributes, please scroll down and click Continue on the lower left corner of the page to perform the file export action.
- When prompted, click Save to save the exported file.
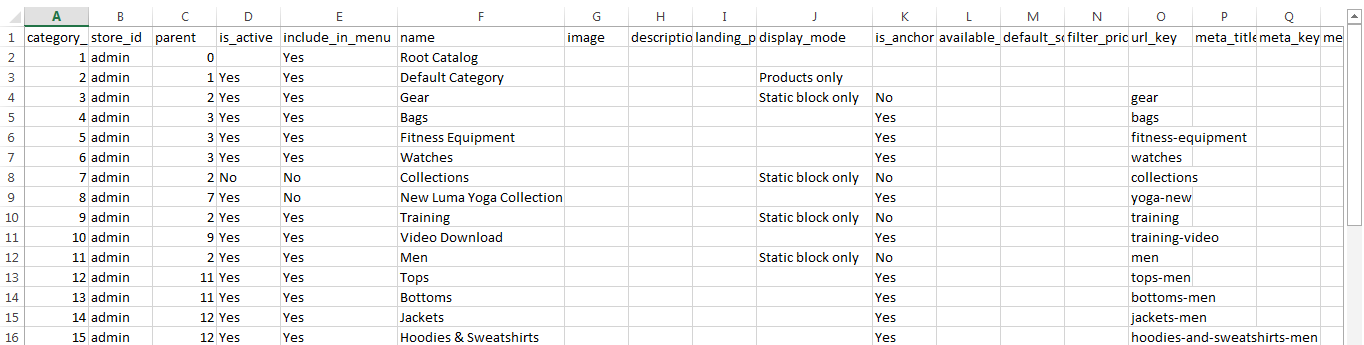
- Open the CSV file to view or edit the imported data.
Note: In case you want to get the Export file to import, pay attention to the following cases:
- Incase you need to change some of the export fields before you want to perform Import such as store_id, parent, is_active, include_in_menu
- Store_id: In the Export file, the value of the fields is admin when you import it to "0".
- Parent: Notice that the value parent cannot be the same as the value of category_id.
- Is_active: In the Export file, the value of the fields is Yes/No when you import it to change to 1/0.
- Include_in_menu: In the Export file, the value of the fields is Yes/No when you import it into 1/0.
- If you have done Import and still have the following error, follow these steps.

In the Export file, drag to the right to find and delete the column "attribute_set_id", "parent_id", "path", "product_count"
- Notice of successful import: