Image Optimizer
Overview
Do you want your website' s images to have the best quality with optimal size and still ensure the high loading speed? With Image Optimizer extension of Mageplaza, it is definitely possible. The module supports online stores to manually or auto optimize images after a certain time. Also, it can backup the original image, optimize the size and image quality by folder. And in particular, you can optimize images through the server and use commands to optimize each image or all photos quickly and conveniently.
Mageplaza WebP Image Optimizer extension is fully compatible with Mageplaza Cron Schedule to support automatic scan, backup original photos and optimize images in the most convenient and fast way.
How to download and install
How to Configure
1. Configuration
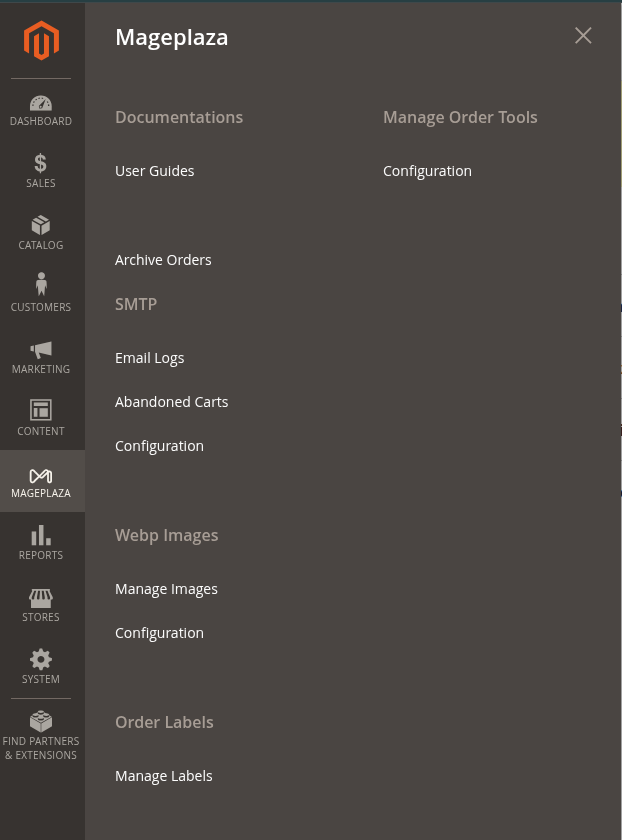
Login to the Admin Magento, choose Stores > Webp Images > Configuration
1.1. General
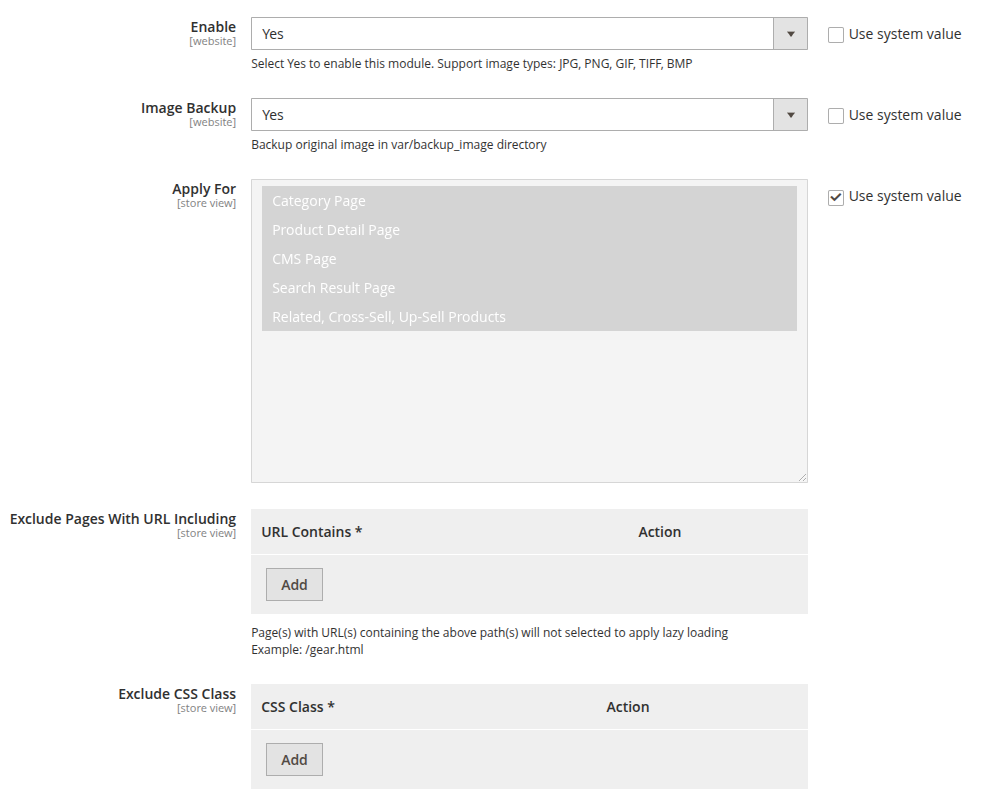
- Enable: Select Yes to use the module features. Support image types: JPG, PNG, GIF, TIF, BMP.
- Backup Image: If Yes is selected, the original image will be backed up at
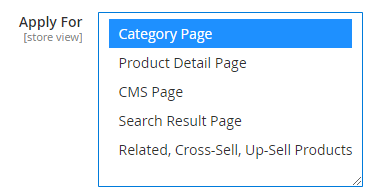
var/ backup_imagedirectory before being optimized. - Apply For: Select pages to apply lazy loading. You can select one or multiple pages at the same time.
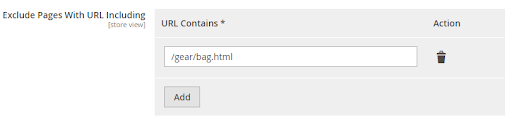
- Exclude Pages With URL Including: Click Add button to enter the path of the page that you do not want to apply lazy loading. Pages with URLs entered in this field will not apply lazy loading. Click Delete icon to delete the path you have just entered.
- Example:
- Exclude Css Class: Click Add button to enter the class name containing the image that you do not want to apply Lazy Loading. Click Delete icon to delete the class name just entered.
- Example:
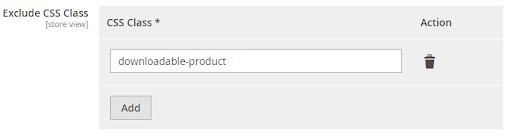
<img class = "downloadable-product" src = "lifelong.jpg">. Images of the "downloadable-product" class will not apply lazy loading.
- Exclude Text: Click the Add button to enter the title or alt of the Image tag. Images with the tags that contain the text entered do not apply lazy loading.
- Example:
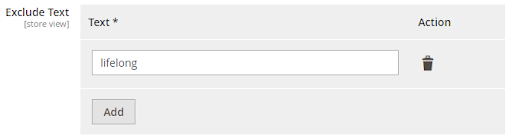
<img title = "lifelong" src = "download.jpg"> or <img name = "lifelong" src = "product.jpg">. When filling in "lifelong", this image will not apply lazy loading.
Loading Threshold: Set the distance from the screen to the product image to process lazy loading. Products in the threshold range will still load without scrolling.
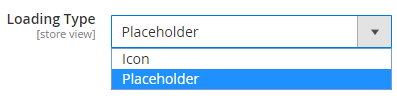
Loading Type: Select the lazy loading processing effect.
Icon: Process lazy loading with Icon. Show more fields:
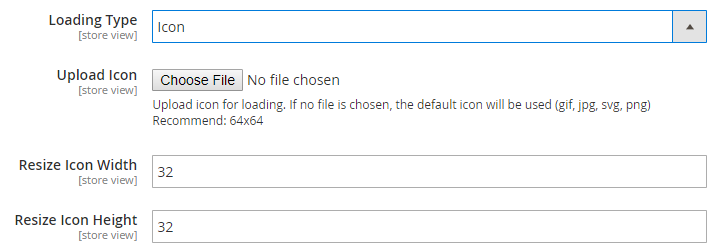
- Upload Icon: Click the Choose File button to select the image you want to display during lazy loading processing. If left blank, the default icon will be displayed. Click Delete Image button to delete the selected image.
- NOTE: Only support files in the format: gif, png, jpg, svg.
- Resize Icon Width: Enter the width of the image displayed when processing lazy loading. The default value is 64px.
- Resize Icon Height: Enter the height of the displayed image when processing lazy loading. The default value is 64px.
Placeholder: Processing the lazy loading with the placeholder. Show additional Placeholder Type field with the following options:
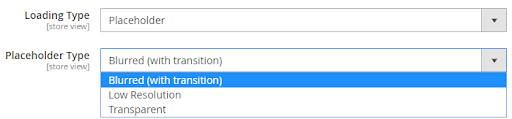
Blurred: Product image is blurred during processing of lazy loading.

Low Resolution: Product image quality is reduced during lazy loading processing.

Transparent: Display transparent images during lazy loading processing.
1.2. Optimize Options
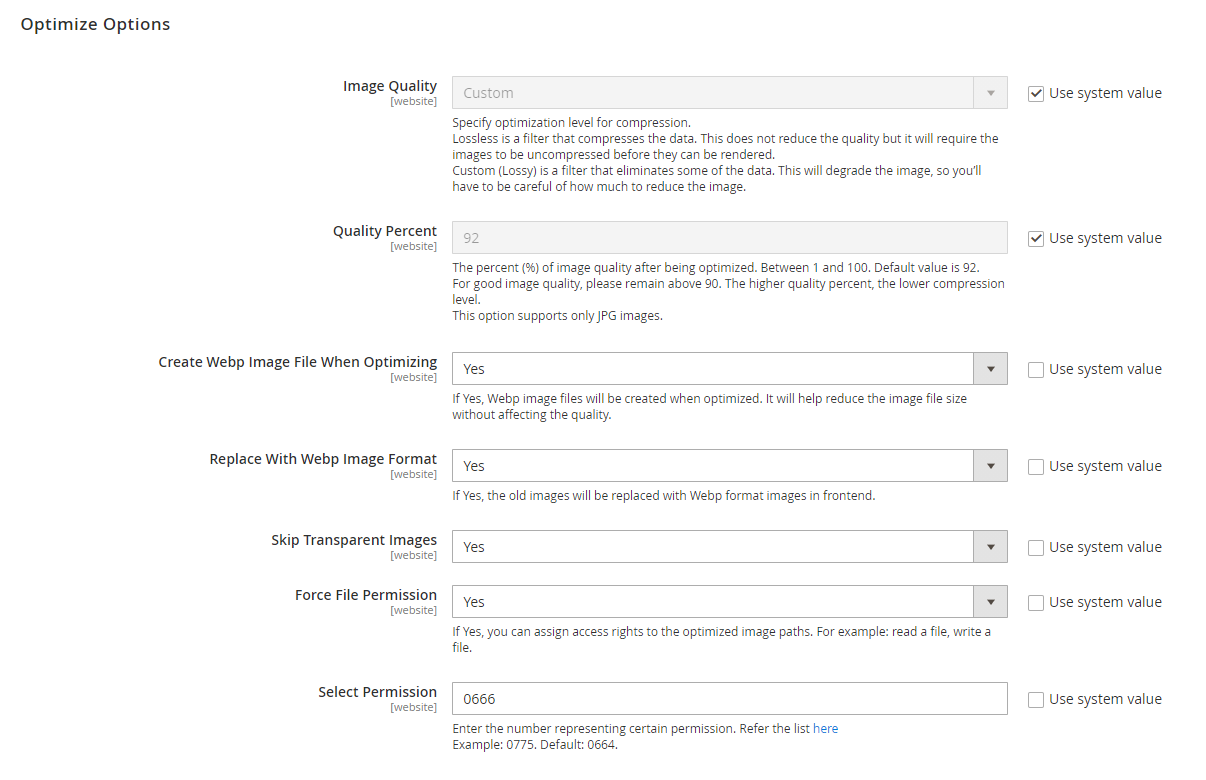
Image Quality: select the image optimization level, including 2 types:
Custom: a filter which help to remove some data. Noted that this will reduce the image quality so you should be careful with the level of image quality reduction as the image can be blurry and unclear. Choosing Custom will show more fields:
- **Quality Percent**: Enter the percent in the **Quality percent** field which will be limited between 1 and 100. For good image quality, please maintain quality above 90. If left blank, default value is 92.Lossless: is a data compression filter. This does not reduce image quality but it will require uncompressed images before they can be rendered.
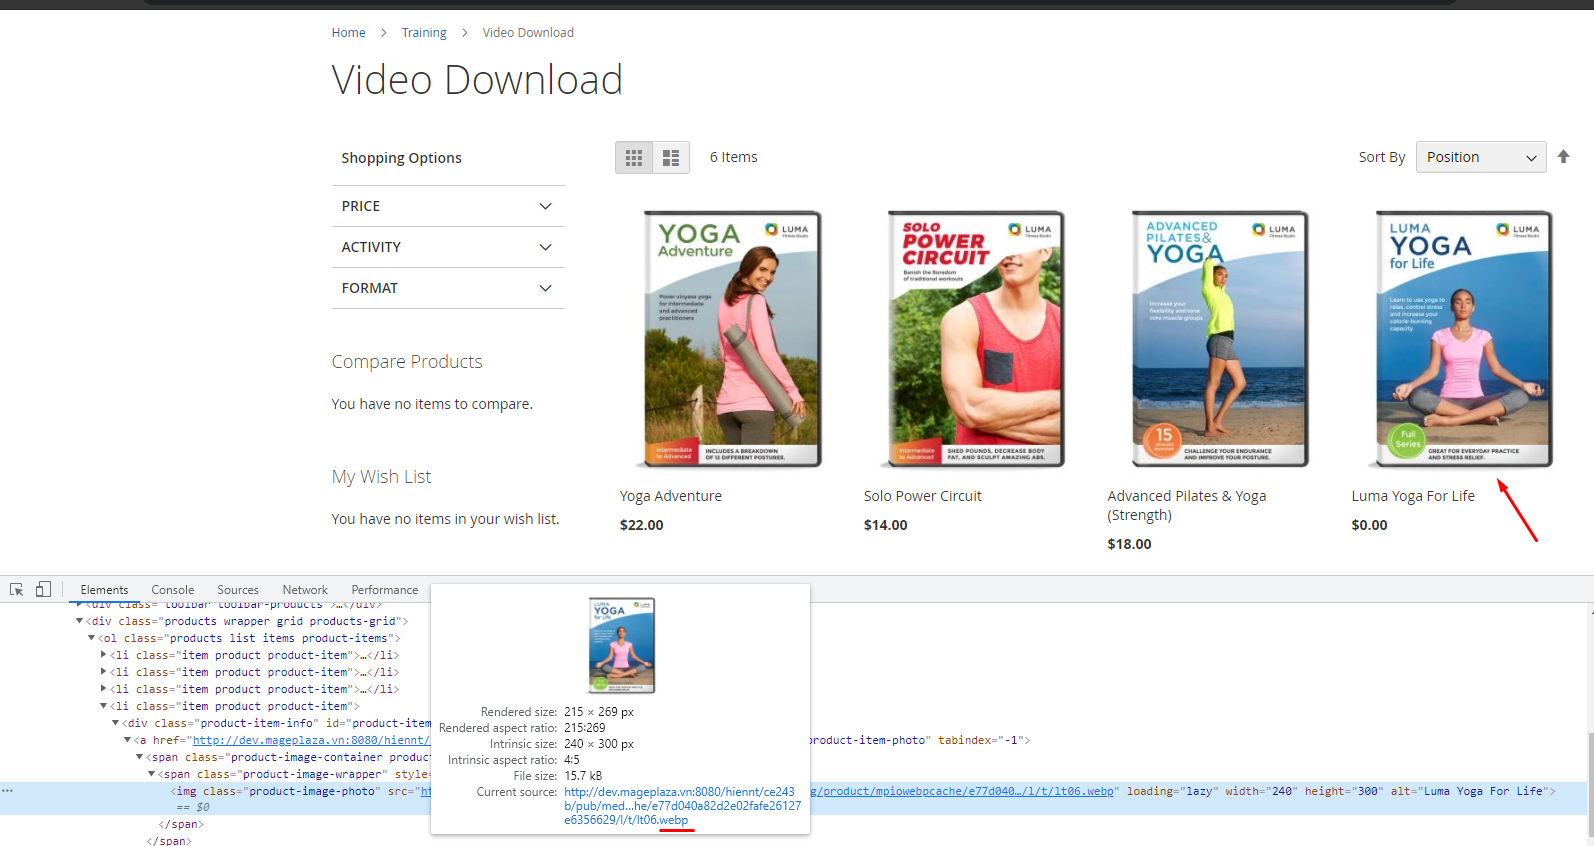
Create Webp Image File When Optimizing: if you select Yes, when being optimized, image files will be transfered to Webp format. It helps reduce the image size for your server without decreasing the image quality. Field shown:
- Replace With Webp Image Format: if you select Yes, the system will automatically replace olf file format with new ones (Webp file) on the frontned
- Skip Transparent Images: If yes is selected, the white image or transparent image will be skipped during the optimization process. If you want to optimzie these transparent photos, you must Restore and Requeue them. The second way is just choosing "No" in this field, all the transparent images will be optimized too.
- Force File Permission:
- If No is selected, there is no change on the image permission.
- Select Yes to provide permission for optimized images. Choose Yes will show more fields:
- Select Permission:
- Enter the number presenting the permission in the Select Permission field to choose the permission types for optimized images. You can refer more information here. Example: 0755, ...
- Select Permission:
- This is a required field.
1.3. Scan Directory
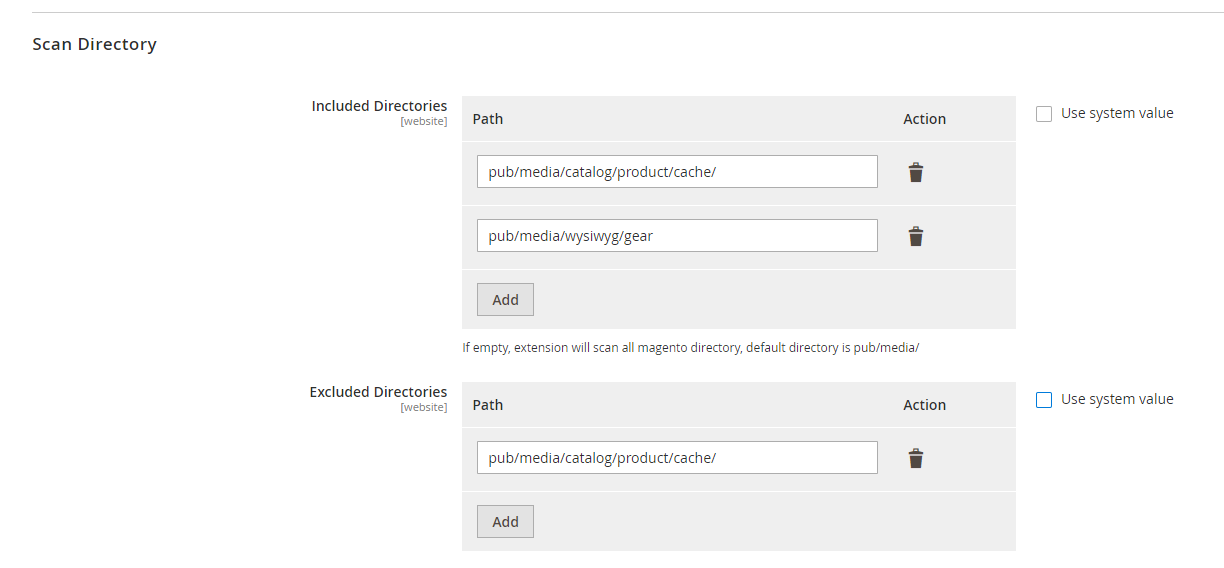
- Included Directories:
- Click Add button to enter the path into the path field. The entered paths will be scanned with images in that path. For example:
pub/media/catalog/product,pub/media/customer. - If left blank, the system will scan the default directory of
pub/media/. Click Remove to delete the entered path.
- Click Add button to enter the path into the path field. The entered paths will be scanned with images in that path. For example:
- Excluded Directories:
- Select Add button to enter the path where you don't want to scan the image in that folder. For example:
pub/media/mageplaza,pub/ media/logo. - If left blank, there is no limit to scan images with paths. Click Remove to delete the path if you still want to optimize the path.
- Select Add button to enter the path where you don't want to scan the image in that folder. For example:
- Note: If the path is in both Excluded Directories and Included Directories, then the scan with that path will not apply.
1.4. Cron job
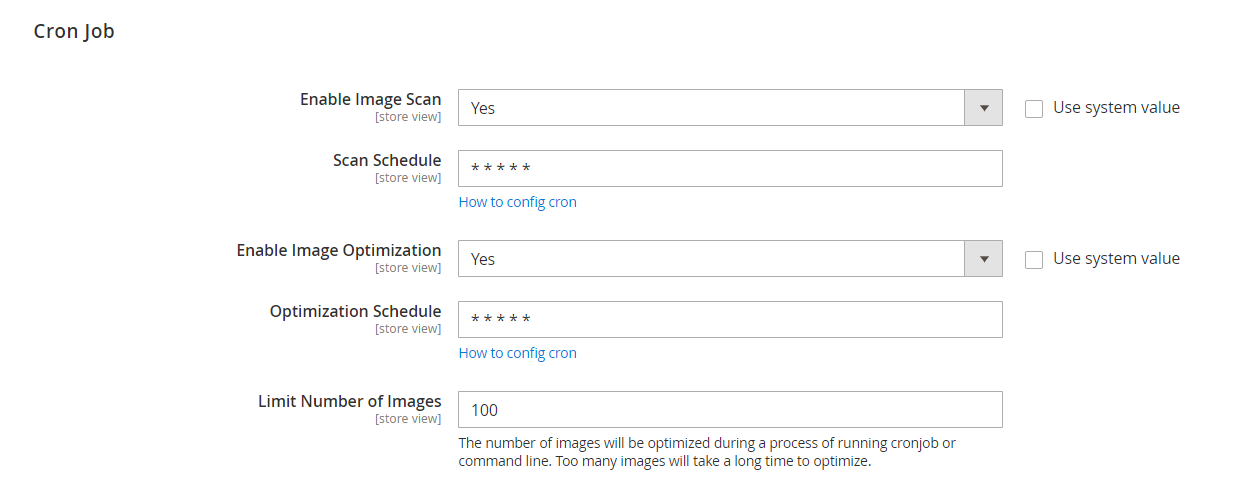
- Enable Image Scan: Select yes to automatically scan images after a certain period of time and display additional fields:
- Scan Schedule: Enter the time in the Scan Schedule field, after the selected time will automatically scan the image. You can refer to this link. For example:Note: When entering values, between two values linked by spaces, start running scans. For example: * * * * *
- Enter ***** is every 1 minute automatically scan the image.
- 20 * / 3 * * * is running every 3 hours on 20 minutes will scan the image.
- Run Daily: is 00 ***. It will be run at 00:00 daily
- Run Weekly: 00 ** 7 will be run at 00:00 Sunday, 00 ** 1 will be run at 00:00 Monday
- Run Month: 001 ** will be run at 00:00 on 01/01/2019.
- Scan Schedule: Enter the time in the Scan Schedule field, after the selected time will automatically scan the image. You can refer to this link. For example:
- Enable Optimization: Select yes to automatically optimize with scanned images after a certain time and display additional fields:
- Optimization Schedule: Enter the time in Optimization Schedule field, after the selected time will automatically optimize the scanned images. Unscanned images will not be optimized. The time period entered in Optimization Schedule field is the same as the Scan Schedule field, you can refer to above.
- Limit Number of Images: Enter the number of photos that each time you want to automatically optimize after the selected time period.
2. Manage Images
- Login to the Admin Magento, choose
Stores > Image Optimizer > Manage Images - Here recorded and statistics scanned image information and Optimize or not include information of the fields: Path, Status, Original Size, Optimized Size, Compression Level (%), Error Message , ....

- Click Scan Images button to start scaning all images. Only optimize the scanned images.
- Choose Optimize Images button to optimize with the scanned images.
- With Optimize Action, you can choose optimize with each image or all scanned images without optimizing, the optimized images will not be optimized anymore.
- If Restore, the image returns to skipped status and will ignore the optimize image. - Re-Queue: the image returns to the pending state.
- Delete: Delete images that you don't want to optimize.
- Progress: recounting the status of the photo with Pending, Error, Skipped, Success.
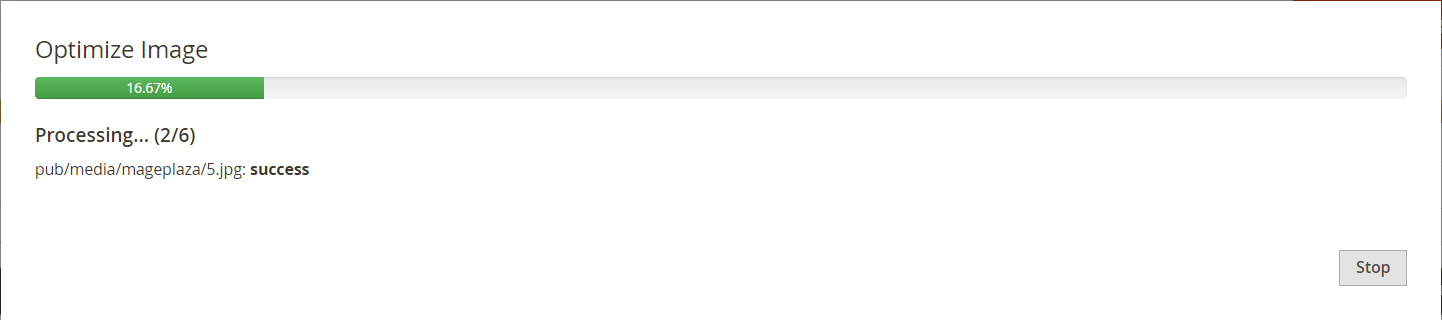
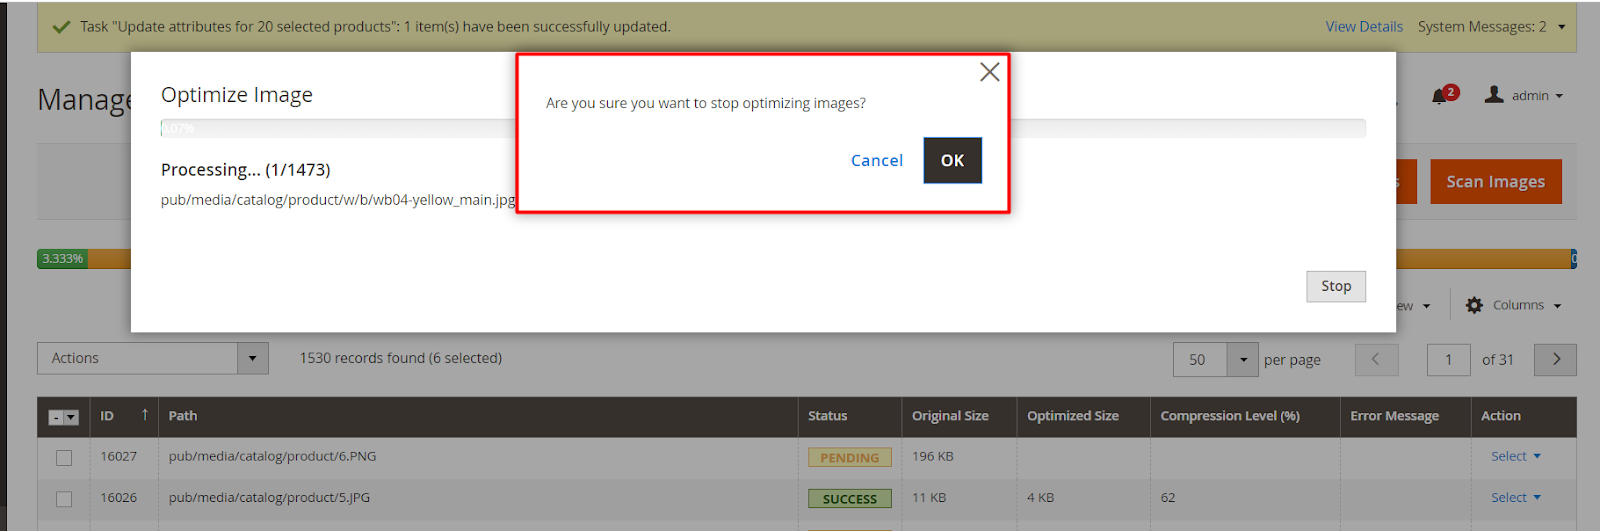
- Display popup when clicking Mass Action Optimized or button Optimize Image. When Optimize is clicked, the Progress bar displays 0%, and displays the first image. Click Stop if you want to stop the pptimize process.
- Display the popup when clicking Stop with message
Are you sure you want to stop optimizing images?
3. Command line
It is possible to run the following command to optimize images quickly, conveniently and the number of images after each optimize will be based on the value of the Limit Number of Images field in the Configuration section:
php bin/magento mpimageoptimizer:optimize
Also, please run the following command to scan images following the confiruration at the field Scan Directory:
php bin/magento mpimageoptimizer:scan