Better Product Options
Overview
Adding custom product options is one of the great ways to make stores more profitable and can serve customers in your store in a better way. With Mageplaza Better Product Options Extension, you can create more options for any product via Customize Option. This extension allows the admin to easily create a Customize Options Template for options such as Quantity, Advanced Pricing, Weight, Image, Tooltips Description, Depend Option for products, while the current Core Magento only allows setting Title, Price, and SKU for the product. Also, you can perform Assign Customize Option at the template with Product ID/ SKU.
This extension is compatible with Mass Product Action, Mageplaza Quick View and Configurable Products Preselect.
How to download and install
How to Configure
From the Admin Panel, go to Stores > Configuration > Mageplaza > Better Product Options > Configuration
1. General Configuration
From the Admin Panel, go to Stores > Configuration > Mageplaza Extensions > Better Product Options > General Configuration

- Enable: Select Yes to enable the Better Product Options module
- Link Options by Default:
- If Yes is selected, the options will be default linked to the template. Admin can only change the option on the template, then it will apply to all products assigned with those options.
- If No is selected, by default the options will not link to the template.
- Result after removing template:
- If Delete the linked products options is selected, when the template is deleted, the options in the products linked to this template are also deleted
- If you select Unlink the current linked products options, when the template is deleted, the options in the products linked to this template before will not be linked with that template anymore.
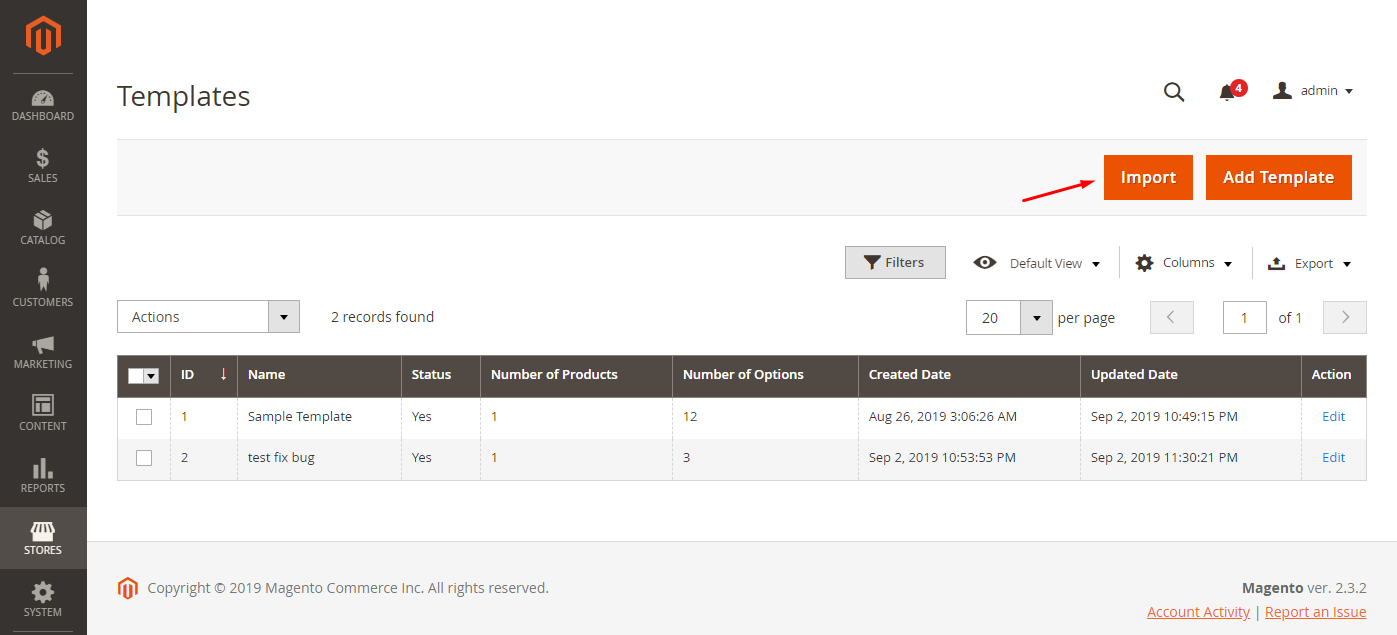
2. Product Option Templates Grid
From Admin Panel, go to Stores > Product Options > Manage Product Options Templates
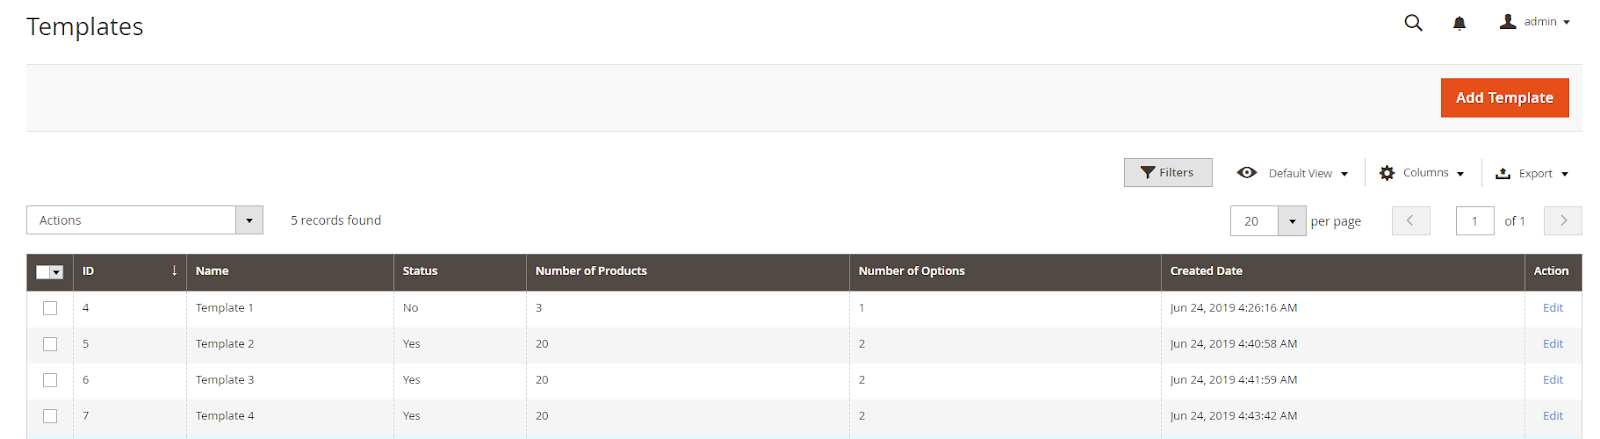
- Here shown all the Product Options Templates
- From Product Options Templates Grid, admin can capture basic information of Product Options Templates such as ID, Name, Status, Number of Products, Number of Options, Created Date, Action
- Action:
- Delete: Delete Product Options Templates created
- Change Status: Change the Status of Product Options Template. There are 2 template states that are Enable and Disable
- Edit: Navigate to the Product Options Templates information page created earlier.
- Also, admins can Filter, Sort, Search for Product Options Templates.
3. Create New/ Edit Template
From Admin Panel, go to Stores > Product Options > Manage Product Options Templates > Create New Template/ Edit Template
3.1. General Tab
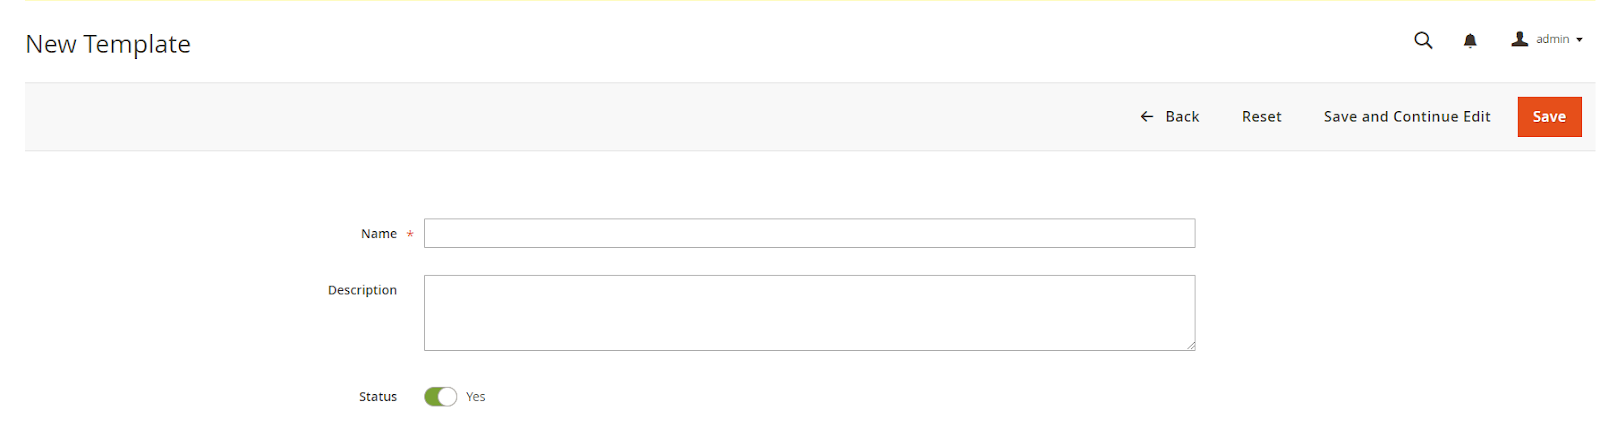
- Name: Set a name for the template. This is a required field.
- Description: Add a description for the template.
- Status:
- Yes: Active the template
- No: Disable the template; then, the options for this template will be hidden on the frontend/ cart.
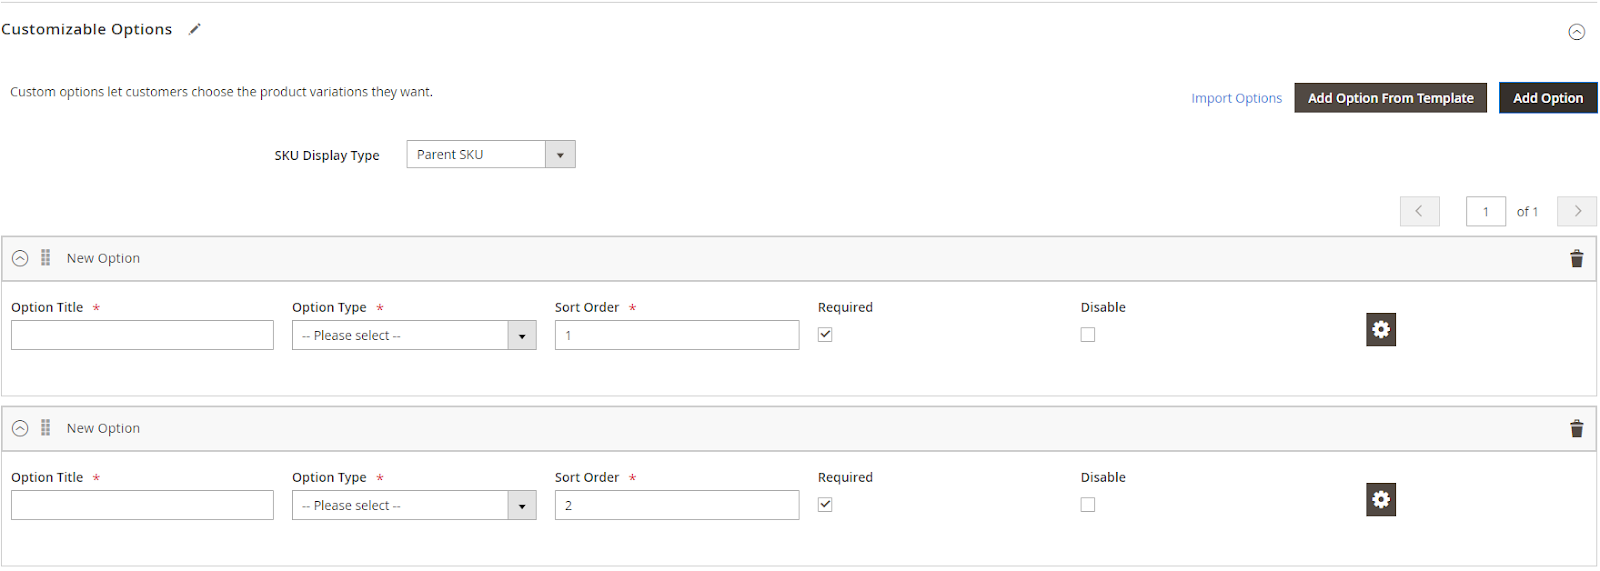
3.2. Customizable Tab Options
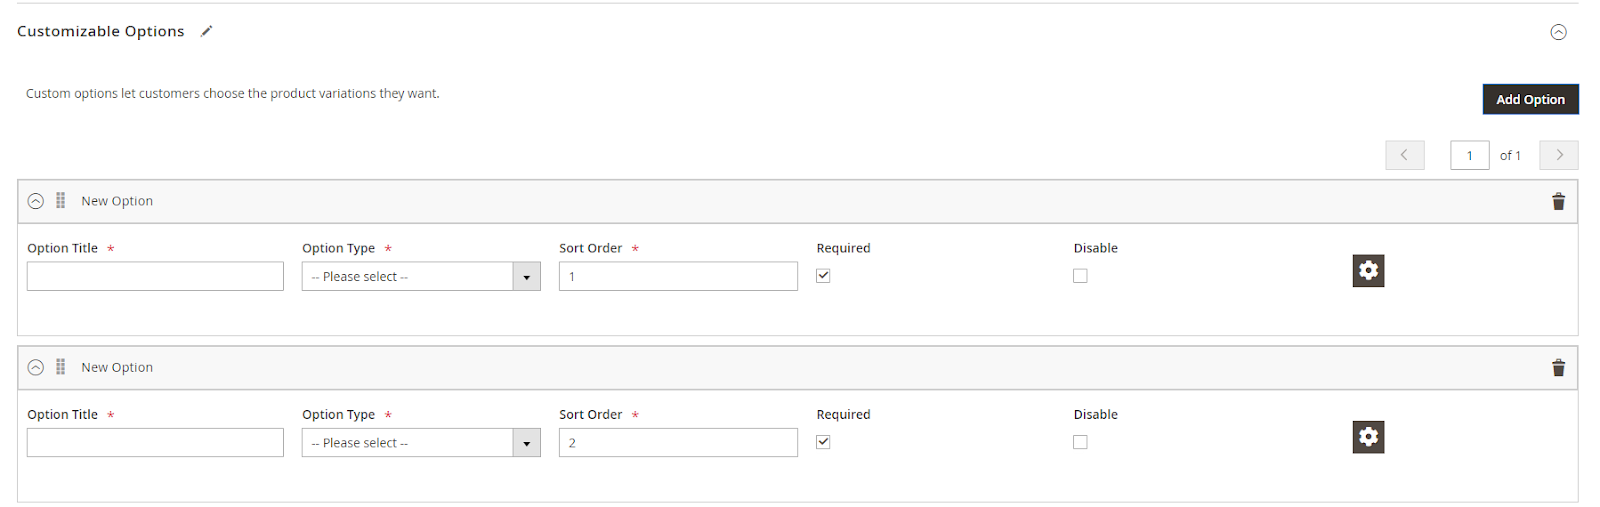
- Admin can create multiple Options in the same template by selecting Add Option
- Option Title: Enter a title for the Option. This is a required field.
- Option Type: Select Option Type. This is a required field. There are many different Option Types, as shown below:
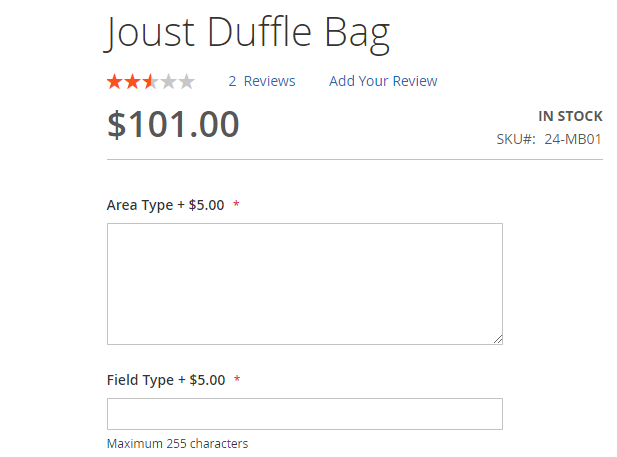
- Option Type = Text (Field/ Area)

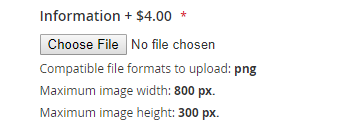
- Option Type = File

- Option Type = Date (Date & Time/ Date/ Time)

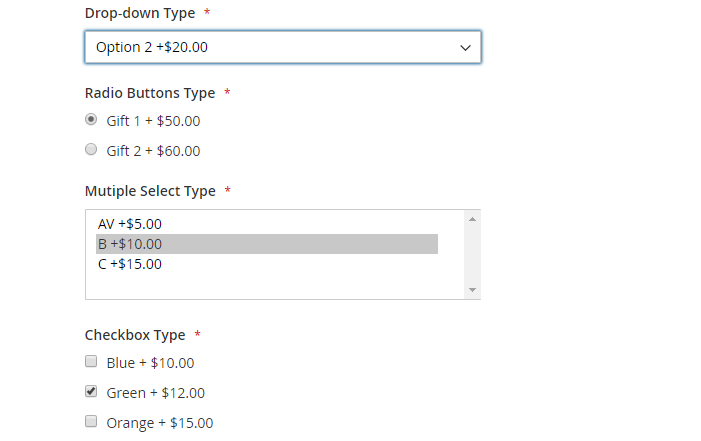
- Option Type = Select (Drop-down/ Radio Buttons/ Multiple Select/ Checkbox/ Visual Swatch/Text Swatch)

- Sort Order: Present the priority of options showing of a product. Option with smaller sort order will be displayed first. This is a required field.
- Required: Tick this checkbox so that this option is required. Otherwise, do not select.
- Disable:
- Tick Disable: The option will be disabled and will not be displayed on the frontend/ cart.
- If not tick Disable, the option is used and displayed normally.
- Default Value: Only apply for Option Type = Select, used to choose the default value for this option when loading the product detail page. Each option has one default value only.
- Title: Set the title for the values in each option.
- Price: Set price for each value. There are 2 price types Fixed and Percent. This price will be added to the original price when the product is added to the cart.
- SKU: Set the SKU for each option/ value of the option.
- Qty: Set the limit number for each value in the option.
- Weight: Set the weight for each value in the option.
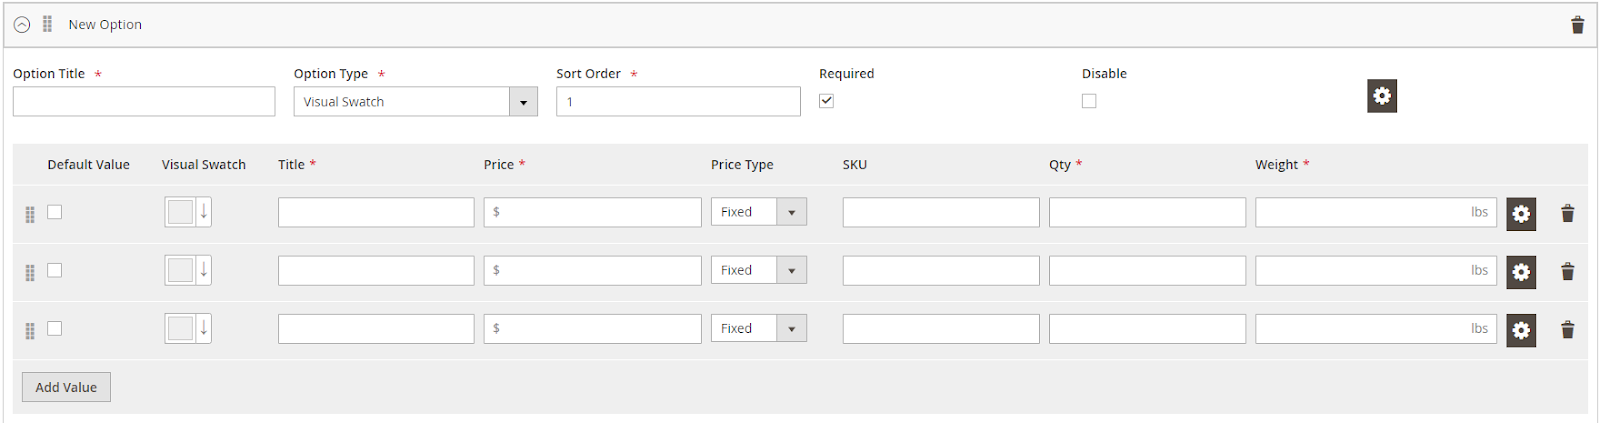
- Visual Swatch: You can choose a color or an image to represent the value in the option. This field only applies for Option Type = Visual Swatch.
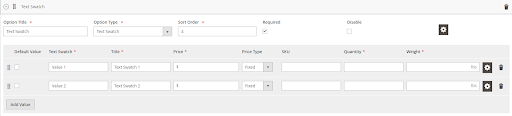
Text Swatch: This field only applies for Option Type = Text Swatch. You can choose text labels to represent the option value under the swatch style on the frontend.
After completing the fields above, click on the icon
 at the right of each option to open Popup Configuration. This popup contains all the information you need to configure for that option.
- Visibility Tab:
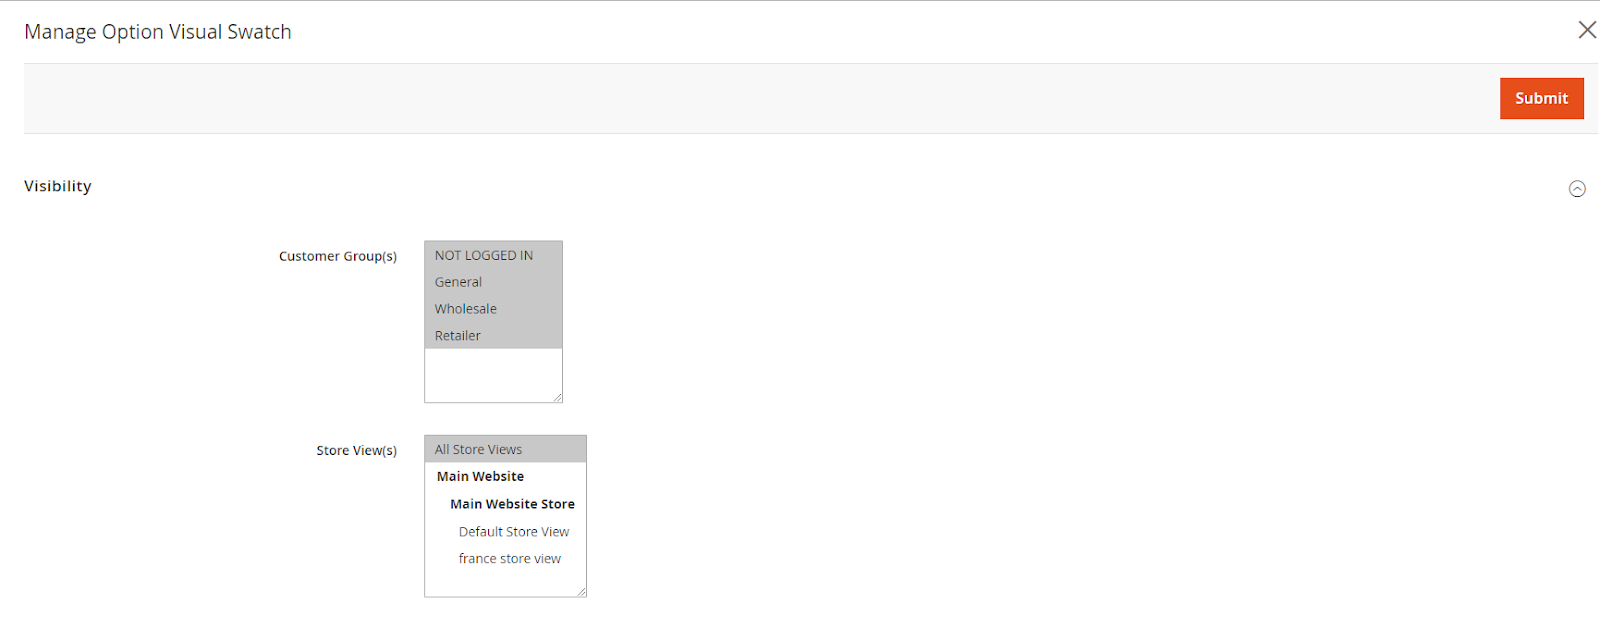
- Customer Group (s): Only selected customer groups can see this option.
- Store View (s): Only Store View(s) selected can display this option.
- Title Tab:

- This tab only appears when the popup template is turned on.
- Set a title for each option in Store View. If left blank, the default title will be displayed.
- Tooltip Description Tab:
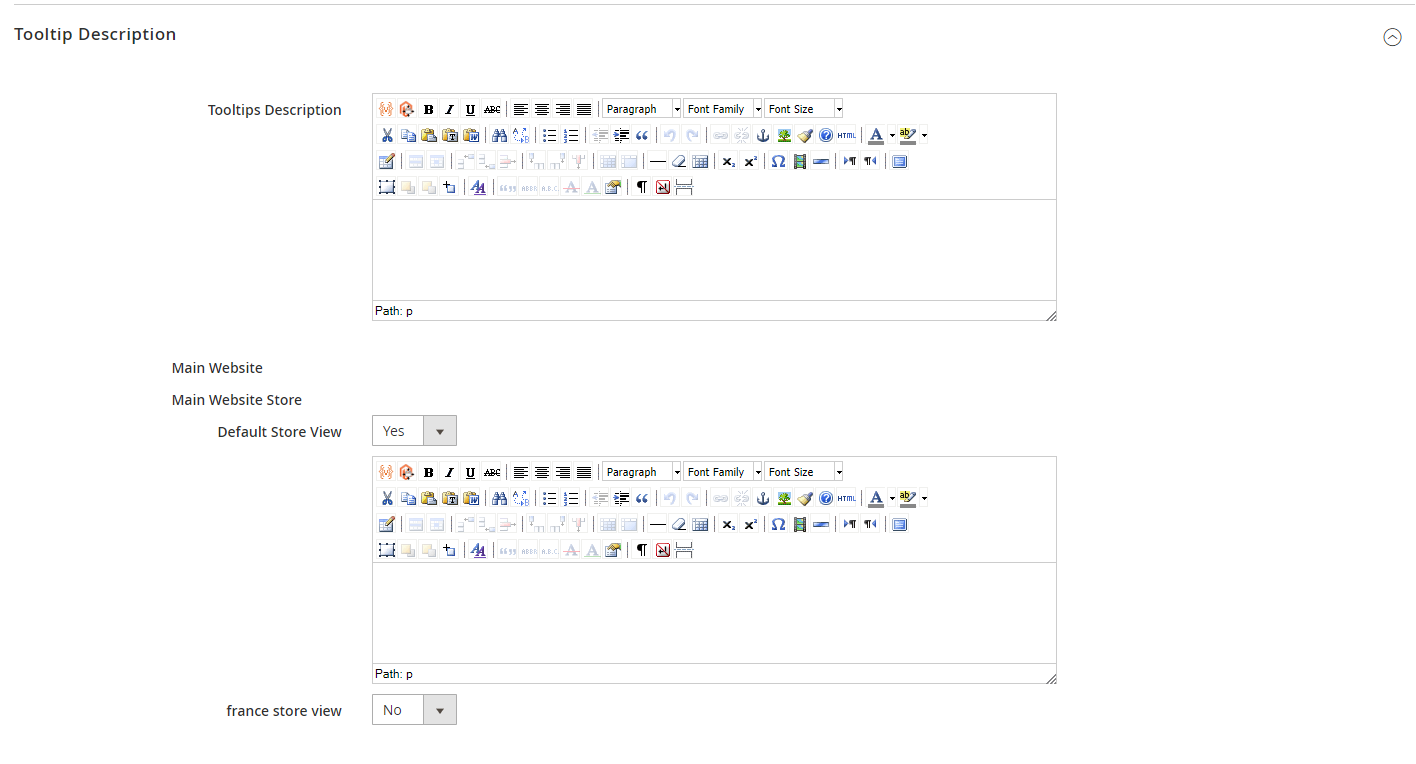
Tooltips Description: This is the tool for admins to enter the description for Tooltip of this option.
Store View: Select "Yes" to set the Tooltips Description for certain storeview. Select "No"; it will display the Tooltips Description by default.
Dependency Tab:
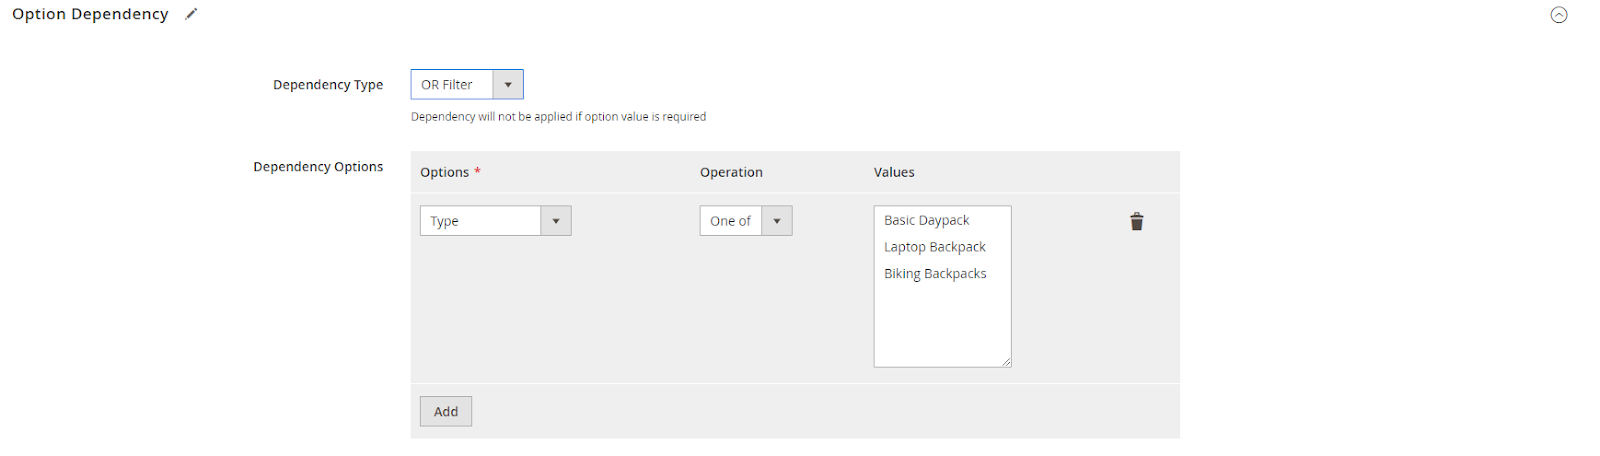
- Dependency Type: Select the dependency type for this option. There are two choices:
- OR Filter: Allow showing option if one of the conditions is satisfied
- AND Filter: Allow showing option if all the conditions are satisfied
- Dependency Options: The display of this option will depend on the Options, Operation and Values configured.
For options with Type = Select Option (Drop-down/ Radio Buttons/ Multiple Select/ Checkbox/ Visual Swatch/ Text Swatch), you can click on the icon
at the right of each option to open Popup Configuration, which contains all the information you need to configure for that option.

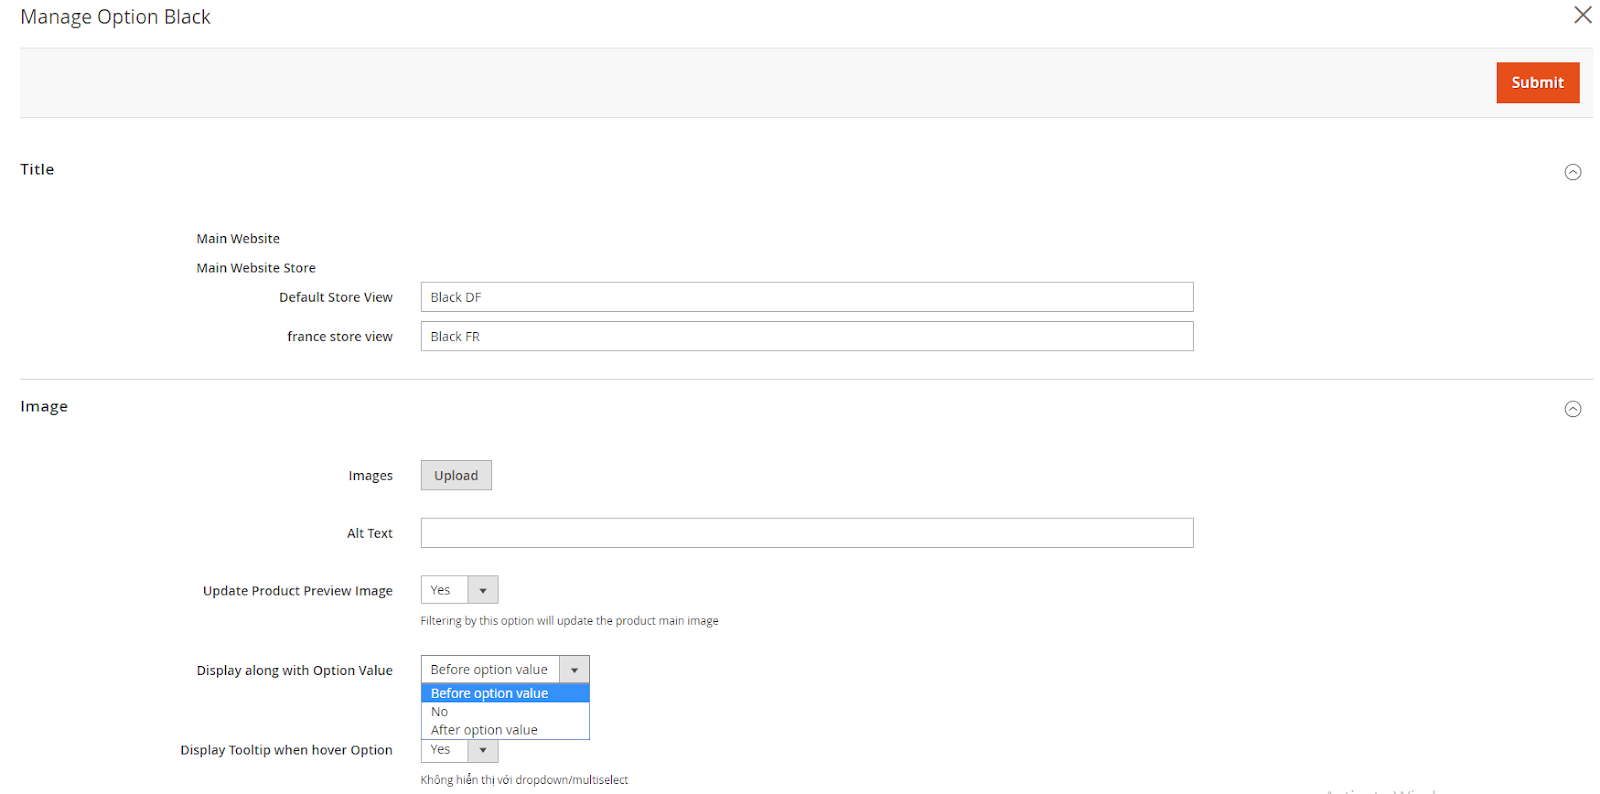
Title Tab: Set the title by each Store View for each option. If left blank, it will display the default title of this option.
Image Tab: This is the place to customize images for each option.
- Alt Text: Enter Alt Text for the image
- Update Product Preview Image: Select "Yes" to update the image of the product when selecting this option. If you don't want to update images, select "No".
- Display along with Option Value: Select the display position of the image associated with Option Value. This field is only displayed when Option Type = Radio Buttons/ Checkbox.
- Display Tooltip when hover Option: Select Yes to show the tooltip image when hovering over this option. This field only appears when Option Type = Radio Buttons/ Checkbox/ Visual Swatch/ Text Swatch.
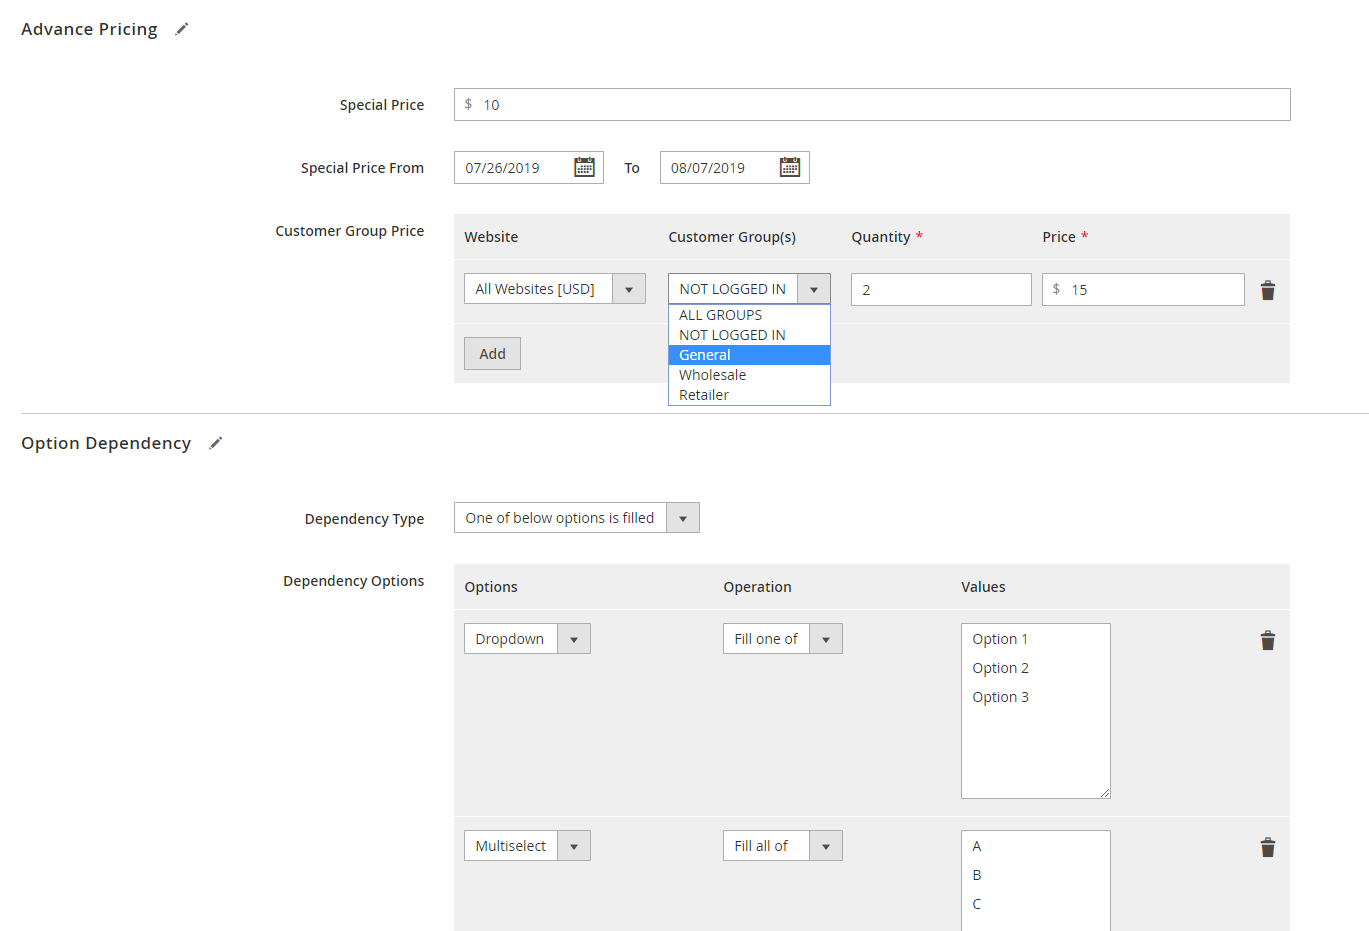
Advanced Pricing: This tab is for advanced price settings of this sub-option. Here, admins can give a special price for the option and set the application date and the option price for specific customer groups.
Option Dependency: This tab is used to configure the dependency of this sub-option on other options. The display of this Option will depend on the Options, Operation and Values configured. It is similar to the Option Dependency section of the Father Option.
3.3. Manage Assign Products Tab

- Assign By: Select one of two assignment types: Product SKUs or Product IDs
- Product SKUs/ Product IDs: The name of this field depends on the Assign By field. Enter one or more Product SKUs/ IDs, separated by commas. Then click Preview to see the list of products to assign.
3.4. Edit Product Form
- From the Admin Panel, go to
Products > Catalog > choose a Product> Customizable Tab Options
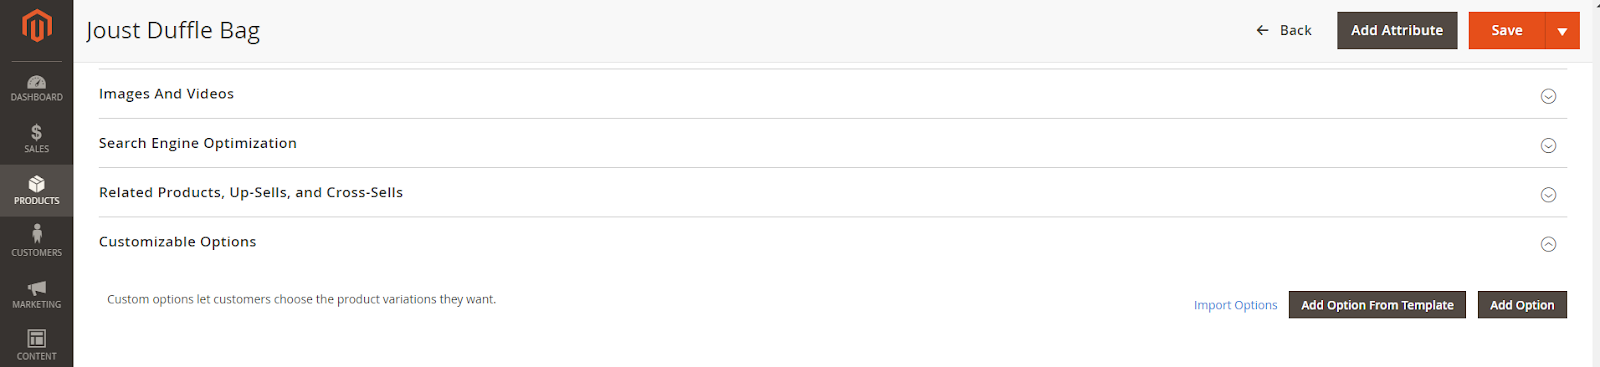
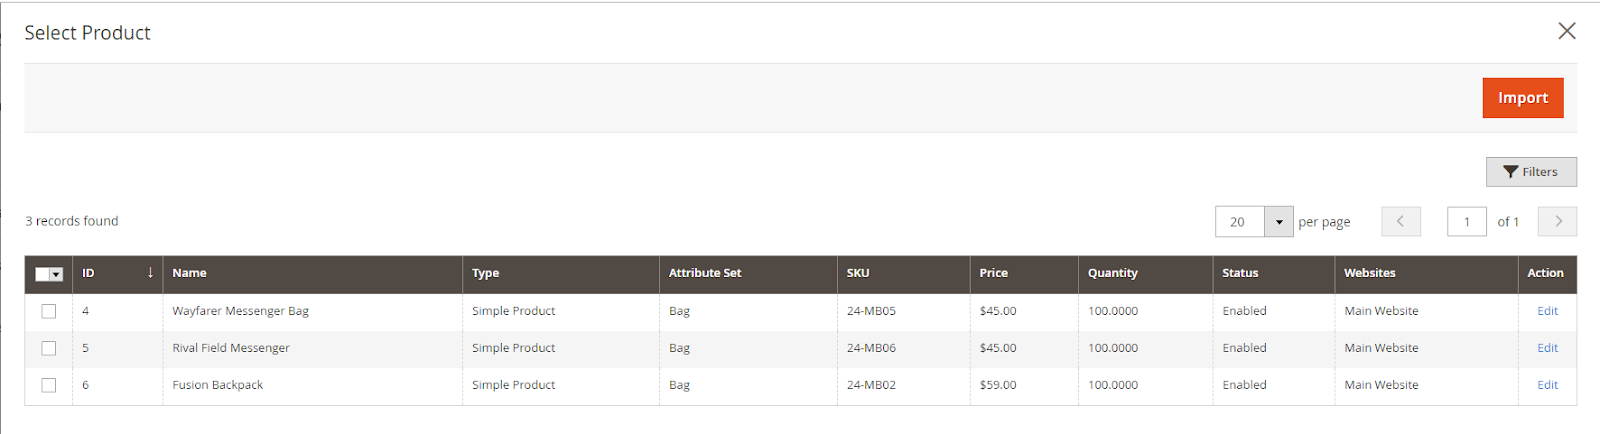
- Import Options: Clicking on this link, you are redirected to a new page to import options from other products into the current product.
- Add Option: When you click here, you will see a form to create a new option.
Add Option From Template: Clicking here will appear a popup to add options from the product options template chosen for this product.
In the options are taken from Product Options Template, there are some differences compared with the options created on the Product page as follows:
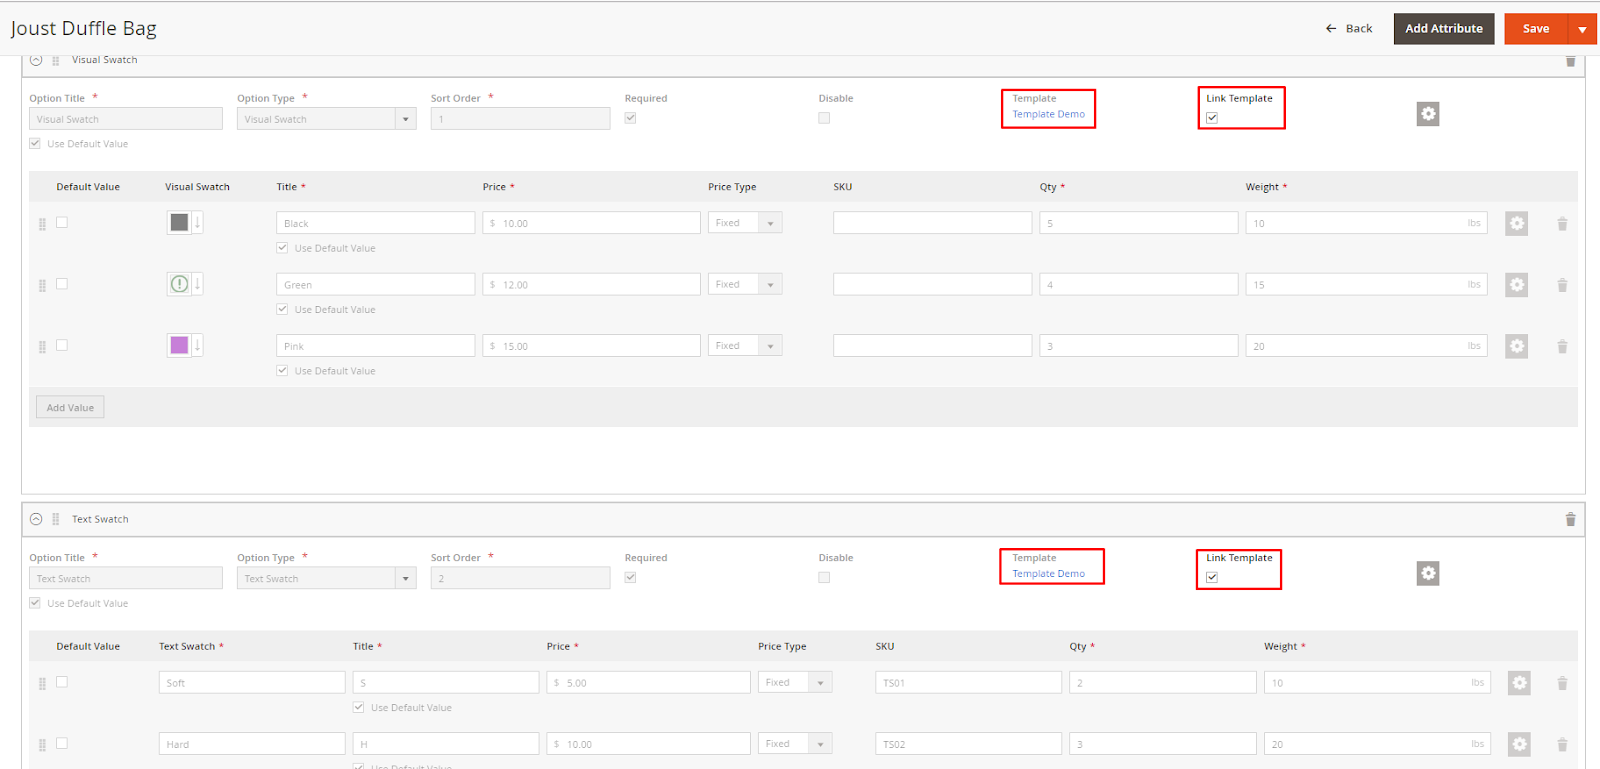
- Template: This is the name of the template which will be assigned to this option.
- Link Template: Link this option to the template taken from Better Options Template.
- If the template has many options, all options will be linked to the template and vice versa.
- If ticked this Link Template checkbox, all fields of this option(s) will be disabled and unedited.
- Unticked, it can be edited normally.
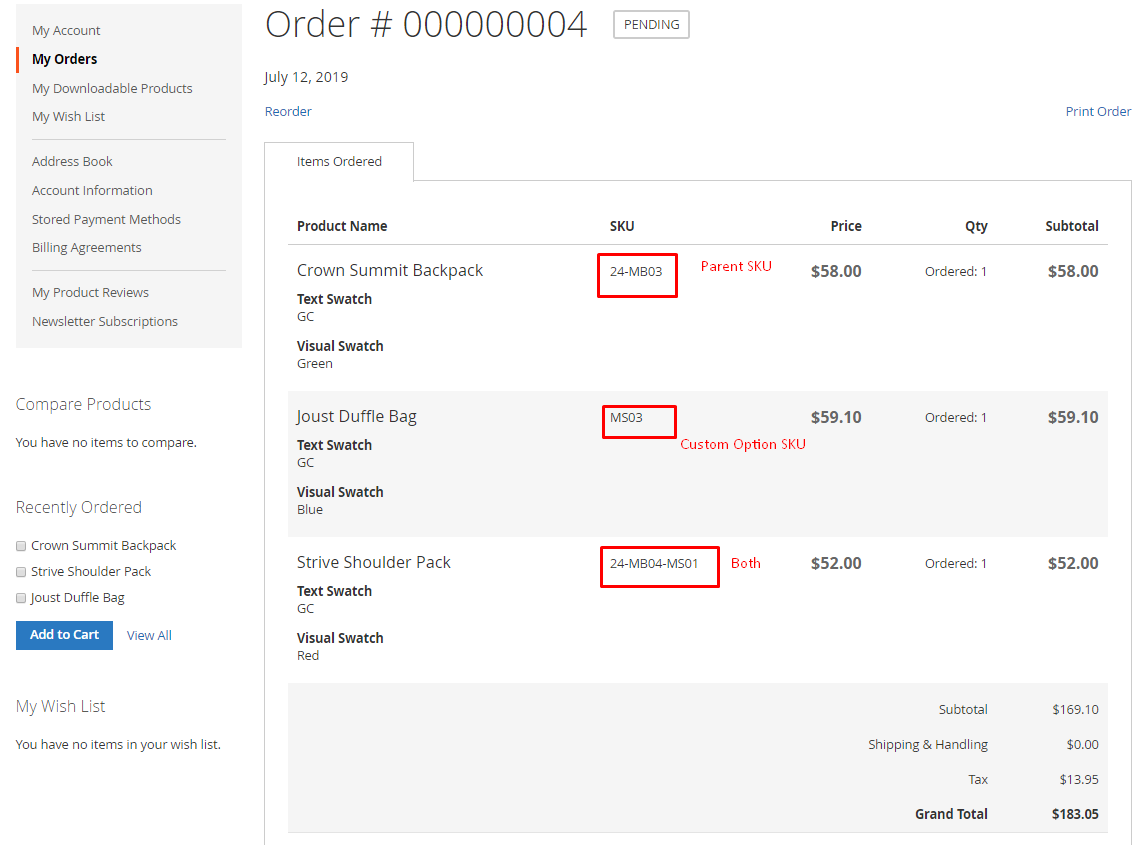
SKU Display Type: Select the display type of the product SKU when viewing order details. There are 3 options as shown below.
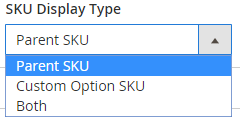
- Parent SKU: Only display the SKU of the product, not the SKU of the option.
- Custom Option SKU: Display only SKUs configured for each option.
- Both: Display the selected SKUs of the product and the selected SKUs of the option.
3.5. Mass action at the Product Grid
- In addition to assigning the Product Options Template to products right after editing/creating a template, we can perform the assignment of templates for the product at the Product Grid as follows:
- From the Admin Panel, go to
Products > Catalogthen select one or more Product then chooseActions> Assign Product Options Templates
4. Import/Export Template
4.1. Import
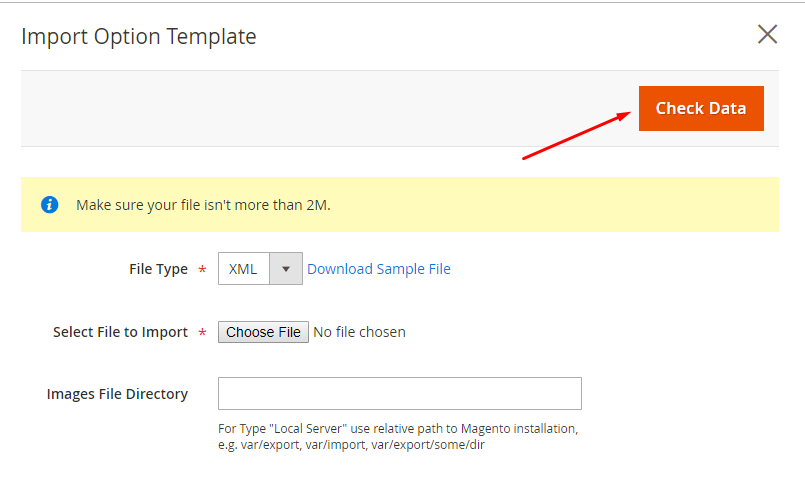
At Manage Templates page, click Import to upload templates in an XML file.
In the Import Option Template section:
Step 1: Select File to Import
- File Type: XML. This extension only supports importing templates via XML files.
- Select File to Import: Select XML file to import template. You can refer to the standard format in the sample file by clicking Download Sample File.
Note: Make sure that the file size imported does not exceed 2M (if yes, show an error message)
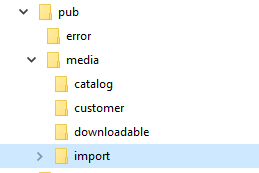
- Images File Directory: If your template contains images (Visual Swatch option or Image Display of the Select option type), please enter the path to the folder containing the image in this field. If left blank, put your image in the directory with the path
pub/ media/ import(if the folder is unavailable, please create a new one)
For example, your import file contains the following image:
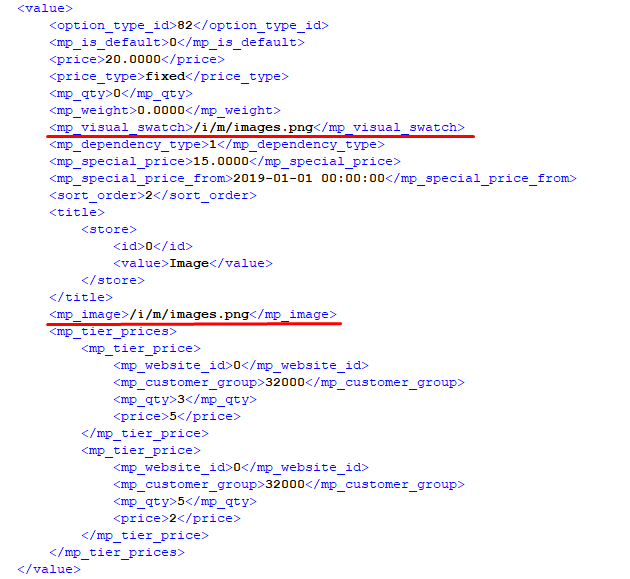
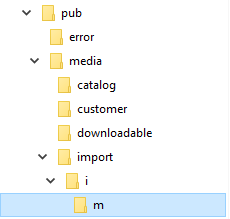
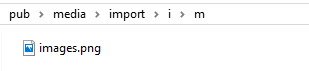
When importing, if you leave the Images File Directory field blank, you must copy the i and m directory containing the images.png file to the pub/ media/ import directory:
Step 2: Check the data from the selected file and import
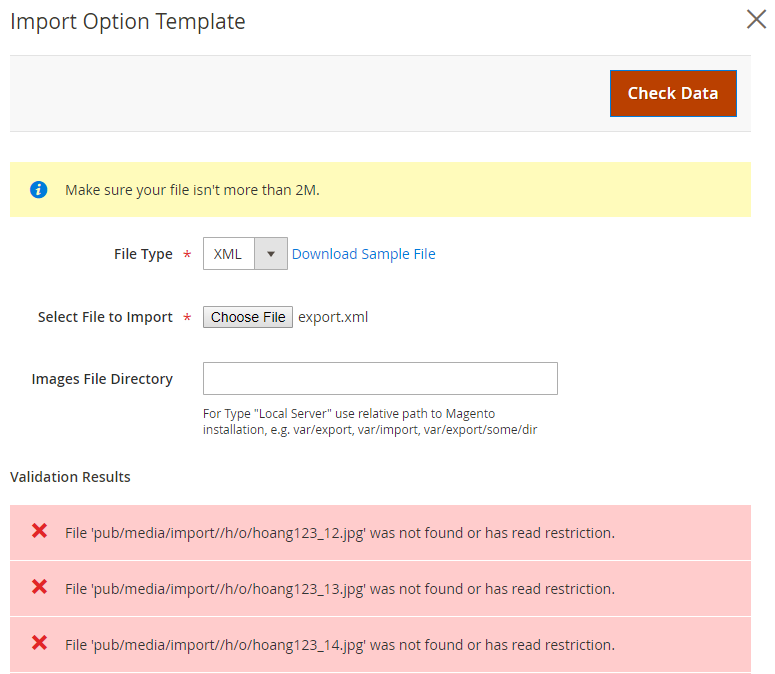
After selecting the file to import in Step 1, click Check Data to check the data and the format in the file if it is eligible before import.
If the file does not eligible for import, the module will display a specific error message, please edit the import file according to the reported error. For example, the error message below is because the image could not be found, please check the pub/ media/ import directory to see if there are enough folders and images that the template requires.
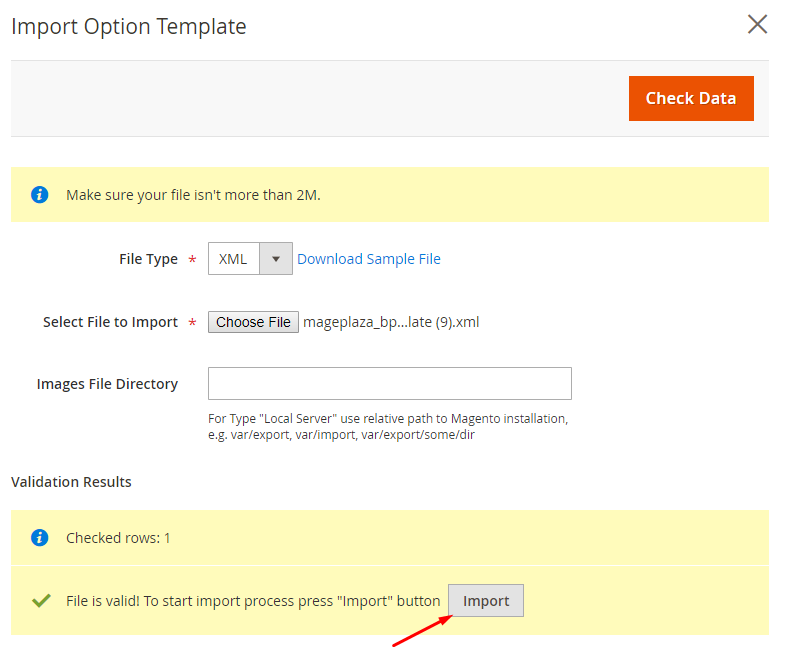
If the file can be imported, the Import button will be shown; please click on it to begin importing the template.
4.2. Export
You can export all available template options at the Template Management page: Go to Store management page > Manage Product Options Templates
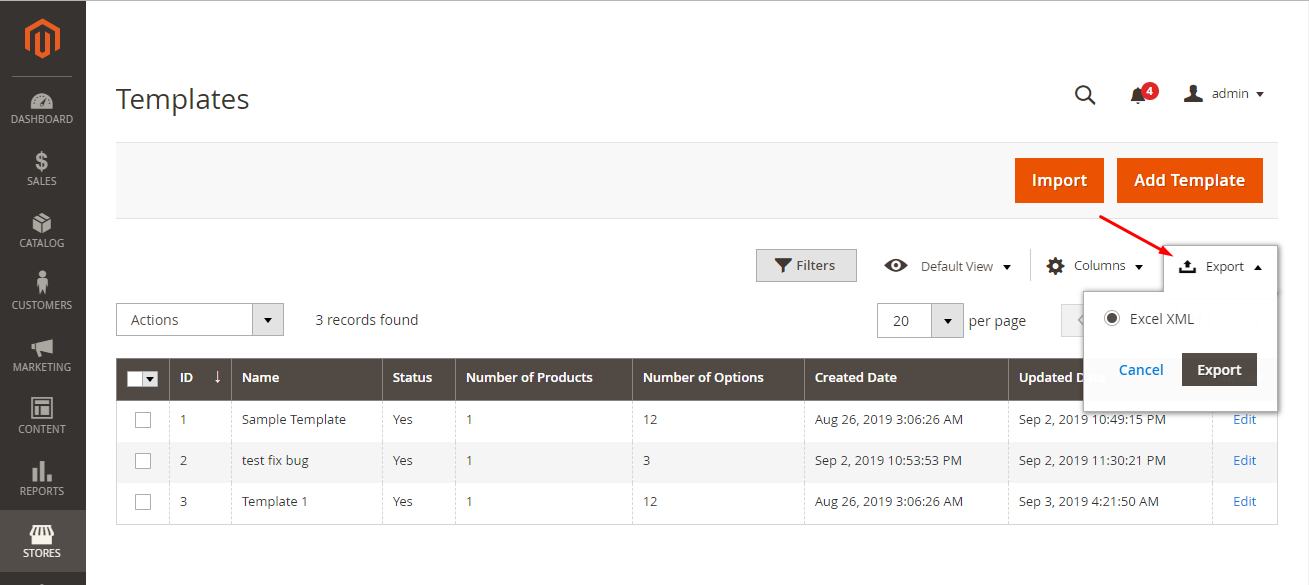
The extension supports exporting templates to XML files. This exported XML file can be used for import according to the instructions in section 4.1 above.
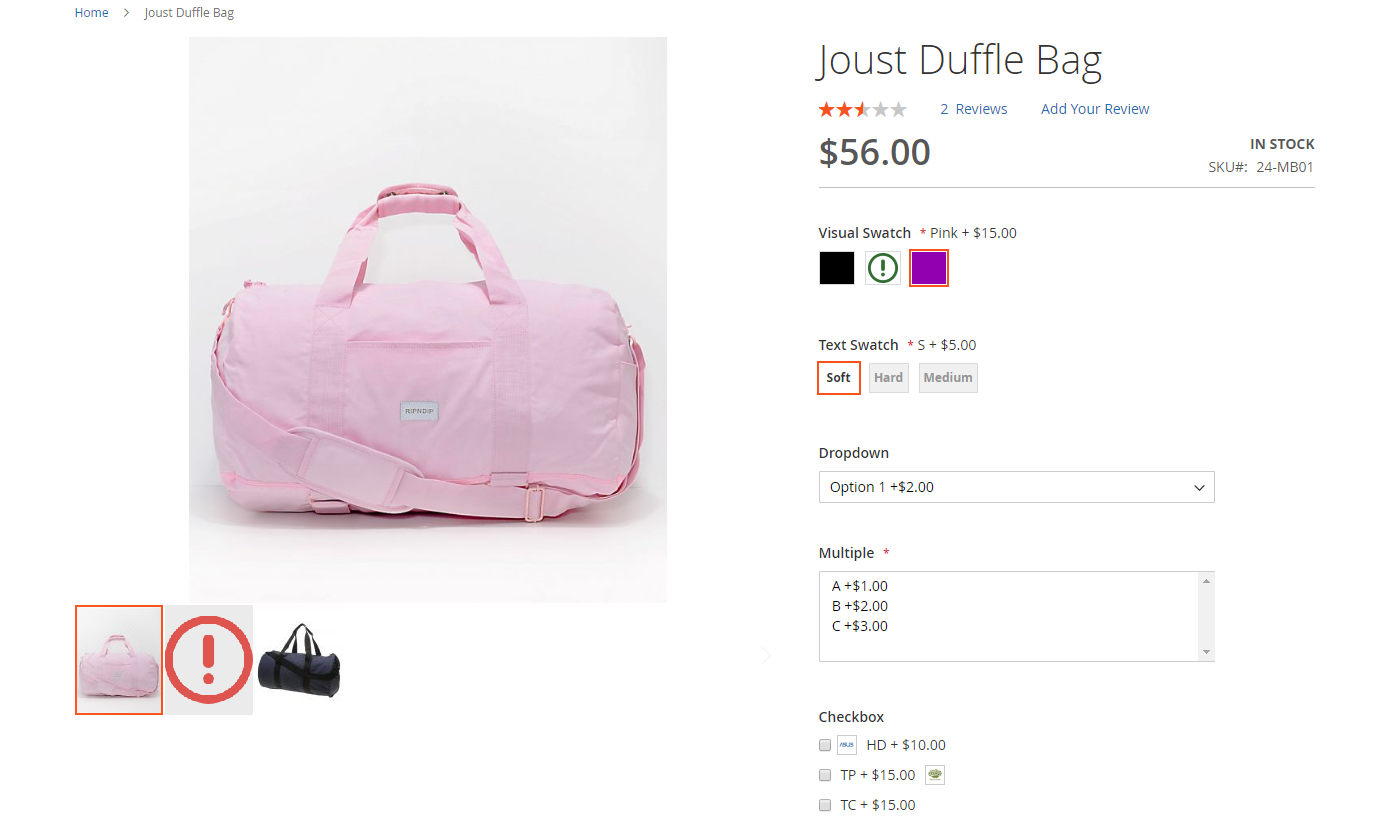
Frontend
- Image of Option Type = Text on Product View Detail page
- Image of Option Type = File on Product View Detail page
- Image of Option Type = Select on Product View Detail page
- Image of Option Type = Date Time on Product View Detail page

- Show image with option value