Free Shipping Bar
Overview
Free Shipping Bar is an important and simple strategy for store owners to stimulate customers to purchase more products so that they can get the free ship. With the release of Mageplaza Free Shipping Bar extension, store owners can totally notify the lacking cash amount of customers for getting the free ship or notify them that they have accumulated enough money to get the free ship when purchasing.
Besides that, Mageplaza Free Shipping Bar is highly customizable about the design and position. Store owners can design and put the Free Shipping bar on any position they want. This is an ideal extension for every store to boost sales effectively.
Download & Install
- Mageplaza Free Shipping Bar
- How to install
How to use
- Free Shipping bar will be displayed on the frontend under 3 statuses:
- When the Cart is empty: Notice the minimum subtotal number so that customers can be delivered free of charge
- When the Cart has products, but the Subtotal amount has not reached the level that can be free ship: Notice the lacking money amount for customers
- When the subtotal amount has reached the minimum quantity to ship fee = 0: Congratulations! Customers have got the free shipping
- Free Shipping bar can be shown on some positions as the following:
- Top of the page
- Fixed bar on the top page
- Top of the content
- Fixed bar bellow bottom page
- Some other optional positions
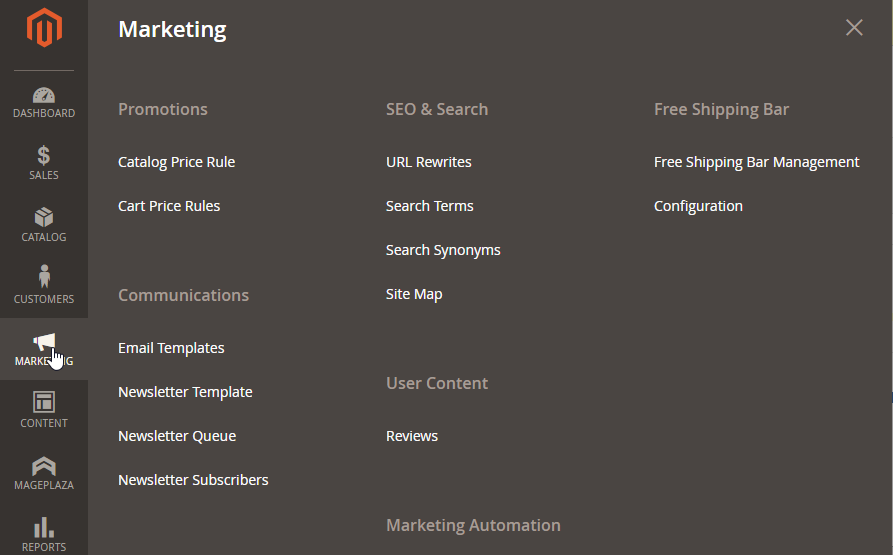
How to configure
Login to the Magento Admin, choose Marketing > Free Shipping bar
1. Free Shipping Bar Manage
1.1. Managerial Grid
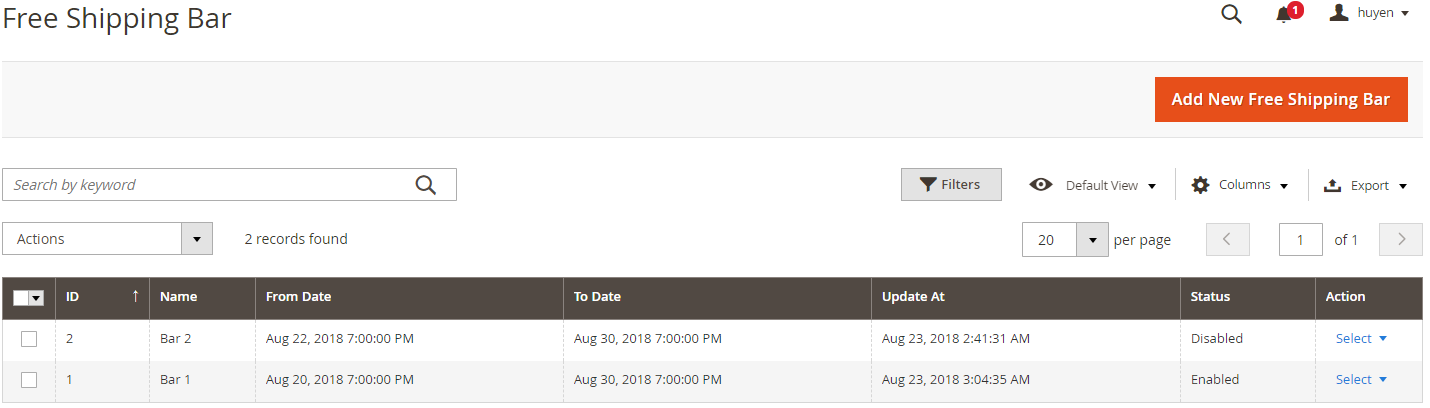
- This is a place to store all Free Shipping bar created.
- From the Grid, admins can understand all basic information of Free Shipping bar as ID, Name, From Date, To Date, Update Date, Status, and Action.
- In the Action box, admins can perform
Action Delete: Admins need to choose the question that they want to delete, then chooseDeletein the Action box (the upper left of the Grid) to delete. A confirmation dialog will appear, then choose OK to continue removing. - In the Action column, admins can perform some actions:
- Select > Edit: Go to the Edit Free Shipping Bar page to edit the information
- Select > Delete: Delete Free Shipping Bar
- Select > Pause: Disable Free Shipping Bar quickly
- Select > Duplicate: Duplicate Free Shipping Bar
- Also, admins can filter, change Store View, hide/represent the columns or export grid.
1.2. Add New/Edit Form
1.2.1. General

- Name: The name of Free Shipping bar. This name is only displayed in the backend.
- Status: Choose
Enableto display the Free Shipping Bar on the backend. - Priority: At the same position, Free Shipping bar has the higher priority, it will be displayed on the frontend.
- Store View: One website can have many store views. The category will only display selected store views.
- Customer Groups: Select customer groups to apply Free Shipping Bar. Admin can choose multiple customer groups once.
- From Date: Set the start date to use Free Shipping bar
- To Date: Set the finish date to use Free Shipping bar
1.2.2. What to Display
What to Display
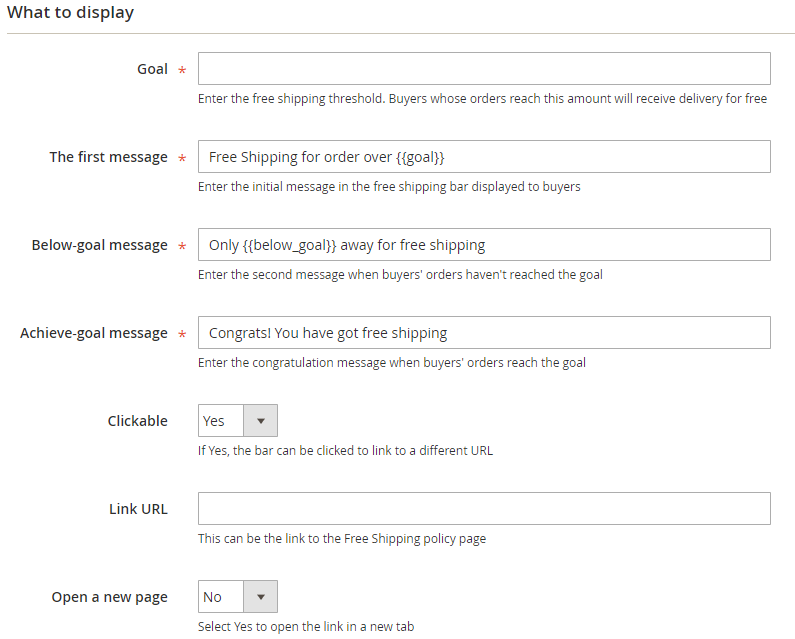
- Goal:
- Enter the minimum subtotal value for free shipping
- This number should be exactly the number that is installed in the Config
- To set the minimum value for free shipping, admins can refer to here
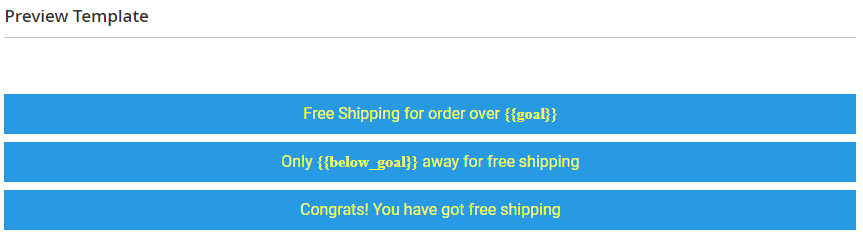
- The first message:
Enter the first message of Free Shipping bar
The content to inform customers is the minimum value of their order required to get the free shipping
To enter a round number (example: $100 instead of $100.00), admins can remove the variable {{goal}} and fill in the message directly.

- Below-goal message:
- When customers add at least 1 product to Cart, this message will be displayed
- This message informs the customer of the amount of money that is lacking to achieve the free shipping
- Achieve-goal message:
- When the subtotal amount of customers reaches or exceed the goal value, this message will be displayed
- This message informs customers that their order has been got the free ship.
- Clickable:
- Select Yes to assign another link to the Free Shipping bar.
- When the customers click on the Free Shipping bar, the page will be redirected to the page containing the filled link in this item
- Link Url:
- Fill in the link for the free shipping bar
- This link is used simultaneously for all 3 messages
- Open a new page: Choose Yes to open a new tab when clicking on the Free Shipping bar
Design Template
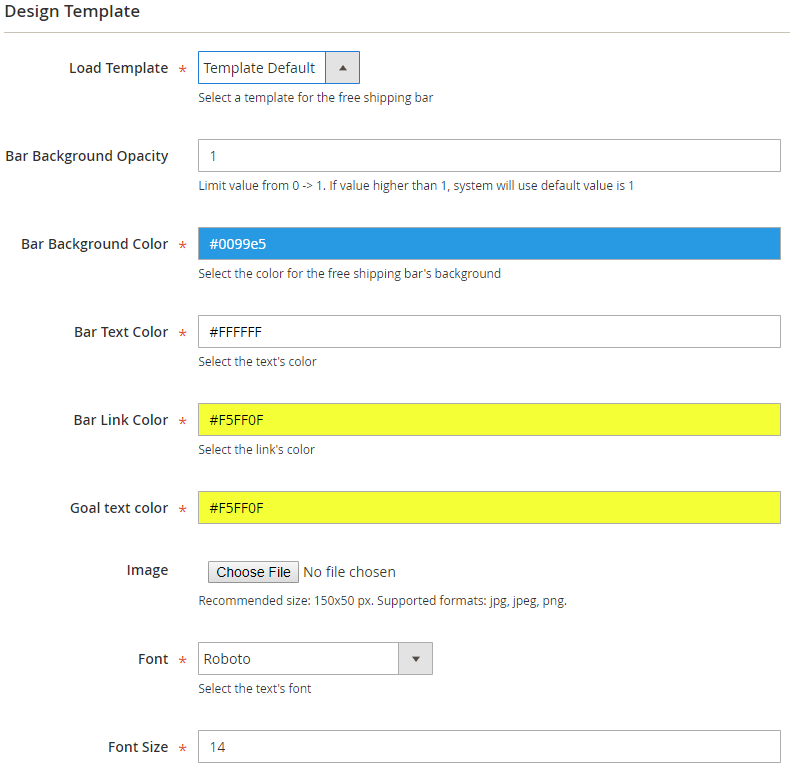
We offer 6 available templates, admins can rely on it to change as they like. All changes (except that the image must be saved) are displayed immediately in the
Preview TemplateBar Background Opacity: Adjust the opacity for Free Shipping bar
Bar Background Color:
- Change the color of the Free Shipping bar
- The color will not be displayed on the frontend if the admins add photos in the
Imagesection
Bar Text Color:
- Set the text color of the messages filled in the
What to Displaysection - The text color setting here is displayed if clicking
Able = No
- Set the text color of the messages filled in the
Bar Link Color:
- Set the text color of the messages filled in the What to Display section
- The font color setting here is displayed if clicking
Able = Yes
Goal text color: Set the text color of the goal that is filled in the
What to DisplaysectionImage: Select a background image for the bar. We suggest using the image size 150x50 px
Font: Select the font for the messages of the bar
Font Size: Adjust the font size of messages displayed on the bar
Preview Template
- All changes above (except that the image must be saved) are displayed immediately in the
Preview Templatesection - Goal and Below Goal sections are updated on the frontend
1.2.3. Where to Display
Where to display
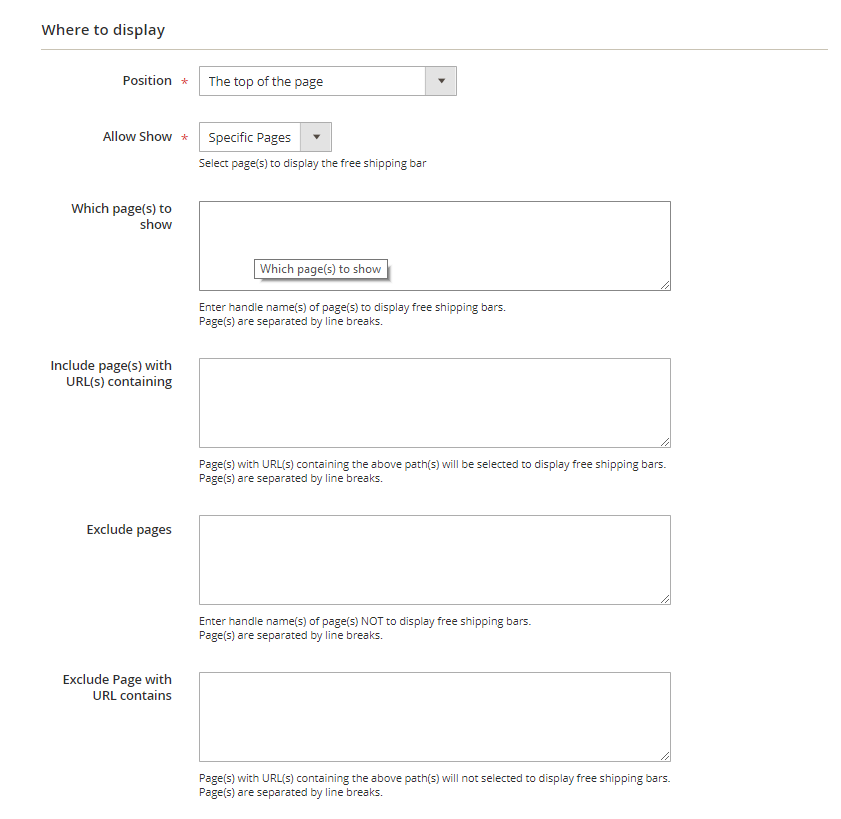
Position: There are 5 positions that admins can choose:
- The top of the page: Free Shipping bar is put fixed at the top of the page, it will not slip when customers scroll down the page.
- Fixed bar at the top of the page: Free Shipping bar is always displayed at the top of the page, it will slip when the customers scroll down the page.
- The top of the content: Free Shipping bar is fixed at the top of the content on a page
- Fixed bar at the bottom of the page: Free Shipping bar is fixed at the bottom of the page, it will slip when customers scroll down the page
- Insert snippet: Free shipping bar is located at the
insert snippet
Allow Show = All Pages:
- Display Free Shipping bar on all pages
To exclude some pages you do not want, admins can set the
handle nameorits Urlin theExclude page and the Exclude page with the contains URLsection.
- Display Free Shipping bar on all pages
To exclude some pages you do not want, admins can set the
Allow Show = Specific Pages:
- Displayed on pages with handle name and url included in Include option
- Pages included the
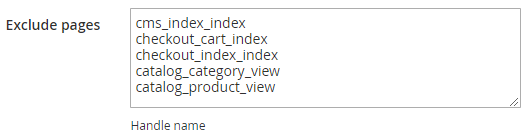
Excludecategory will not be displayed on Free Shipping bar - The priority of Exclude is greater than the Include
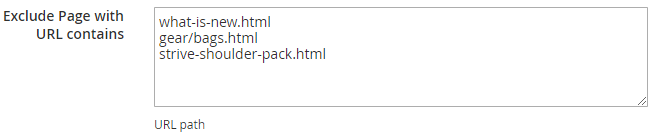
The handle name and the urls that are filled in the
Exclude/Includesection are distinguished by down the lineFor instance:
Handle name:
URL:
Snippet Code
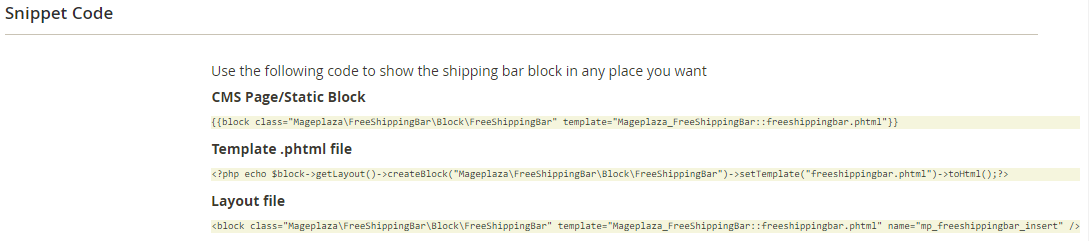
- CMS Page/Static Block: Copy the code and insert it into the pages in the
Content > Pagesection - Template .phtml file: Copy the code and insert it into the
.phtml fileof Magento or other extensions that you want to show Free Shipping bar - Layout file: Copy the code and insert it into
.xml fileof Magento or other extensions that you want to display Free Shipping bar
2. Configuration
From the Admin Panel, go to Store > Settings > Configuration > Mageplaza Extensions > Free Shipping bar

- Enable: Choose Yes to allow this module to work well.
3. API
Free Shipping Bar extension supports using Rest API to modify the free shipping bar information. Admins can create, adjust, view, delete and manage extension' information.
Creating Integration tokens guidlines4. GraphQL
Run the following command in Magento 2 root folder:
composer require mageplaza/module-free-shipping-bar-graphql
php bin/magento setup:upgrade
php bin/magento setup:static-content:deploy
To start work with Free Shipping Bar GraphQL in Magento, you need to follow this guide:
- Use Magento 2.3.x. Set the site in developer mode
- Set GraphQL endpoint is
http://<magento2-3-server>/graphqlin the URL field, click on Set endpoint (E.g.http://develop.mageplaza.com/graphql) - View details about queris supported here