Recent Sales Notification
Overview
Mageplaza's Recent Sales Notification Extension allows Magento 2 websites to automatically show the message relating to current purchase by orther customers, updating the shopping trends of people via Popup. This module support displaying 3 types of Popup: Recent Sales, Checkout Total, Up-sell Product on pages: Home Page, Category, Product, View Cart, Checkout, so on. Popup can be displayed on both Desktop and Mobile at 4 different positions.
Mageplaza Recent Sales Notification extension is fully compatible with Mageplaza Quick View, One Step Checkout, which supports viewing the full product details through the popup displayed on the screen and checkout more conveniently.
How to use
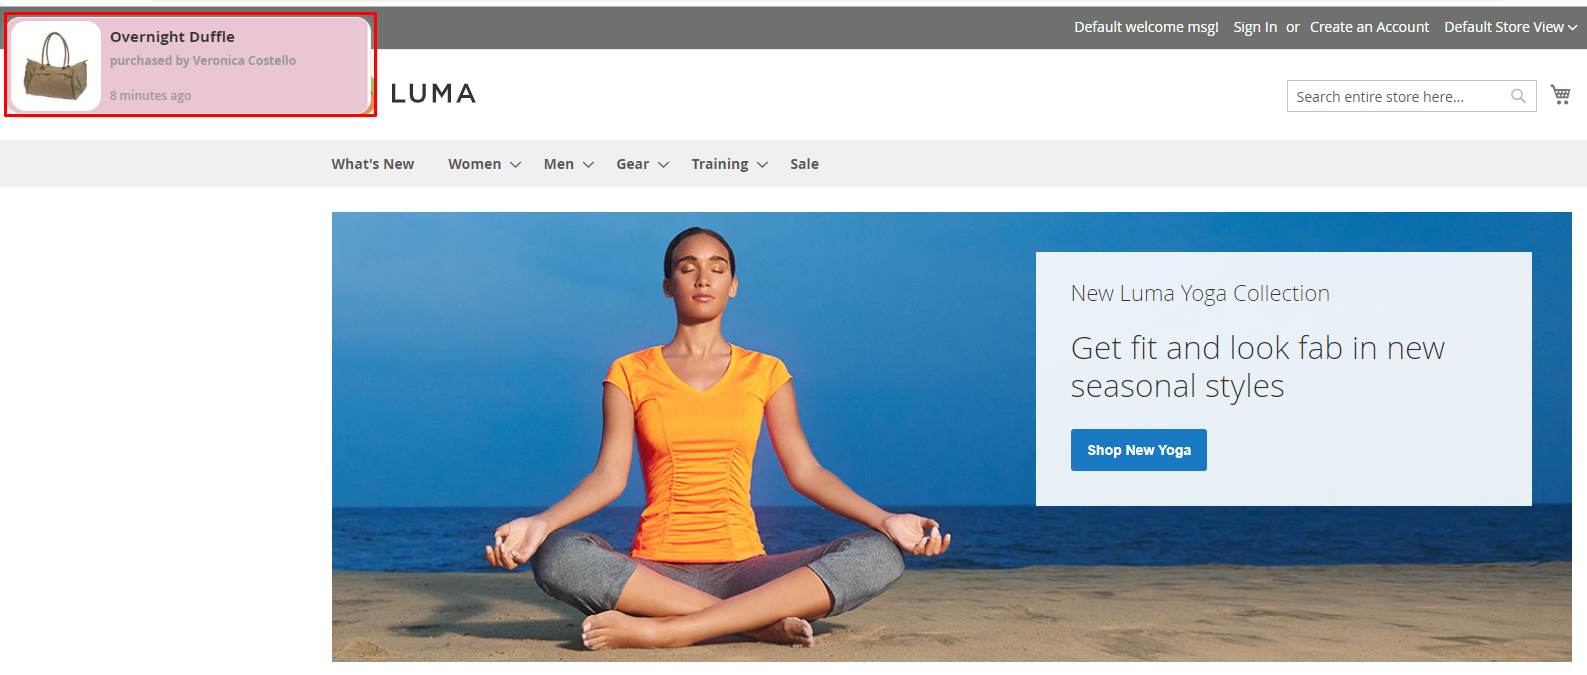
- Recent Sales Notification extension supports display on Desktop and Mobile with 4 positions:
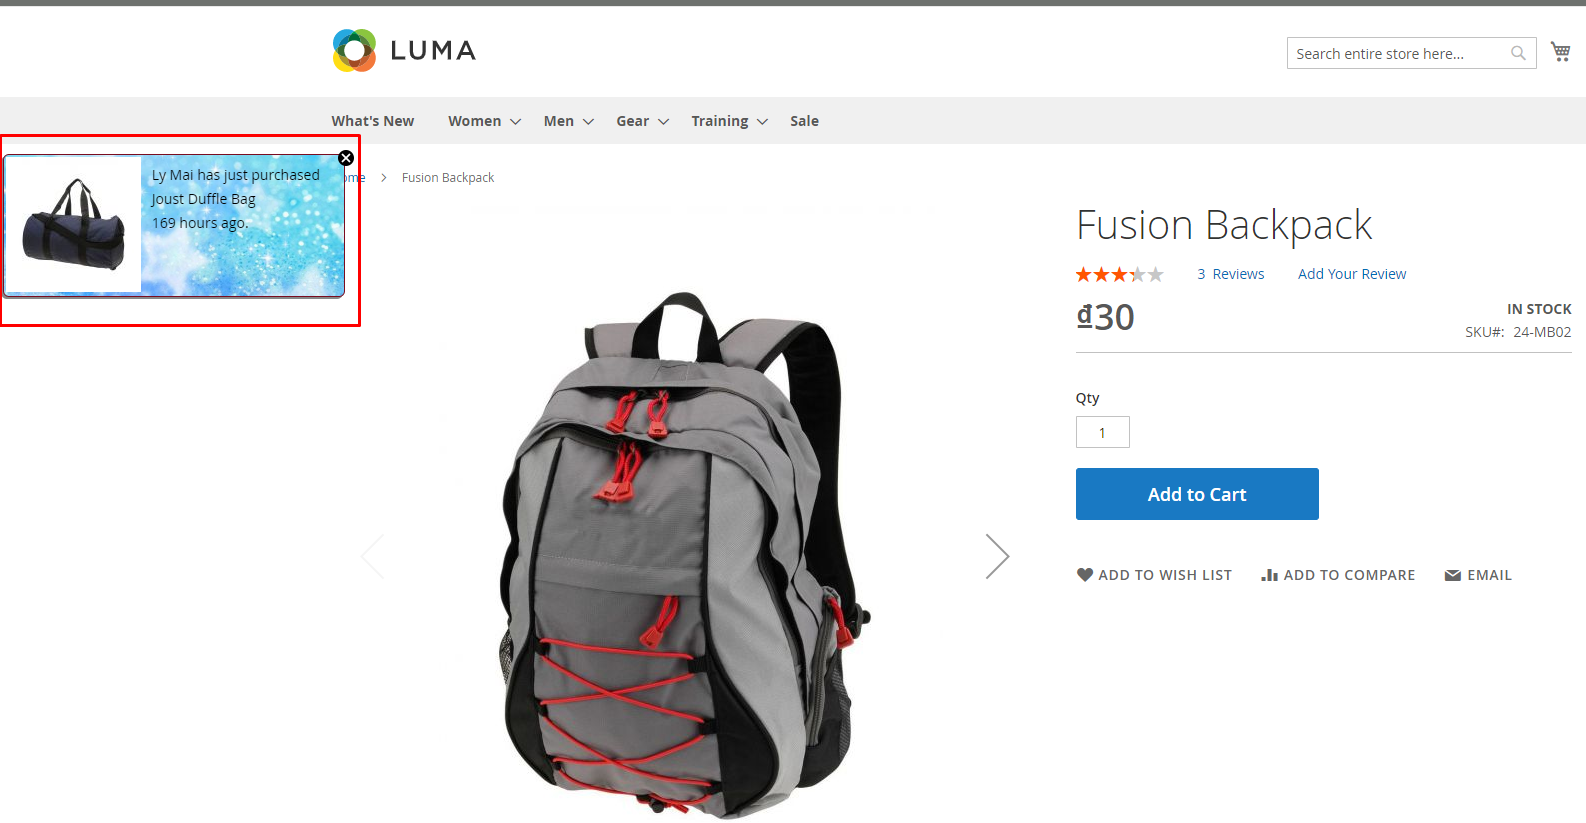
Top Left: displays a popup at the top left of the page.
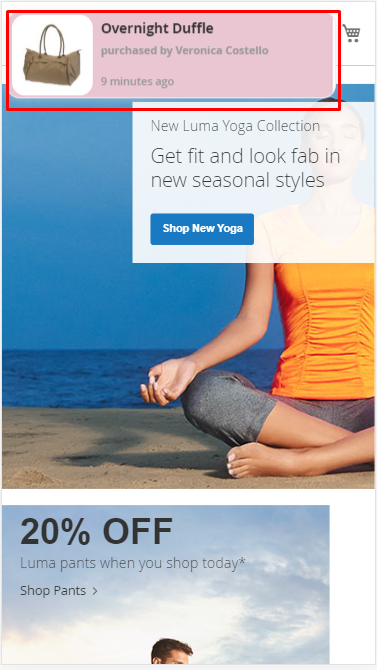
- Desktop
- Mobile
Top Right: A popup is displayed with the top right of the page.

Bottom Left: displays the popup at the bottom left position of the page.

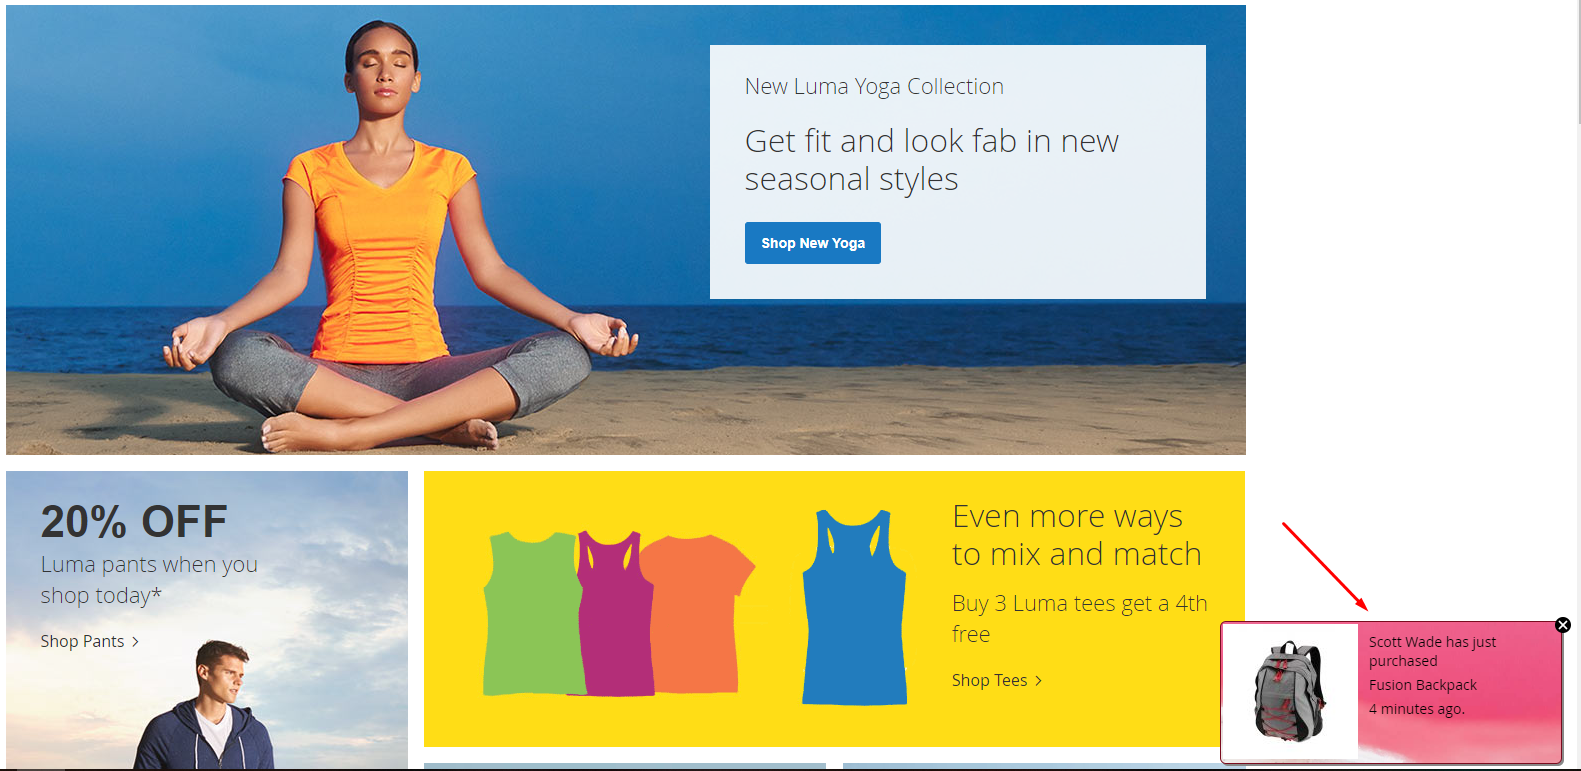
Bottom Right: displays the popup at the bottom right of the page.
- Choose popup type to display:
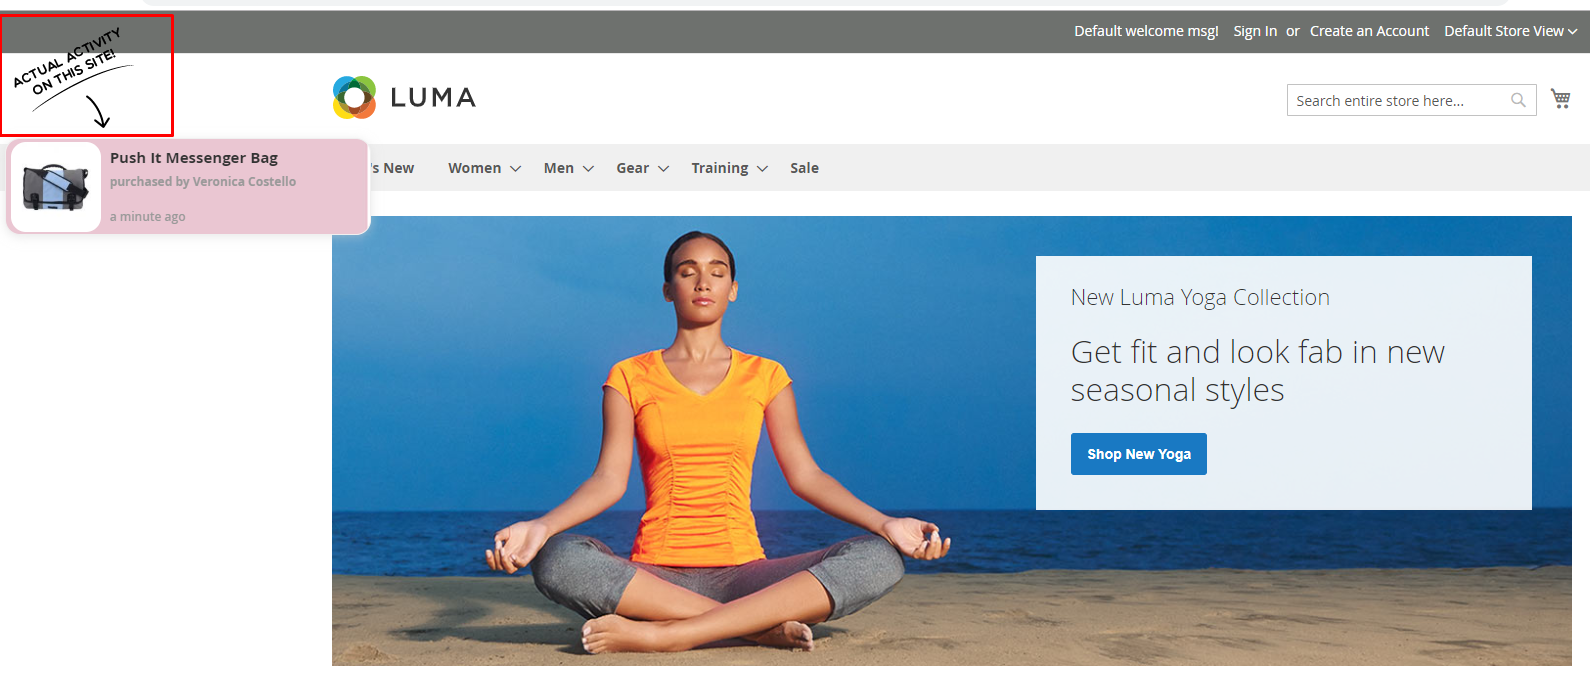
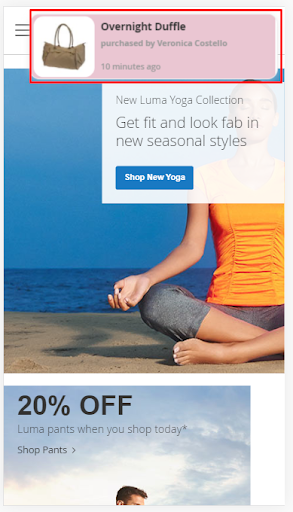
- Recent Sales Popup: Displays products ordered in a certain period of time:
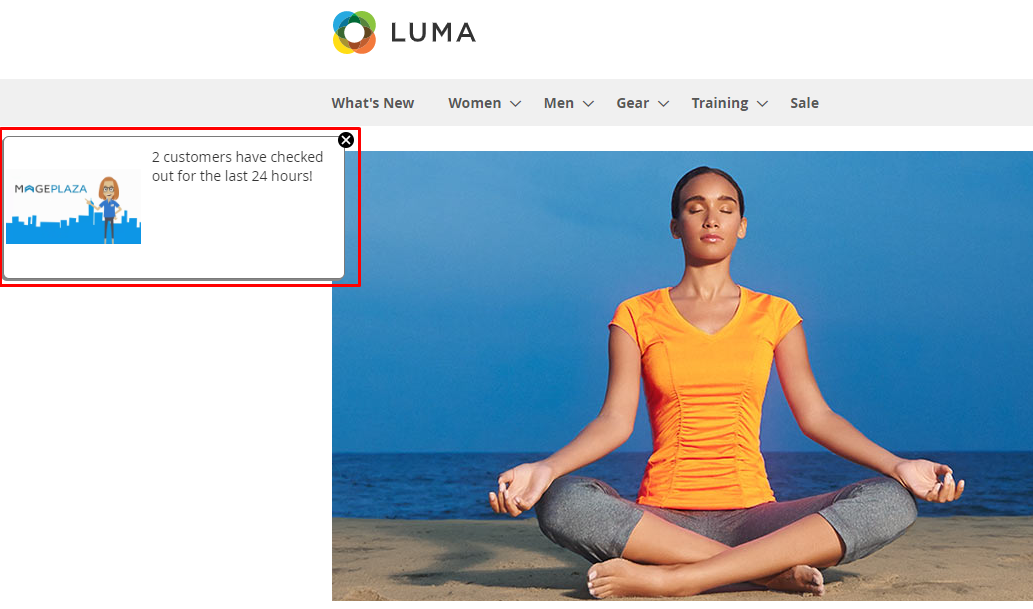
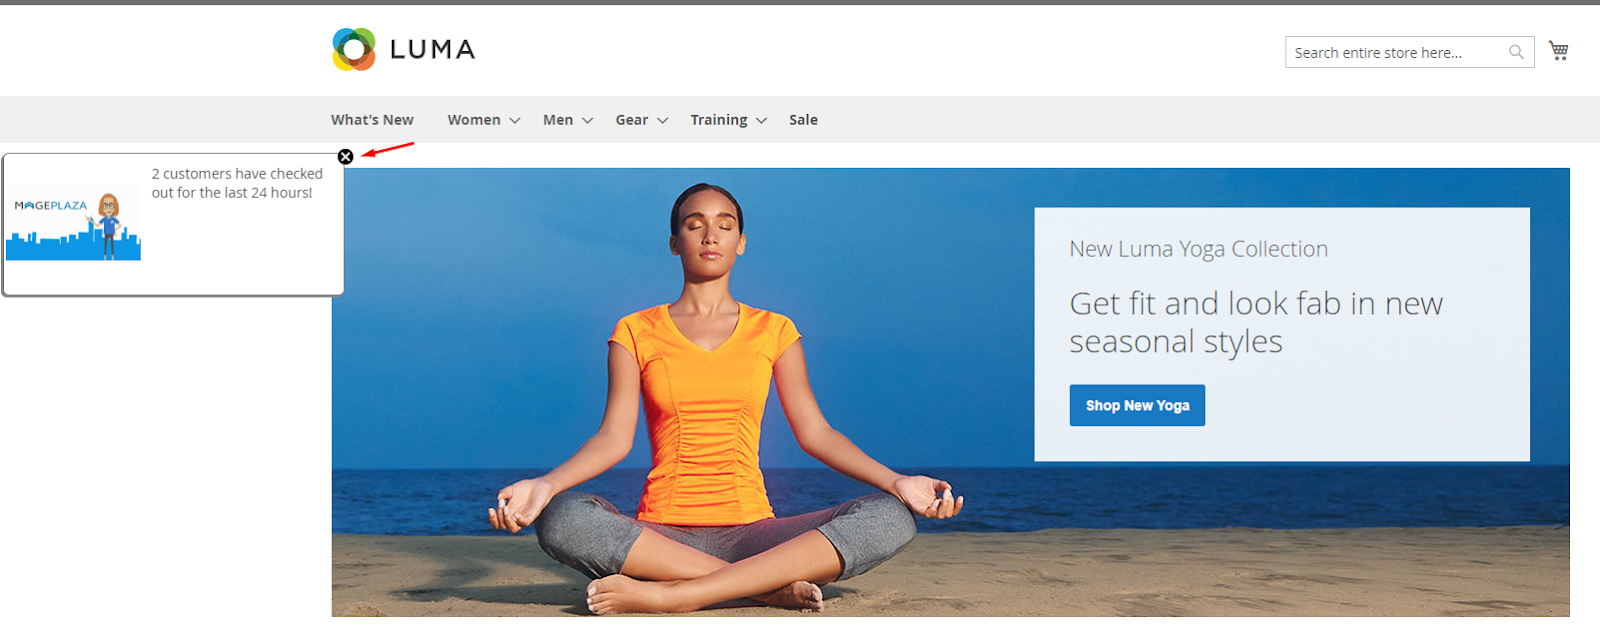
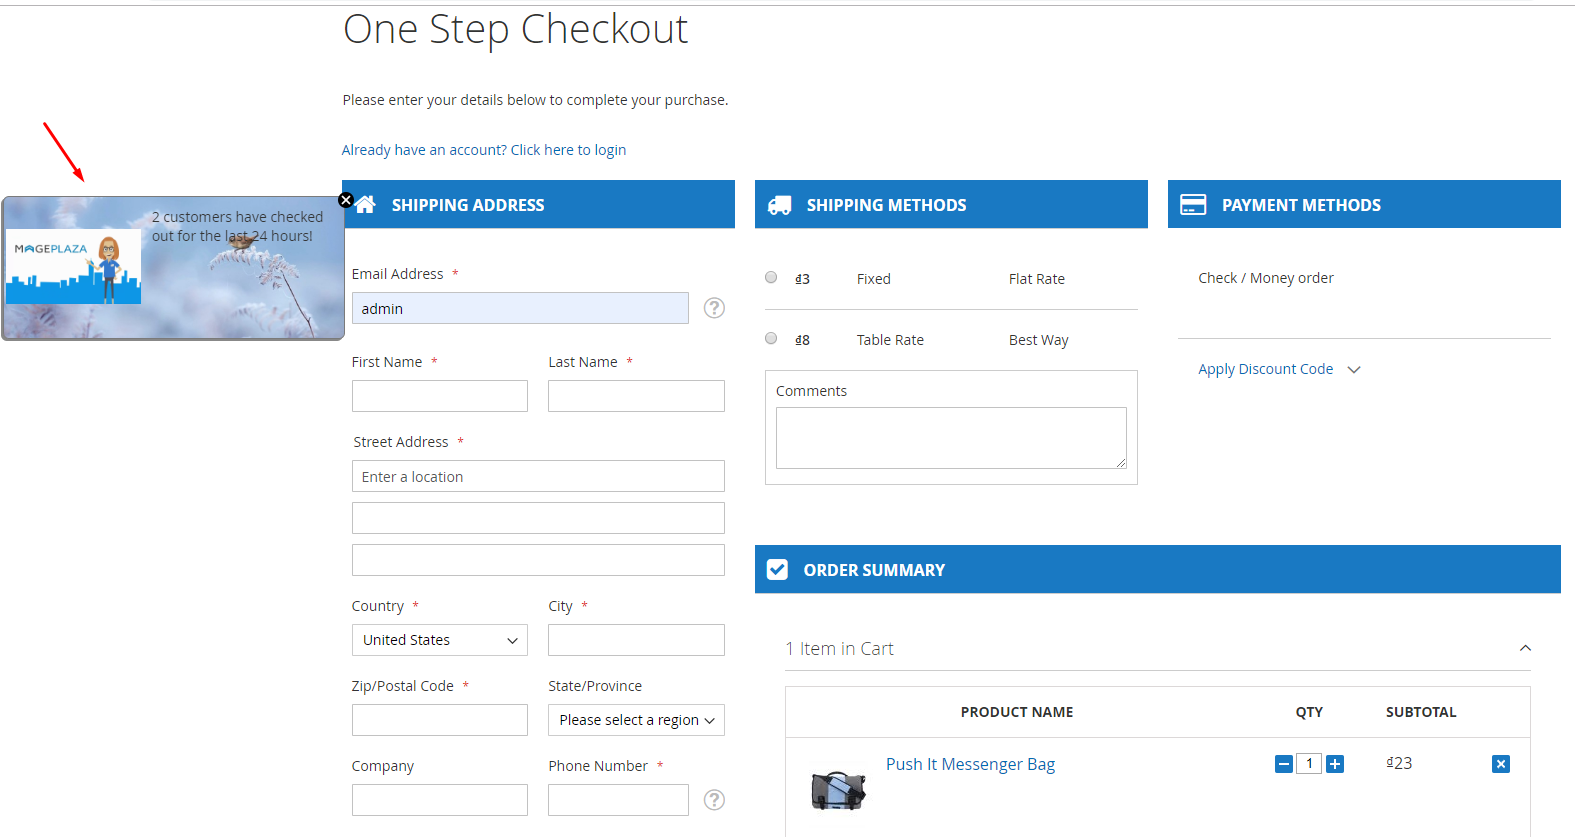
- Checkout Total Popup: Displays total number of checked out customers:
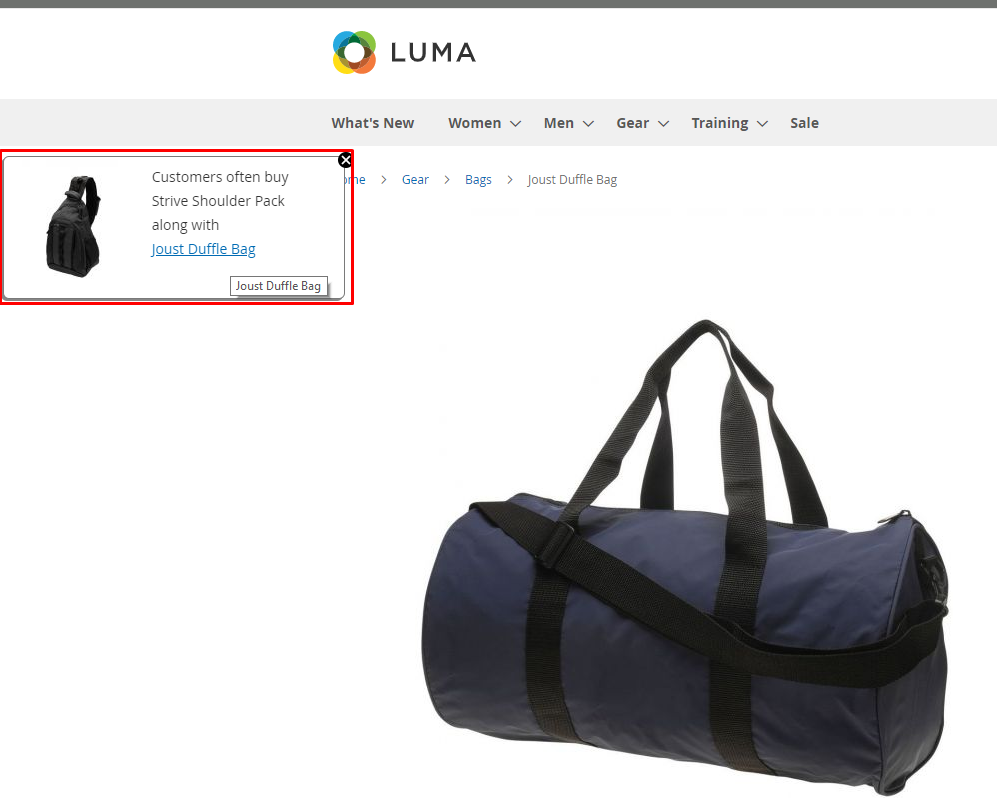
- Up-sell Product Popup: Displays often bought together products:
- Recent Sales Popup: Displays products ordered in a certain period of time:
How to configure
1. Configuration
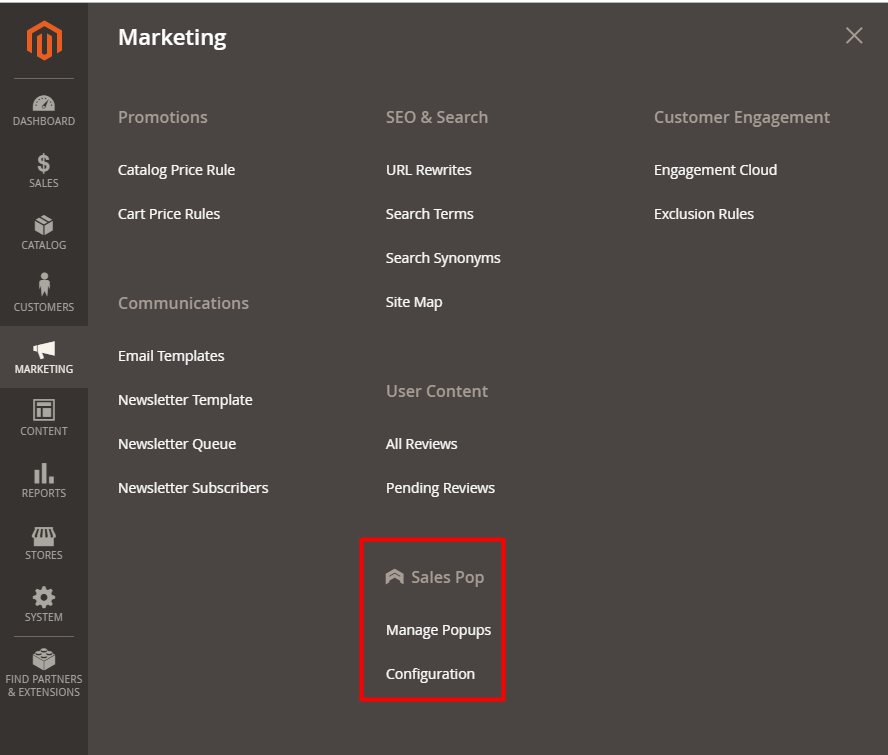
Login to the Magento Admin, choose Marketing > Recent Sales Notification > Configuration.
1.1. General
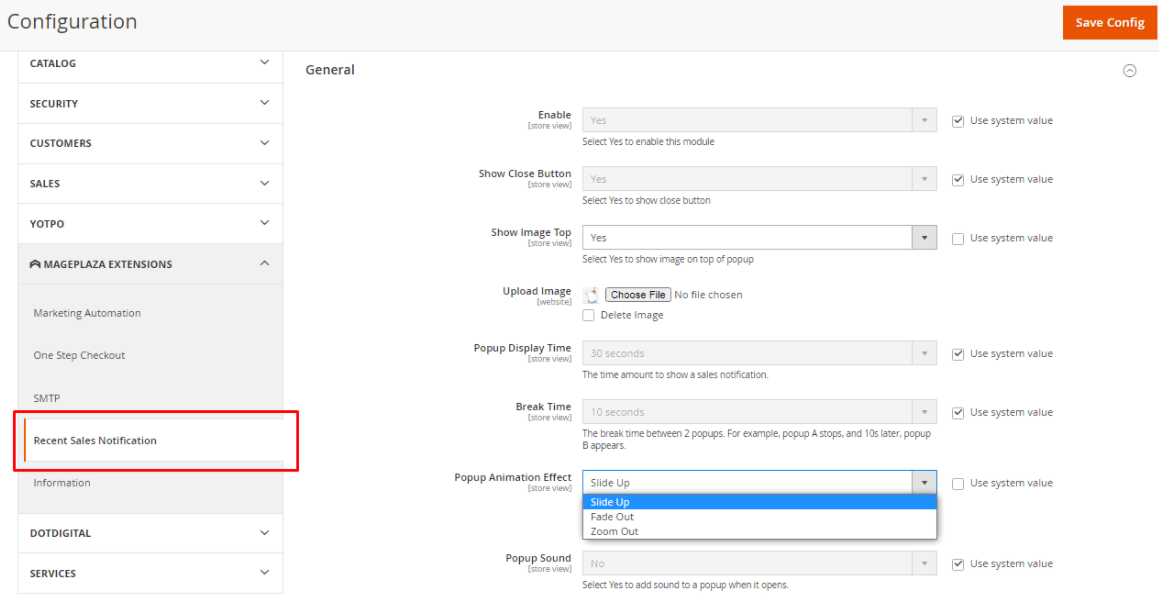
Enable: Select Yes to enable the module feature.
Show Close Button:
- If you select Yes, a Close button will be displayed when hover to popup so customers can turn off popup. After clicking Close, the popup will not appear again and only display again when reloading the page.
- Selecting No, popup does not have a Close button when hover to popup. This popup only can be turned off when the popup timeout configured at Popup Display Time is over.
- If you select Yes, a Close button will be displayed when hover to popup so customers can turn off popup. After clicking Close, the popup will not appear again and only display again when reloading the page.
Show Image Top: If you select Yes will display the image on the top of the popup and this extra field is shown:
- Upload image: ClickChoose File button to upload the image and it will be displayed at the top of the popup page.
- Upload image: ClickChoose File button to upload the image and it will be displayed at the top of the popup page.
Popup Display Time: Select the time to display popup. After the timeout, popup will automatically be turned off. Time is counted when displaying the final product according to the setting in the Number of Recent Order field
Break Time: Select the time period in which a popup can be auto turned off then turned on again. Note: if you click Close button to turn off the popup, it will not show the popup again and only display it again when reloading the page.
Note: When hovering the mouse over the popup, it will stop the popup at that time. After dragging the mouse out, the time runs from the beginning until the end.
Popup Animation Effect: Select an effect to display a popup. Including the following options:
- Fade Out:
- Slide up:
- Zoom Out:
- Fade Out:
Popup Sound: If you select yes, it will sound when popup appears.
2. Manage Popups
Login to the Magento Admin, choose Marketing > Recent Sales Notification > Manage Popups.
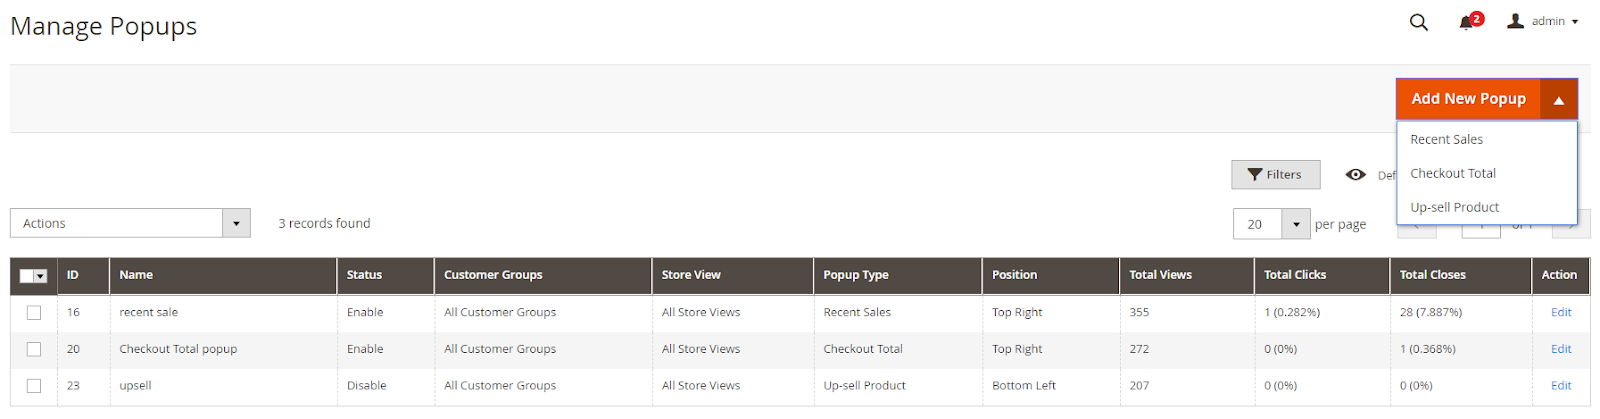
2.1. Grid
Here records information of different types of popup: Recent Sales, Checkout Information, Up-sell Product of Parent popup including information of fields: Name, Status, Customer Groups, Store View, Popup type, Position, Priority, Total Views.
2.2. Create new popup
2.2.1. General
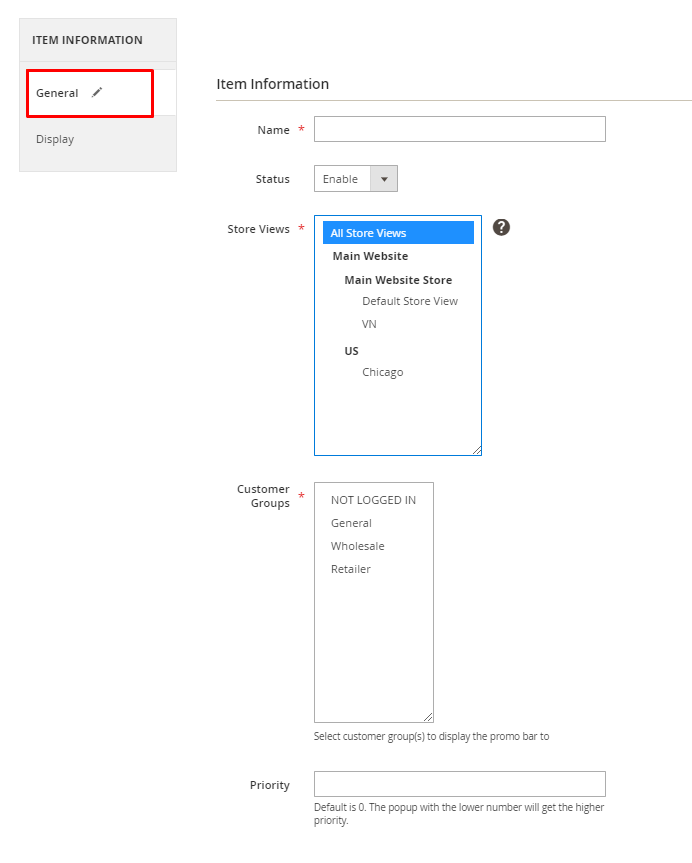
- Name: Enter a name for popup. This is a required field
- Status: Select "Enable" to turn in the selected popup.
- Store Views: Select Store views to display this popup. You can select one or more store views at the same time.
- Customer Groups: Show popup only for selected customer groups. You can choose one or more customer groups.
- Priority:
- Enter priority for the popup. If left blank, the default is 0.
- Popups that have a smaller number have a higher priority.
2.2.2. Display
Where to Display
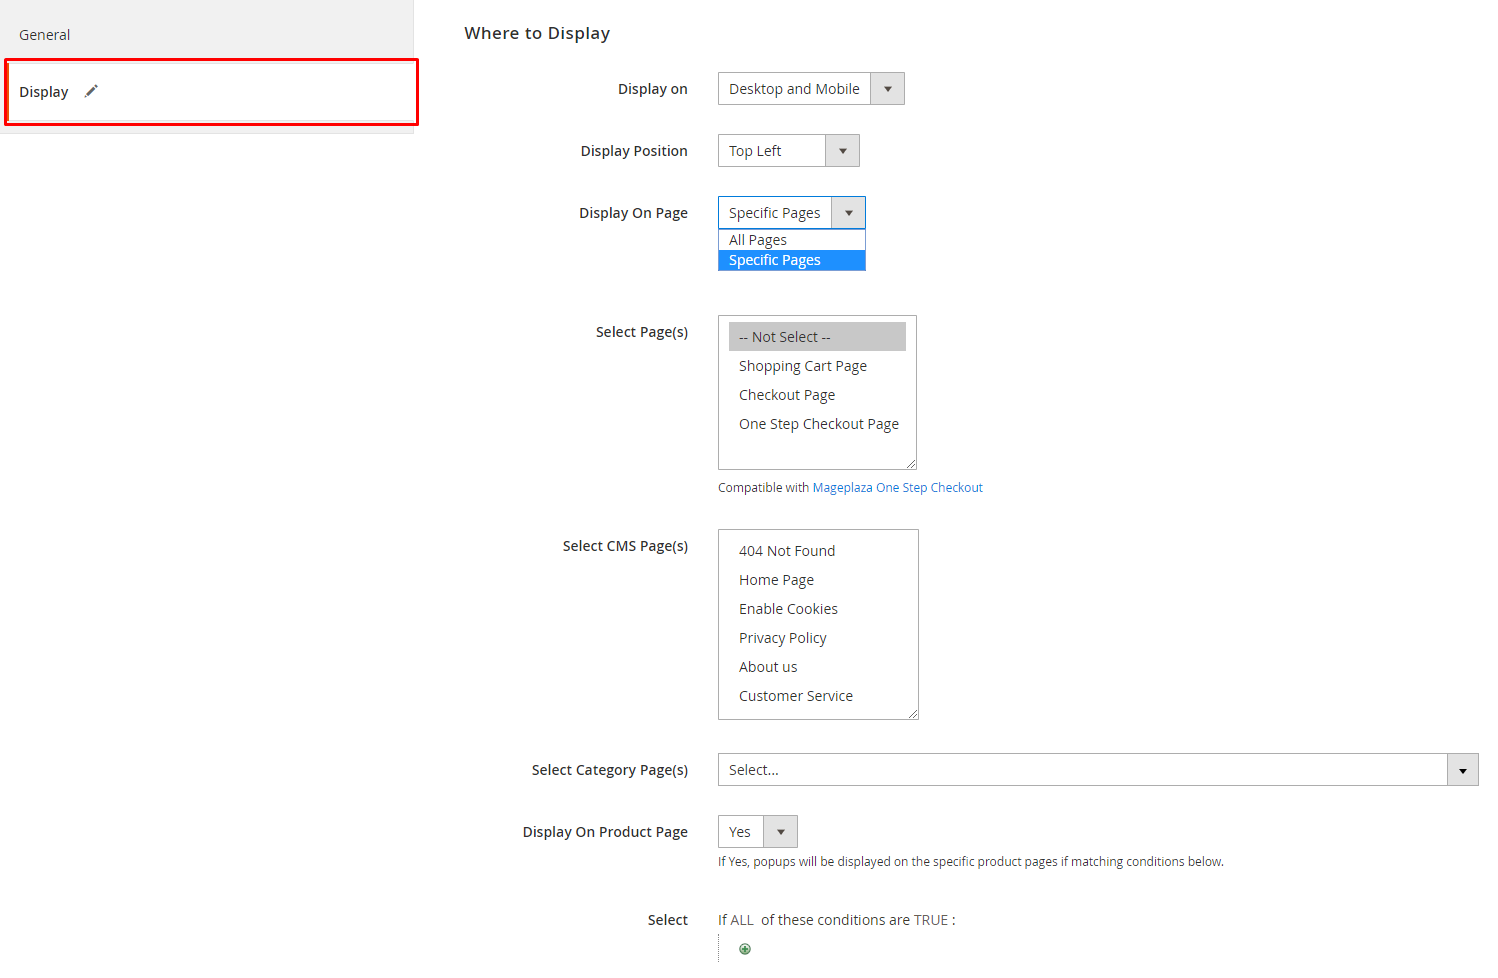
Display on: Choose to show popup on:
- Desktop and Mobile: displays popup on both mobile phones and computers.
- Desktop: only displays popup on desktop, not on mobile.
- Mobile: Only show popup in mobile.
Note: The admincan configure multiple popups to be displayed on the same page. If there are multiple popups displayed at the same location, they will be shown alternatively depending on the time admin set for each popup.
Display Position: Choose to show popup on Desktop or Mobile with 4 positions:
- Top Left: The popup is displayed at the top left of the screen.

- Top Right: A popup is displayed at the top right of the screen.
- Bottom Left: displays a popup with the bottom left.

Bottom Right: The popup is displayed at the bottom right.

Display On Page: Select the page that can display popup on:
- All Pages: display popup on all pages.
- Specific Pages: popup displayed on specific pages which can be selected. Show extra fields:
- Select Page(s): Select the page to display the popup. You can select one or more pages in the Select Page field (s) to display a popup. Select Not Select if you do not want to display popups with certain pages in this field.
- Shopping Cart Page: The Shopping Cart page will display a popup.
- Checkout Page: show popup at checkout page.
- The extension is fully compatible with Mageplaza One Step Checkout, which helps customers pay quickly and conveniently in one page with all six steps. Display the popup at the checkout page of One Step Checkout:
- Select Page(s): Select the page to display the popup. You can select one or more pages in the Select Page field (s) to display a popup. Select Not Select if you do not want to display popups with certain pages in this field.
- Select CMS Page(s): Select the CMS page to display the popup. You can select one or more pages at the same time to display the popup. Typically the following CMS pages:
- 404 Not Found
- Home Page
- Enable Cookies
- Privacy Policy
- About us
- Customer Service
- Select Category Page(s): Select one or more Category pages to display a popup. Any Category page that is not selected will not display a popup within it.
- Display On Product Page: If you select Yes, there will be an additional Select field to select the popup display condition on the product page.
- Select: Click ‘+’ to choose the condition for displaying popups on the product page. If left blank or unchecked the condition, it will display a popup for all product pages.
How to Display
Recent Sales popup
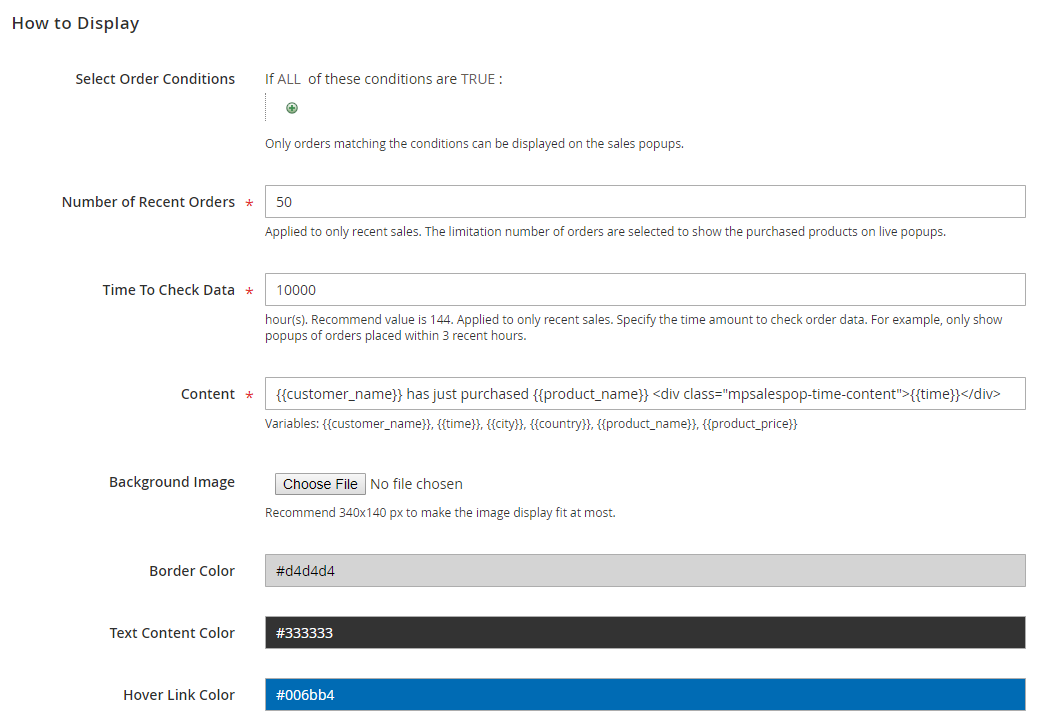
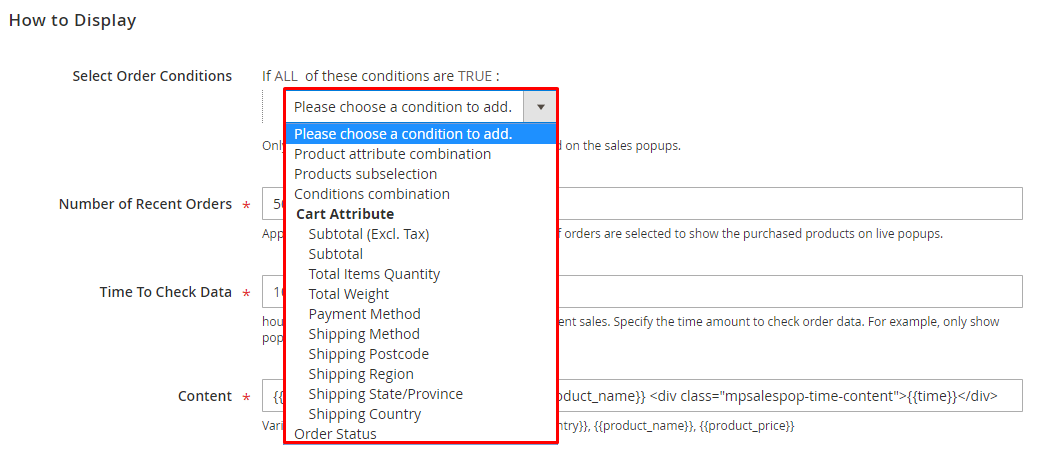
- Select Order Conditions: Select the conditions of the real order. Orders that satisfy the selected condition will be shown in the popup. If left blank, display all orders in the popup.
- Number of Recent Orders: Enter the number of orders shown in the popup. Even though there are a lot of orders satisfies the condition, it will only be displayed the number of orders selected. Leaving this blank will not limit the order number shown in the popup.
- Check Order Time: Enter the number of hours after which, the system will auto check and update the products from the new order.
- Content: Enter the content to display information of the order in the popup. The default value is
{{customer_name}} has just purchased {{product_name}} {{time}} ago.
Checkout Total popup
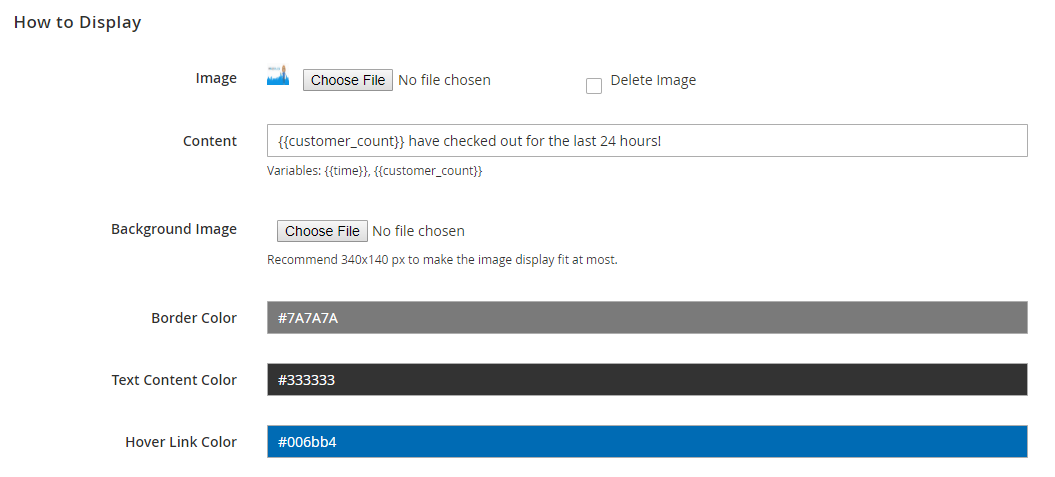
- Image: Click Choose File button to upload the image for the popup. If you want to delete photos, select Delete Image.

- Content: Enter the content to display with Checkout total popup, data will be auto checked within 24 hours. Orders recorded for more than 24 hours will not be shown on popup. For example:
{{customer_count}} have checked out for the last 24 hours!
Up-sell Product popup
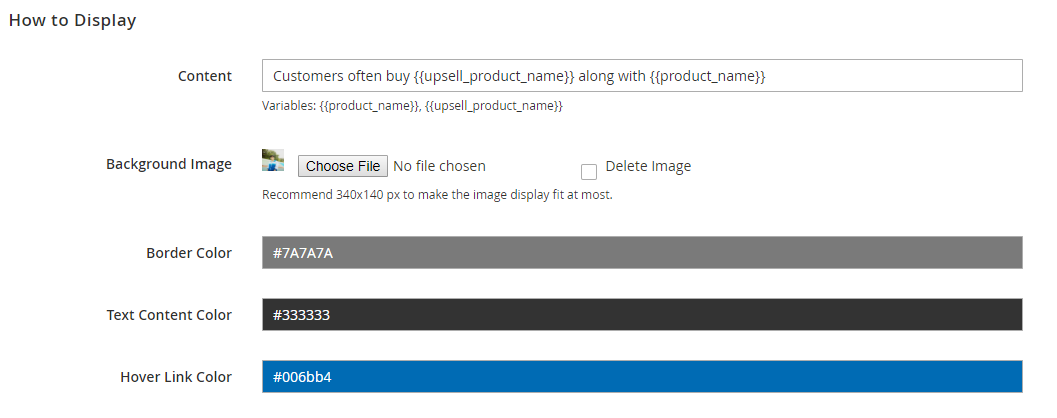
- Content:
- Enter the content to display related products that customers often buy along with the current product. For example:
Customers often buy {{upsell_product_name}} along with {{product_name}} - If left blank, the default popup information will be
Customers often buy {{upsell_product_name}} along with {{product_name}}
- Enter the content to display related products that customers often buy along with the current product. For example:
- Background Image:
- Click Choose File button to upload the image and the image will be set as the background for the popup
- If left blank, no background image will appear in the popup
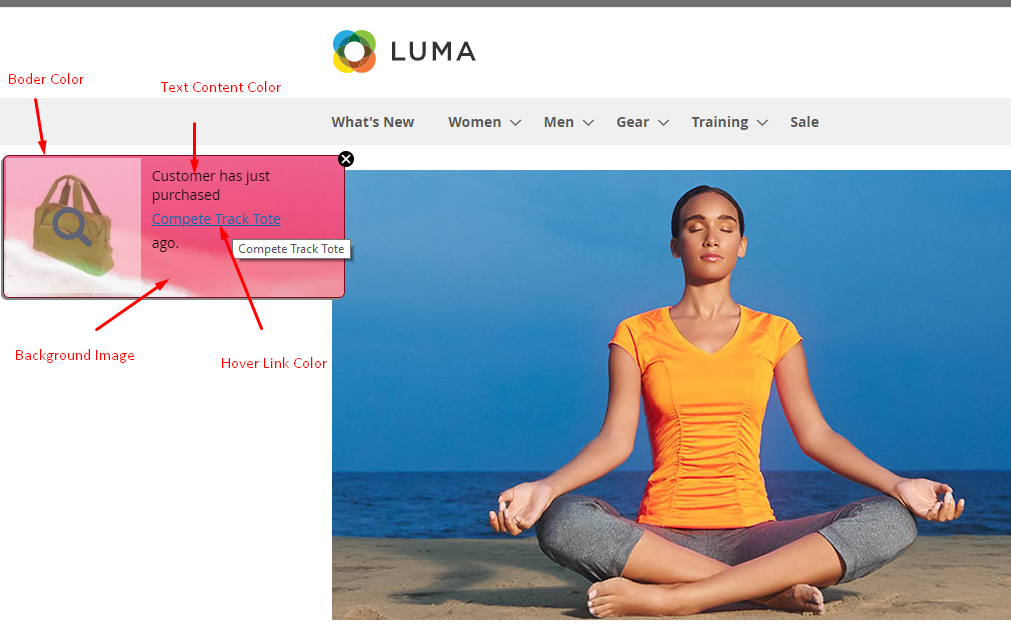
- Border Color: Enter or click in the Border Color field to select the border color for the popup. If left blank, the default is gray (#d4d4d4).
- Text Content Color: Select the color for the content displayed in the popup. If left blank or unchecked will default to black (#333333).
- Hover Link Color: Select the color for product link in the popup, when touching or hovering, the link will display the color of the hover link. If left blank or unchecked,it will default to blue (#006bb4).
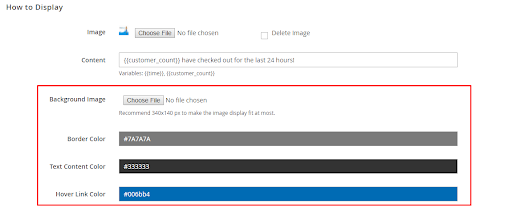
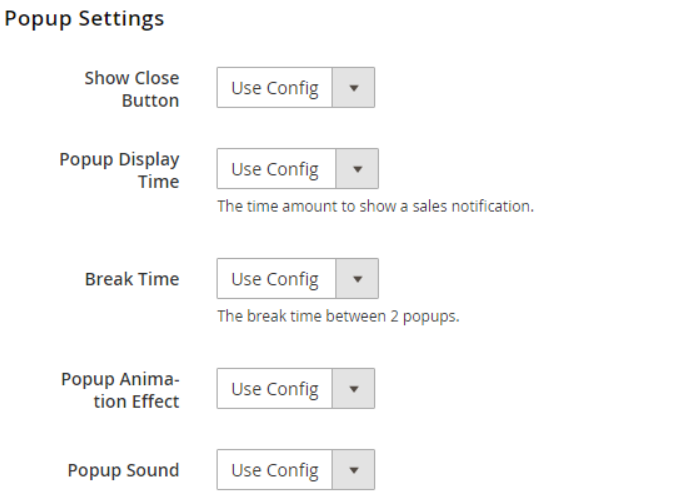
Popup Settings
In this section, you can configure each popup and the features similar to those in the Configuration parts above by choosing Use Config option in each field.
2.2.3. Report
After Save or Save and Continue edit or edit popup will display Statistics on General tab including View(s), Click(s), Close(s) of Total Statistics, Parent Statistics, Child Statistics.
General Report
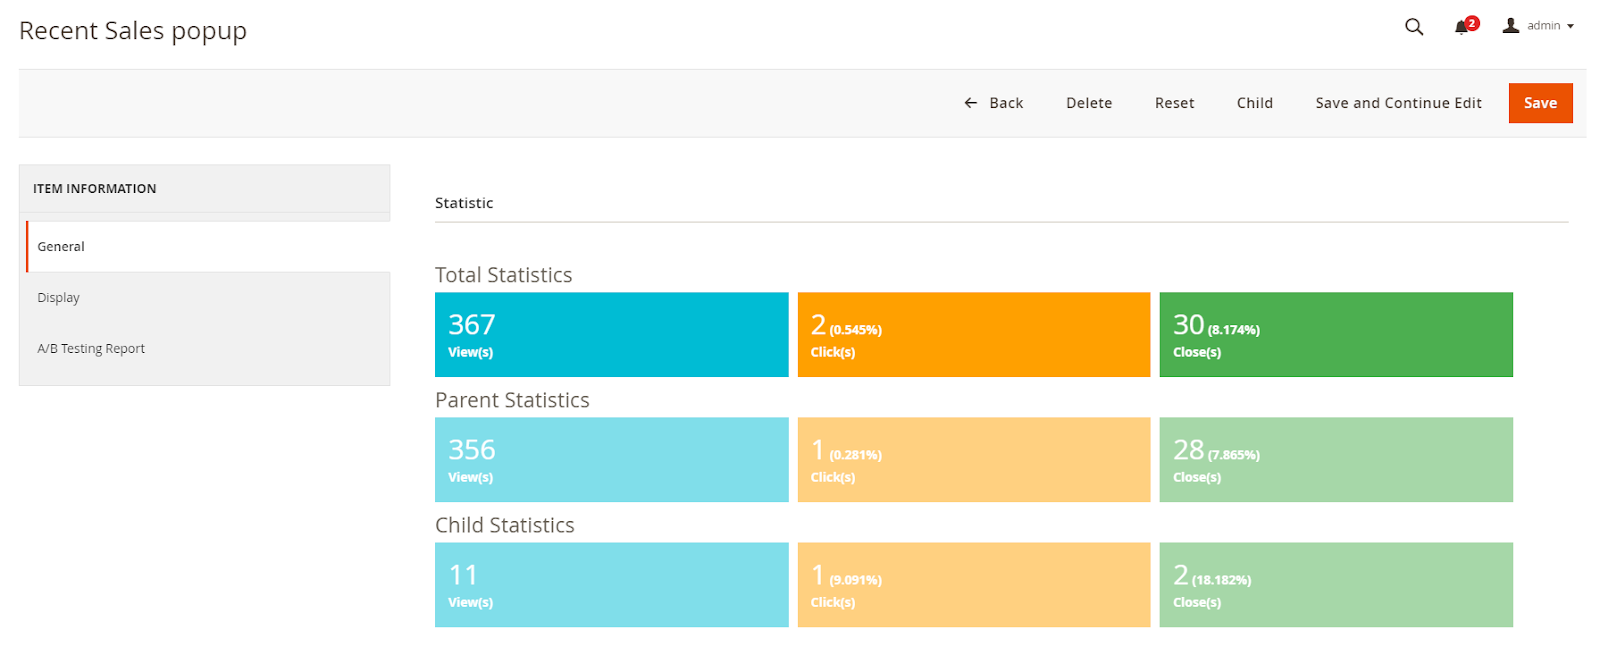
Total Statistics: This section records all the number of View(s), Click(s), Close(s) including Parent Statistics and Child Statistics.
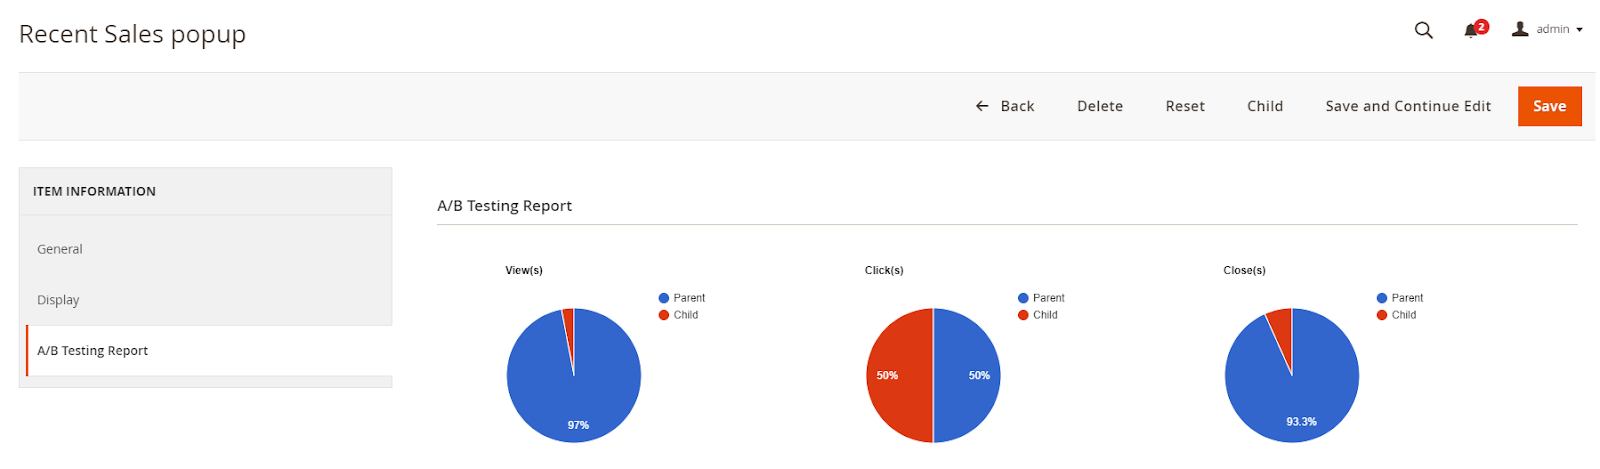
A/B Testing Report
After Click Add A/B Testing to create a Child popup and then will display more A/B Testing Report tab in Parent popup to report chart by View(s), Click(s), Close(s) of Parent popup and Child popup.
- Click Add A/B Testing to create a new popup called Child popup with information fields available from parent popup. You can then change the child popup information such as the content, location, images, etc., from the entered values. Click Save or Save and Continue edit to save the newly created popup.
- Child popup information will depend on the Parent popup like Status, Display On Page, Customer Groups, Store Views, Priority, etc. For example, if the Parent popup is off, the child popup will also be turned off in the Frontend.
- When both popup types are enabled, they will work and run alternately.
- Selecting Parent will display A/B Testing Report as Pie-chart to compare Percentage of View, Click, Close amount between Parent and Child popup. Also, add Parent Statistics, Child Statistics fields to make reports of View, Click, Close. The statistics of the pie chart will be completely based on the information of Parent Statistics, Child Statistics.
3. Compatible Quick View
Recent Sales Notification is fully compatible with the Mageplaza Quick View extension that will support viewing the full product details via the popup when clicking on the image of the product at popup.
4. API
Mageplaza's Recent Sales Notification extension supports the use of the Rest API to view a detailed list of all popup that the admin has created.
5. Graphql
Run the following command in Magento 2 root folder:
composer require mageplaza/module-sales-pop-graphql
php bin/magento setup:upgrade
php bin/magento setup:static-content:deploy
To start working with Recent Sales Notification GraphQL in Magento, please do the following requirements:
- Use Magento 2.3.x. Reture your site to developer mode.
- Install chrome extension (currently does not support other browsers)
- Set GraphQL endpoint as
http://<magento2-3-server>/graphqlin url box, click Set endpoint. (e.g. http://develop.mageplaza.com/graphql/ce232/graphql) - Mageplaza-supported queries are fully written in the Description section of
Query.RecentSalesNotification.items - To get the popup information by id and information of all popups, learn more here.