Product Labels
Overview
Product Labels extension offers a feature that helps store owners display images, labels, characters, and symbols on the products. This feature brings the customers an intuitive interface that allows them to know which products are being got the sale off and what percentage of sales is, etc. Also, when you integrate this module, store owners can easily attract customers to the best-selling products or products that they are planning for marketing to increase sales and revenues for their online stores.
Outstanding Features
| Outstanding Features | Description | |
|---|---|---|
| 1 | Customize eye-catching product labels | Customers can create their labels with various attributes or choose their favorite pre-made templates as well. These labels can be added to different pages, including the product page, product listing page, and search page. That helps increase the shopping experience. |
| 2 | Apply the label display for many products | With our modules, customers can save time and reduce the workload for admins because they do not have to manually and repetitively apply one label several times. |
Installation Guide
We offer two methods for installing our plugins: the Copy & Paste method and the Composer method. Please follow the detailed instructions provided below.
Method 1: Installation via Copy & Paste
To install our plugins using the Copy & Paste method, kindly follow the instructions at the link below:
How to Install Magento 2 Extension via Copy & Paste
Method 2: Installation via Composer
Composer name: mageplaza/module-product-labels
To install our extensions using Composer, please refer to the comprehensive guide at the link below:
How to Install Magento Extension via Composer
By following these guides, you can ensure that the installation process is handled correctly, allowing you to fully utilize the features and benefits of our plugins.
Module Update Guide
Keeping your module updated ensures optimal performance. Follow one of these steps to update your module:
- By Account Dashboard: Log in to your
Mageplaza account > go to the My Licenses section > click on the Download button > choose the latest version from the popup. - By composer: Kindly use the following commands to update the module via composer
composer require mageplaza/module-product-labels
php bin/magento setup:upgrade
php bin/magento setup:di:compile
Updating a module by Composer ensures efficient dependency management, version control, and integration with development tools, making the process faster and more reliable.
II. How to configure
From the Admin Panel, go to Mageplaza > Product Labels > Configuration
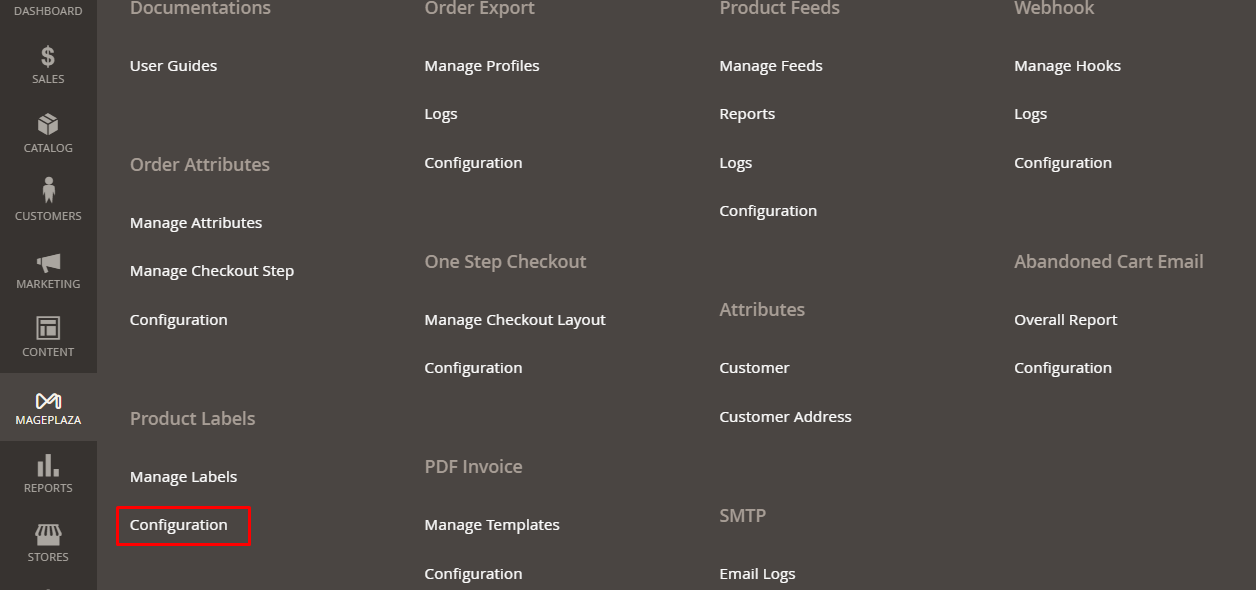
Configuration
From the Admin Panel, go to Mageplaza > Product Labels > Configuration

General
- Enable: Choose Yes to use this module
- Limit The Number Of Labels Per Product: Enter the number of labels that can be displayed on each product. The default value of the field is 2. If left blank, the number of labels displayed per product is not limited.
- Show Labels On Pages: Select one or more pages to show labels on the frontend. Pages that are not chosen will not display any labels.
- Show Labels with Related Products: Select Yes to display labels of Related Products on the Product Details page
- Show Labels with Upsell Products: Select Yes to display labels of Upsell Products on the Product Details page
- Show Labels with Cross-sell Products: Select Yes to display labels of Cross-sell Products on the Product Details page
- Hide Label when Variable equal to zero: Select Yes to hide labels when the value of the variable is 0 or the variable name is incorrect
On Sale Product Setting
- Min Value of Discount Amount Variable: The minimum value of the {{discount}} variable shown in the label.
- Min Value of Discount Percentage Variable: The minimum value of the {{discount_percent}} variable shown in the label.
- Rounding Method of Discount Percentage: The value of Rounding Method applied to the {{discount_percent}} variable can be changed with all label display rules.
- Normal: The number of points converted from the currency (USD, EUR, …) will be rounded according to the normal rule. E.x: 10.2 rounded to 10; 10.8 rounded to 11.
- Rounding Up: The number of points converted from the currency (USD, EUR, …) will be rounded up. E.x: 10.2 or 10.8 is rounded to 11.
- Rounding Down: The number of points converted from the currency (USD, EUR, …) will be rounded down. Ex: 10.2 or 10.8 is rounded to 10.
New Product Setting
- How to set the New Products: There are 2 ways to set products as new products:
- New from Date and New to Date
- Create date product:
- Number of Days: The maximum number of days from the Create day of product until today, which depends when
How to set the New Products = Create Date
- Number of Days: The maximum number of days from the Create day of product until today, which depends when
Stock Status Label Setting
- Displays Label When The Product Is Out Of Stock: If Yes, the out of stock products are only sticked with the ‘Out of Stock’ Label.
- ‘Out of Stock’ Label: Select a label to display with out of stock products
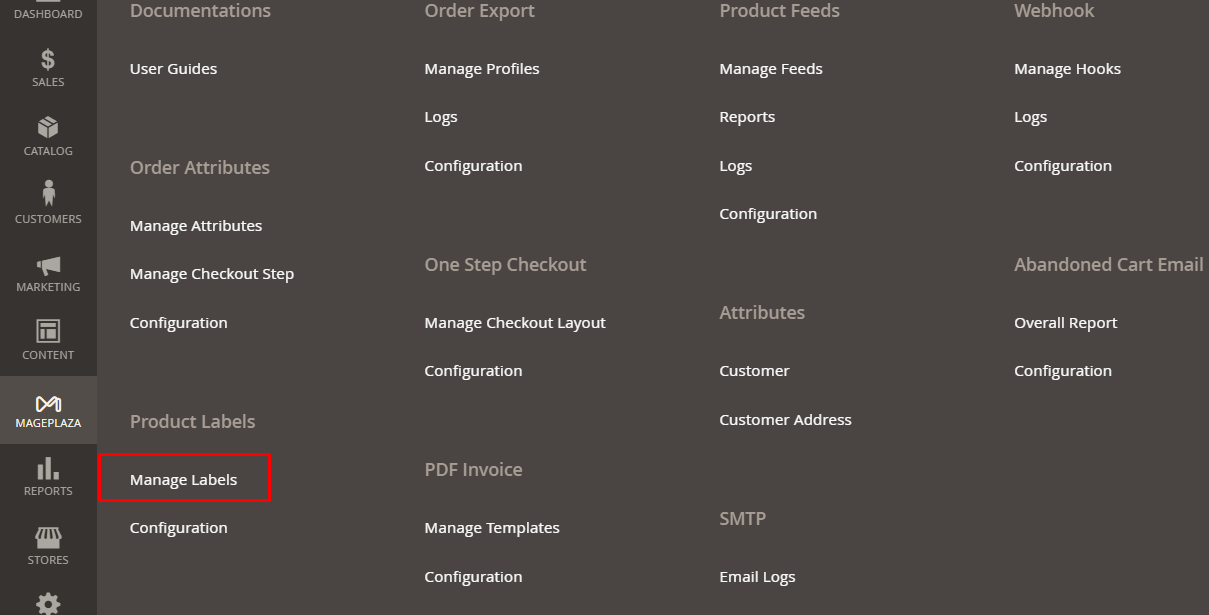
Manage Labels
From the Admin Panel, go to Mageplaza > Product Label > Manage Labels
Create New Feed
- Step 1: Fill in the full information in the
Generalsection - Step 2: Set the condition to apply the label display for the products in the
Where to Showsection - Step 3: Design labels and images on the product in the
label designsection
The "Save" button in Label Edit Form: When the admin sets up or edits the label and clicks "Save", the system automatically applies the rule to related products based on the set conditions.
Step 1: Fill in the full information in the General section
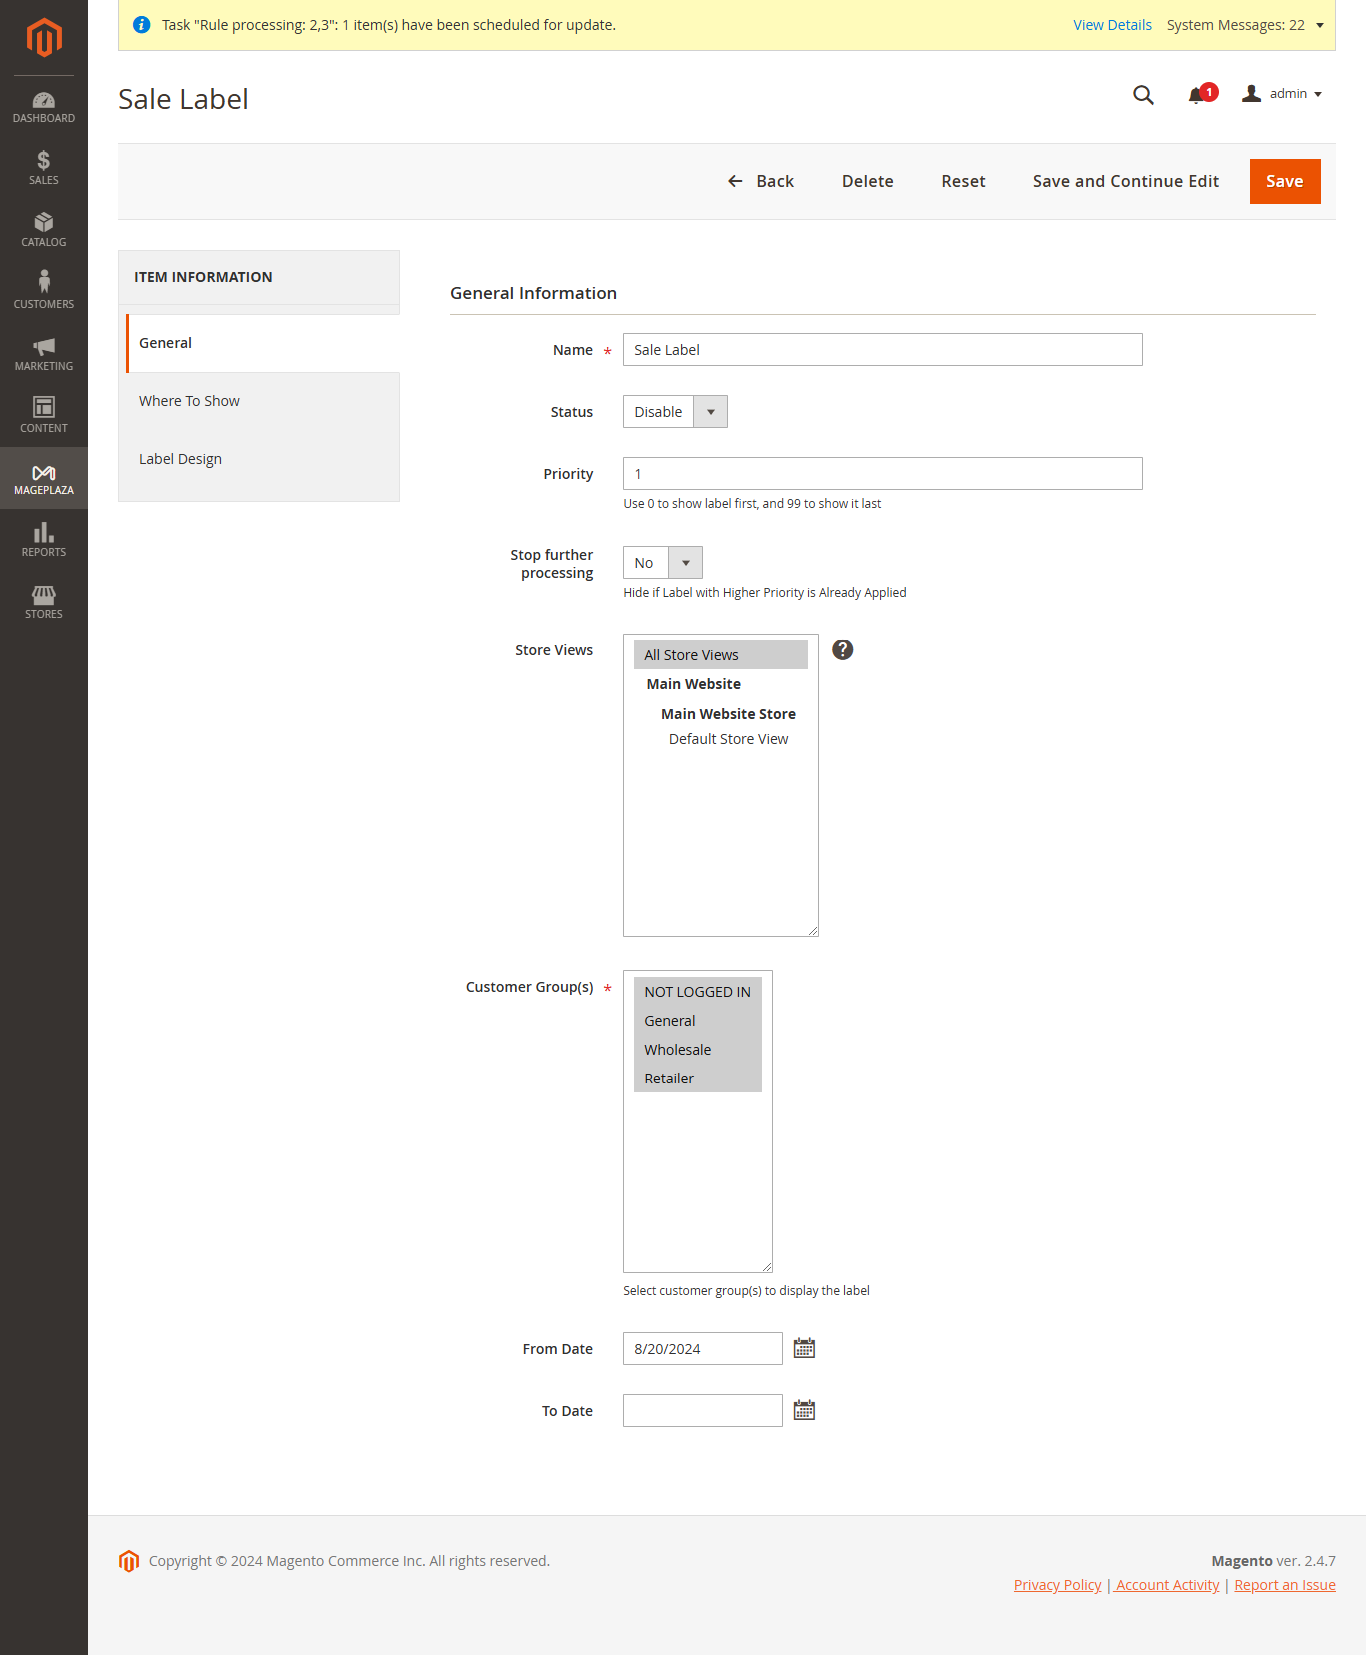
- Name: Enter the name of the item
- Status: Choose
Enableto display the label on the product - Store View:
- Only the selected products in the store display the label
- Allow choosing many stores simultaneously
- Customer Group(s):
- Only the selected customer groups can see the label displayed on the product
- Allow choosing many groups simultaneously
- From Date: Choose the start day displaying the label on the product
- To Date: Choose the finish displaying the label on the product
- Stop further processing: Choose Yes to limit the number of the rule that applied for a product (based in the priority and ID)
- For example: Whether there are 4 rules created as Rule 1, Rule 2, Rule 3, and Rule 4 and the priority respectively is 0, 5, 3, 3.
- All rules are set as
Stop further processing = No. This means that all rules are applied. - Edit the Rule 3, and choose
Stop futher processing = Yes. After you Apply Rule, the rules are applied as Rule 1 (has the higher priority) and Rule 3. Rule 2 (the priority is lower) and Rule 4 (created later) are not applied.
- All rules are set as
- For example: Whether there are 4 rules created as Rule 1, Rule 2, Rule 3, and Rule 4 and the priority respectively is 0, 5, 3, 3.
- Priority:
- Enter priority for synchronizing objects
- The smaller the input number, the higher the priority. Items have the equal priority, the priority will be based on ID.
Step 2: Set the condition to apply the label display for the products in the Where to Show section
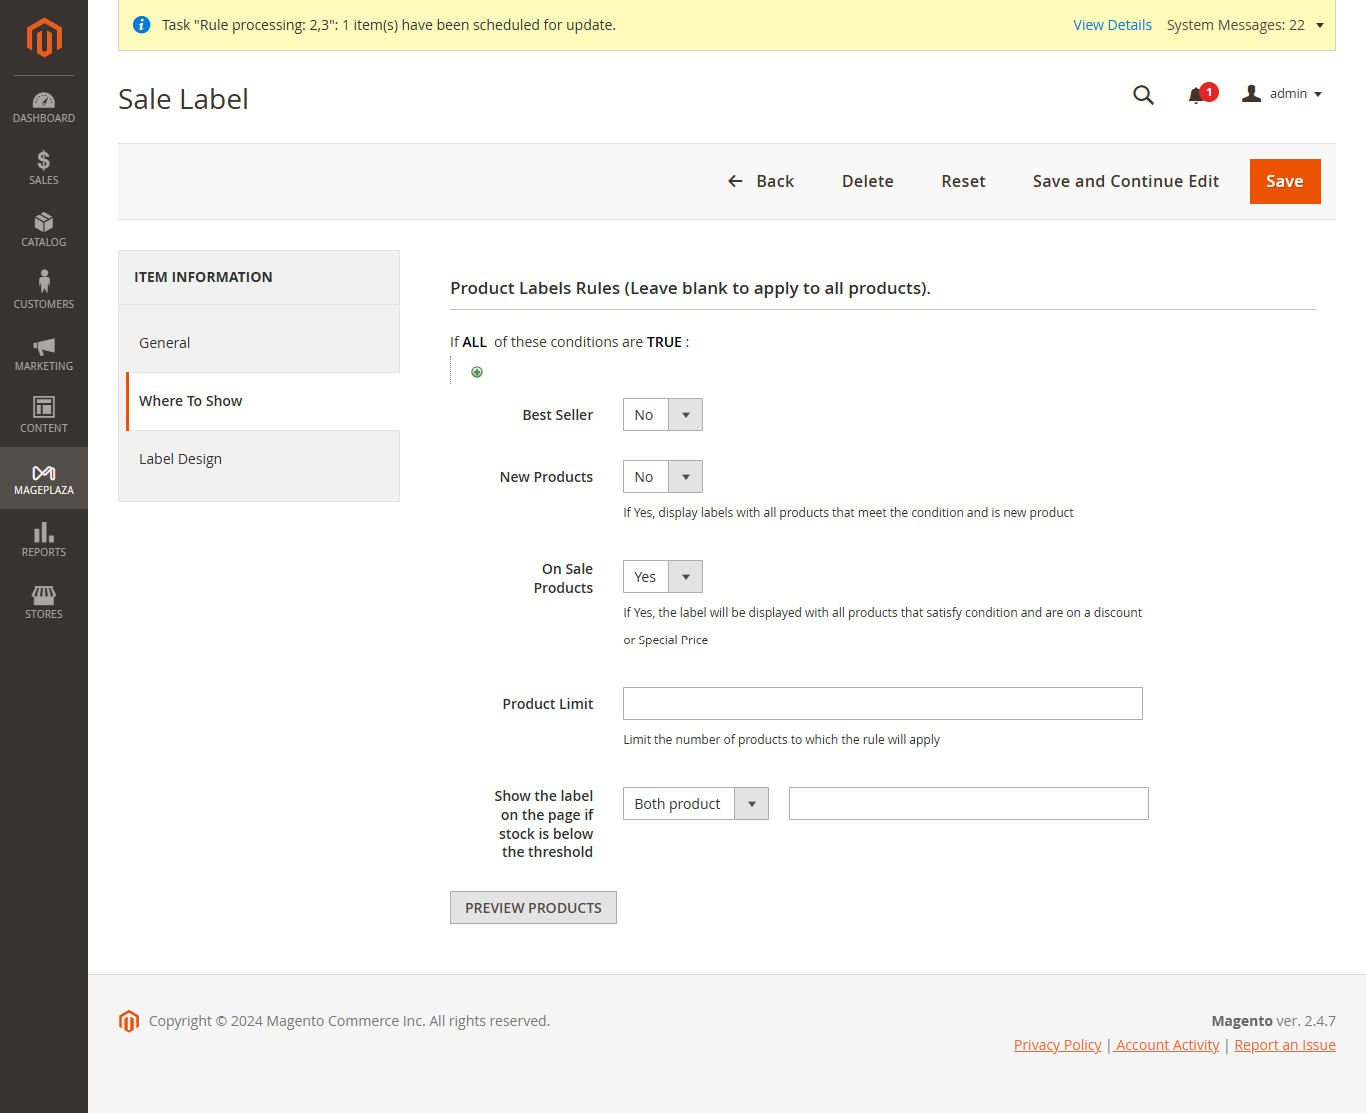
- Best seller: Choose Yes to auto-assign the label for the bestselling products
- New Products: If Yes, display label on all products that are new products and meet the conditions
- On Sale Product: If Yes, display label on all products are on a discount or Special Price and meet the conditions
- Product Limit: When admin sets the limit, only the quantity of products within this limit will be applied and displayed Label.
- Show the label on the page if stock is below the threshold: Display Label if Stock Quantity is Lower Than the Specified Value.
- Both Product Page(default): This is the default setting. When selected, the label will appear on both the Product List Page and the Product Detail Page whenever the stock quantity falls below the specified threshold
- Customer for each page: If you select this option, two additional fields will appear, allowing you to set different threshold values for each page:
- Product List Page: Enter the stock quantity threshold for the label to appear on the product listing page.
- Product Detail Page: Enter the stock quantity threshold for the label to appear on the individual product detail page.
- Preview Products: Show the product list first based on the conditions that the admin has configured.
- Note: For the fields "Show the label on the page if stock is below the threshold", the system will always take the value of the Product Detail Page to show the products
Step 3: Design labels and images on the product in the label design section
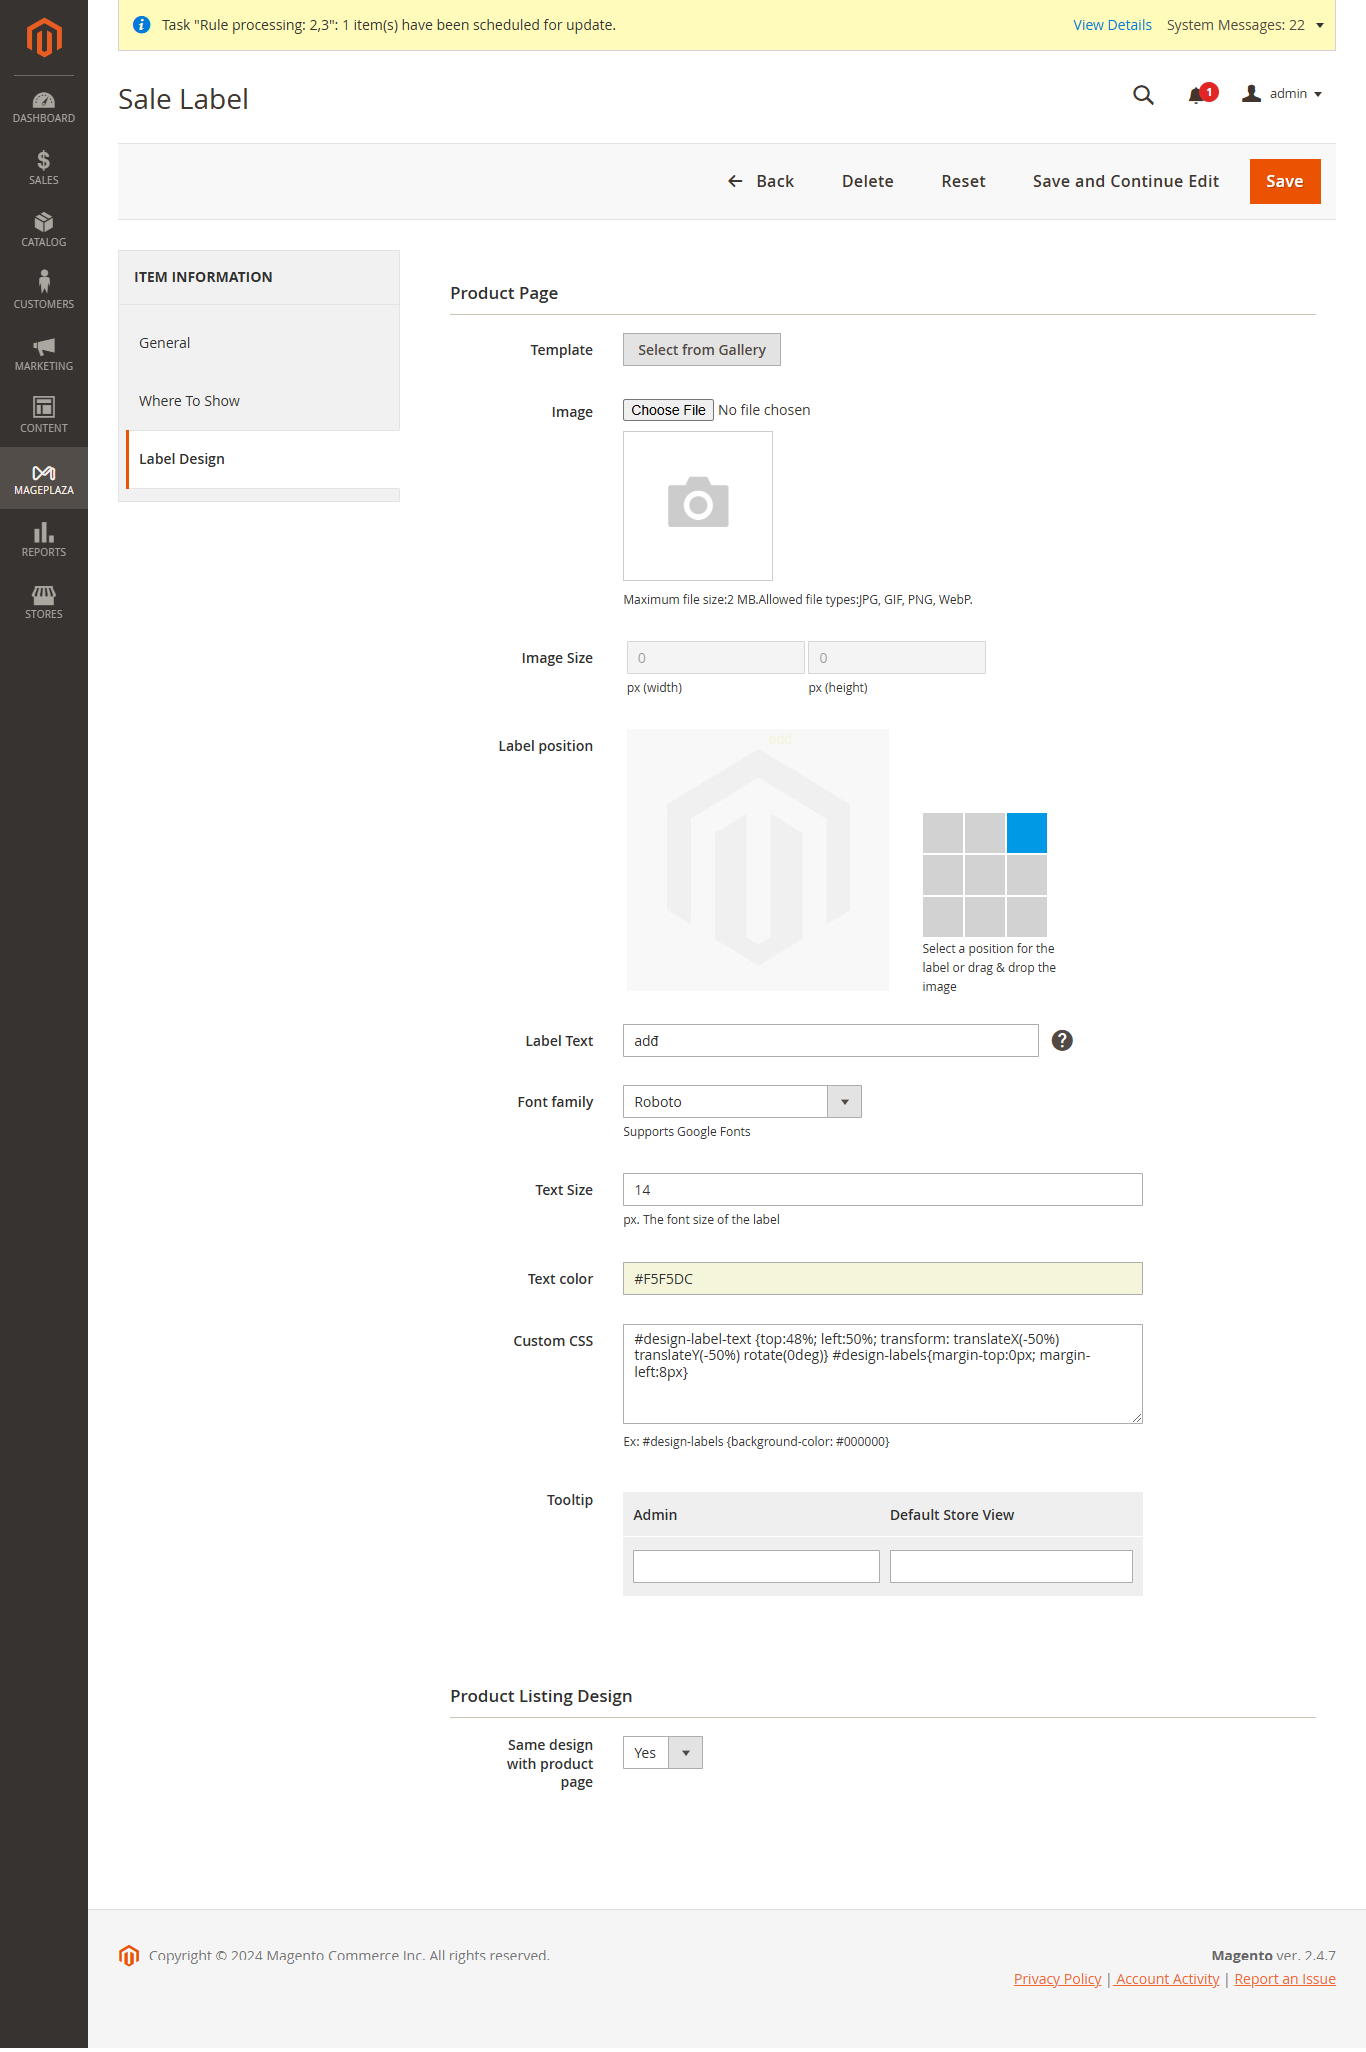
Design the labels and images for the product on the Product Page:
Template: Choose available label templates from the system library to save design time.
Label Image: Upload the designed label image file.
- Allowed File Types: JPG, GIF, PNG, WebP.
- File Name Display: Displays the name of the selected or uploaded label image file.
- Image Size: Adjust the size of the label by width and height. Maximum File Size: 2 MB.
Select Position: Use the small squares to select the display position of the label on the product image.
- Drag and Drop: Admin can drag and drop to move the label position in the preview section.
Label Text: Enter the text content displayed on the label.
- Editable template: When selecting an available template, the system automatically fills in the "Label Text" field for the admin to edit accordingly.
Font family: Choose the text font for labels; Roboto font is used by default
- Editable Template: When selecting a template, the system automatically fills the font in the "Font Family" field.
Text Color: Select a color for the text from the color palette or enter the color code directly (e.g. #000000).
- Editable Template: When selecting an existing template, the system automatically fills in the color code in the "Text Color" field.
Text Size: Adjust the font size of the text.
- Editable Template: When selecting a template, the system automatically fills the text size in the "Text Size" field.
Custom CSS: Enter custom CSS code to change the appearance of the label, such as changing the background color or adding a drop shadow, etc.
Tooltip: Display a short text when the user hovers over the label.
Design the labels and images for the product on the Product Listing (the label will display on the product in the Category, Search Page or Layered Navigation if your website installs Layered Navigation extension of Mageplaza.
- Same design with product page
Same design with product page = Yes: The label will be displayed on the product list as on the product detail page.Same design with product page = No: The admin can customize the label design on the product list.
Note: The Preview section will display the Label in real time based on the information that the admin has entered. This helps the admin easily see in advance the Label that will be displayed on the product.

Media Gallery
- Alphabetical Display: List displayed alphabetically a->z and shows all available labels.
- Scroll Function: The admin can scroll to find labels.
- Search Bar: The admin can search for specific label templates by searching keywords.
- Thumbnail Display: Contains thumbnails of available labels in the gallery. Each image is represented by a thumbnail preview, allowing the admin to see what each image looks like before selecting.
- Image Information: Below the thumbnail is usually information about the image file, such as name and file format (e.g. PNG). This helps identify the correct file.
- Label Selection: The admin can select a label and click "Duplicate" or select "add selected" to apply the selected label to the gallery.
III. Frontend
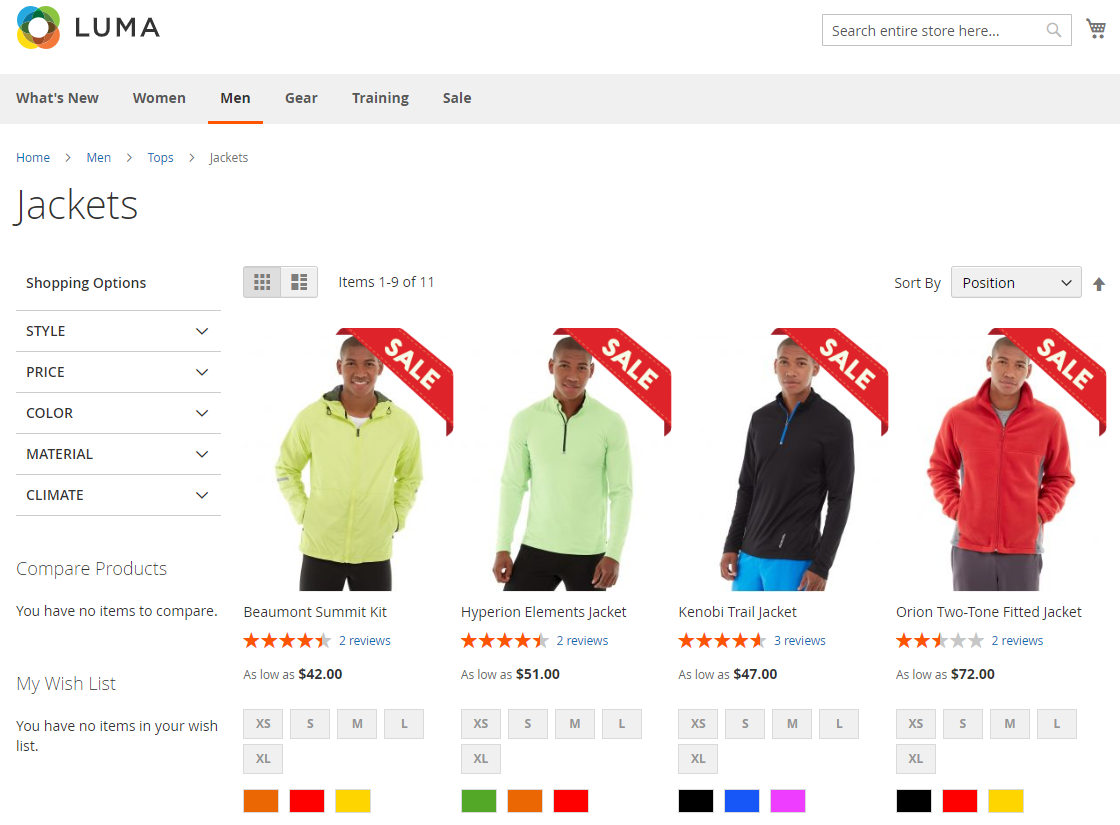
Display on the Product Listing
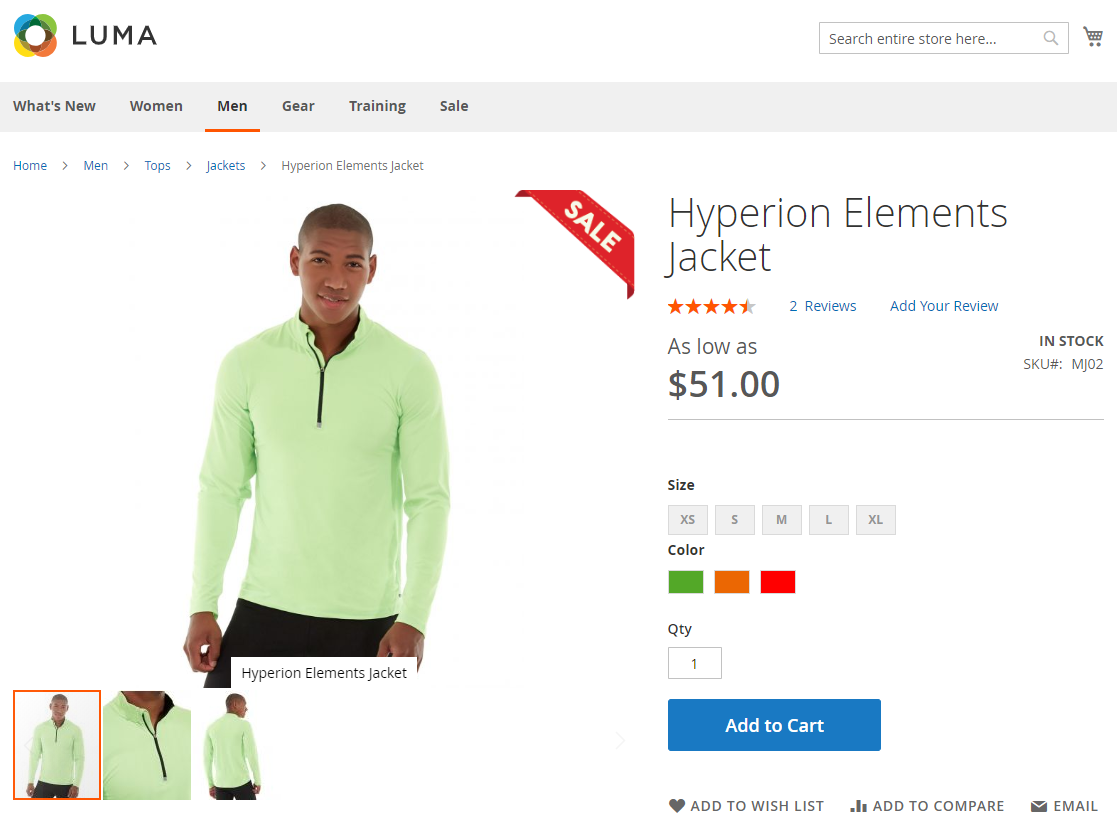
Display on the Product Page
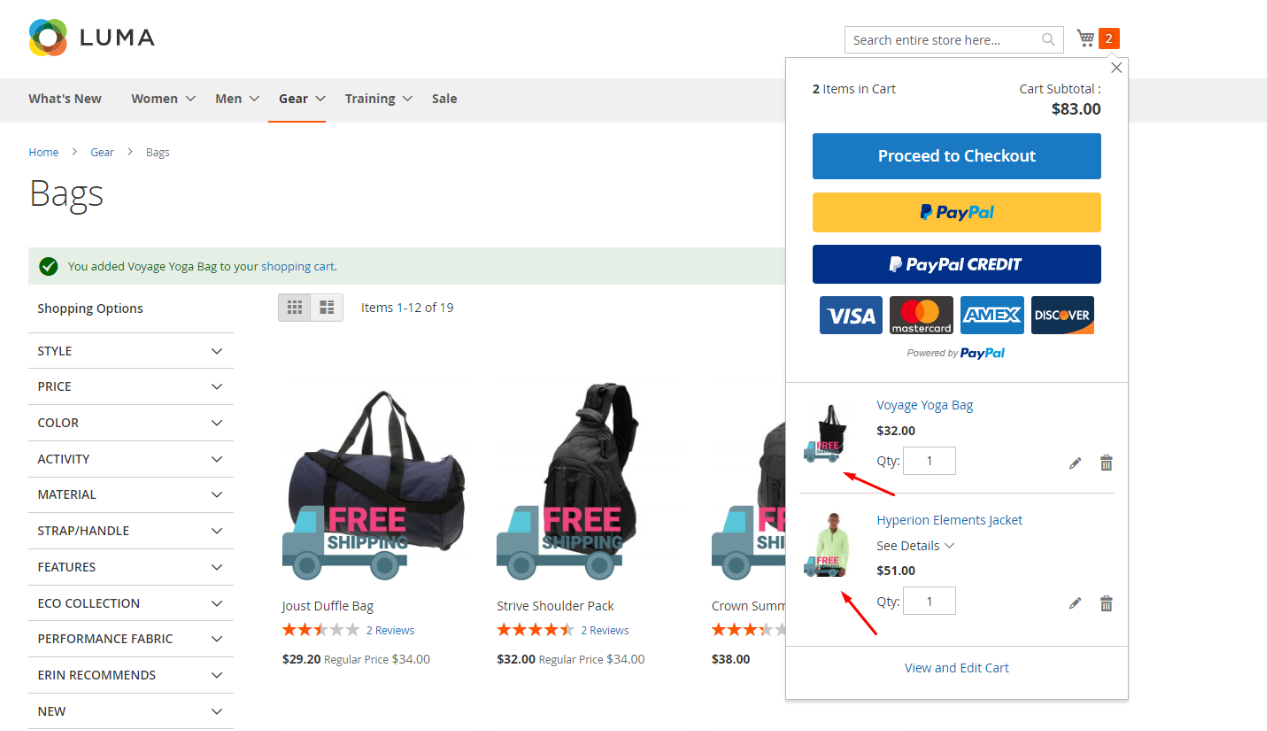
Display on the Mini Cart
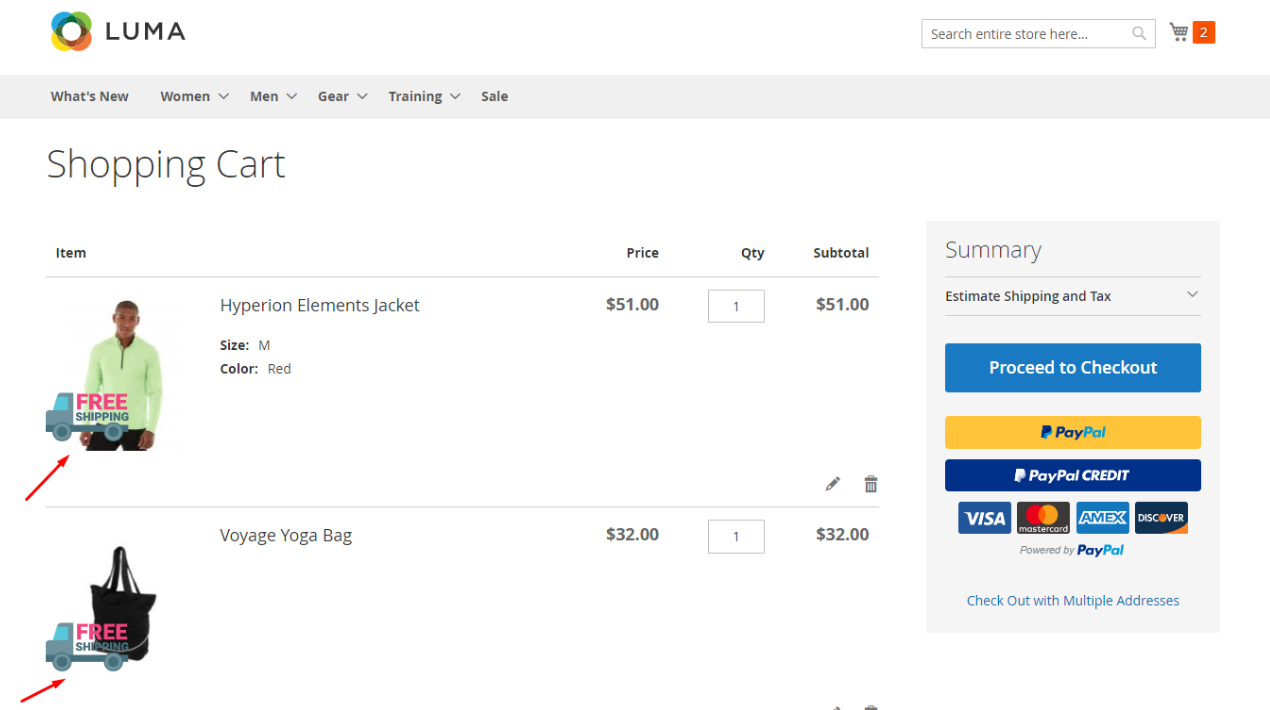
Display on the Shopping Cart Page
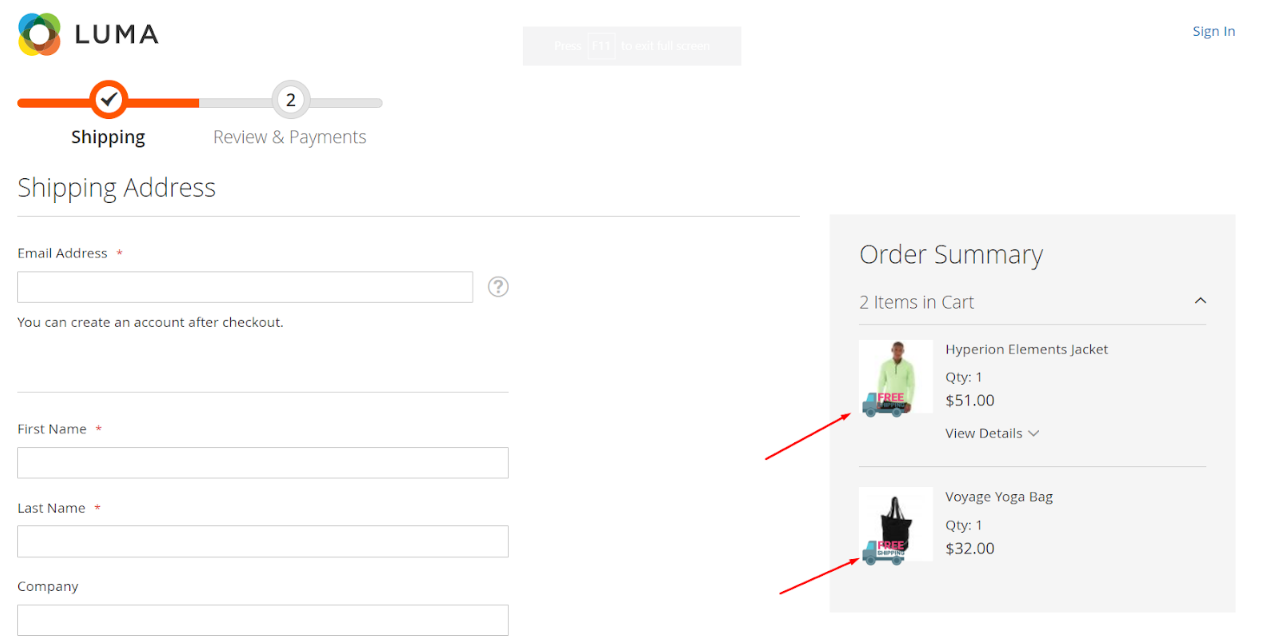
Display on the Checkout Page
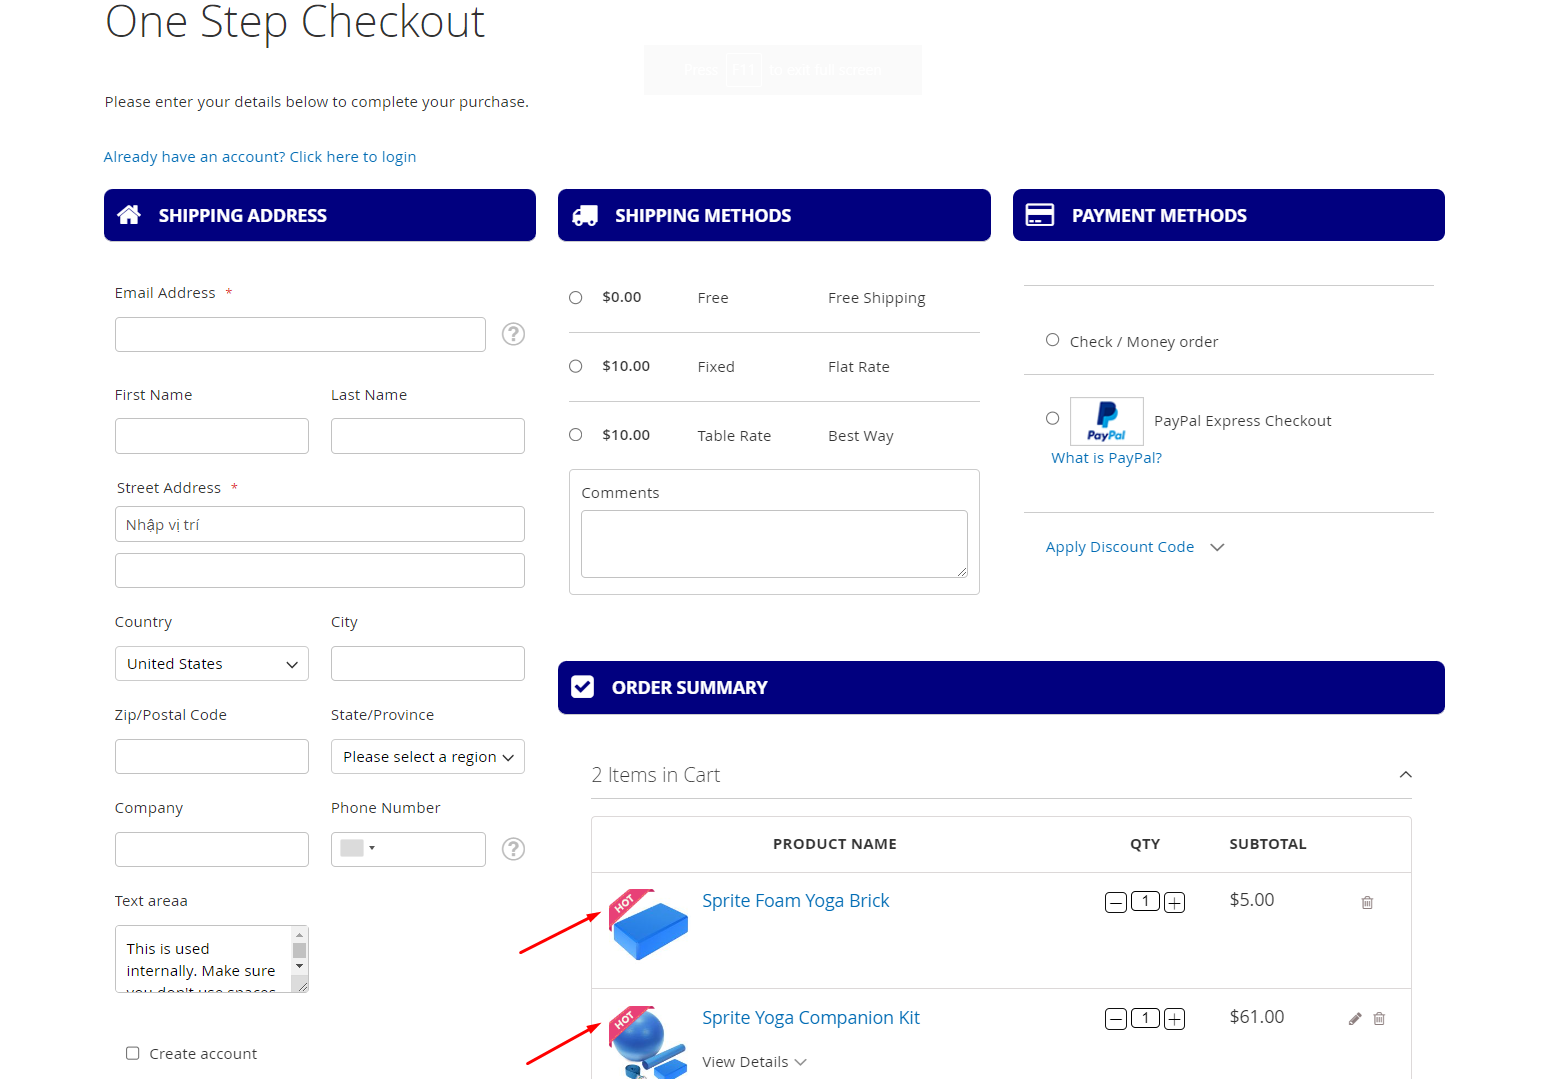
Display on the One Step Checkout Page
IV. Advanced Settings
API
Product Labels extension of Mageplaza supports the use of the Rest API to view a detailed list of all labels that the admin has created.
GraphQL
Run the following command in Magento 2 root folder:
composer require mageplaza/module-product-labels-graphql
php bin/magento setup:upgrade
php bin/magento setup:static-content:deploy
To start working with Product Labels GraphQL in Magento, you need the following:
- Use Magento 2.3.x. Return your site to developer mode
- Install chrome extension (currently does not support other browsers)
- Set GraphQL endpoint as
http://<magento2-3-server>/graphqlin url box, click Set endpoint. (e.g. http://develop.mageplaza.com/graphql/ce232/graphql)
View Mageplaza-supported queries here
V. Widget
Step 1: Select the Type
- On the Panel Admin, go to
Content > Elements > Widgets - In the upper-right corner of Widgets workplace, click on the Add Widget button.
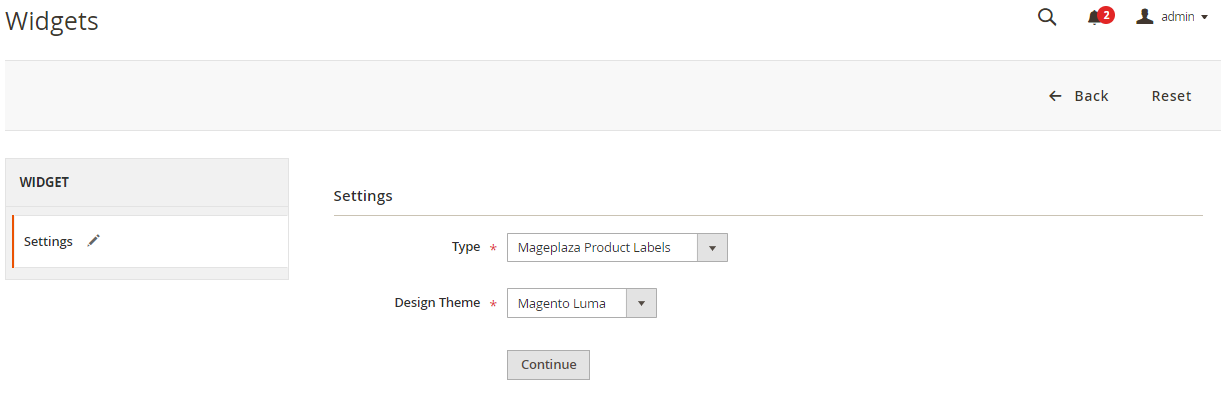
- In the Settings section:
- Choose Mageplaza Product Labels type in the Type box.
- Choose the current theme you are applying in the Design Theme.
- Click the Continue button.
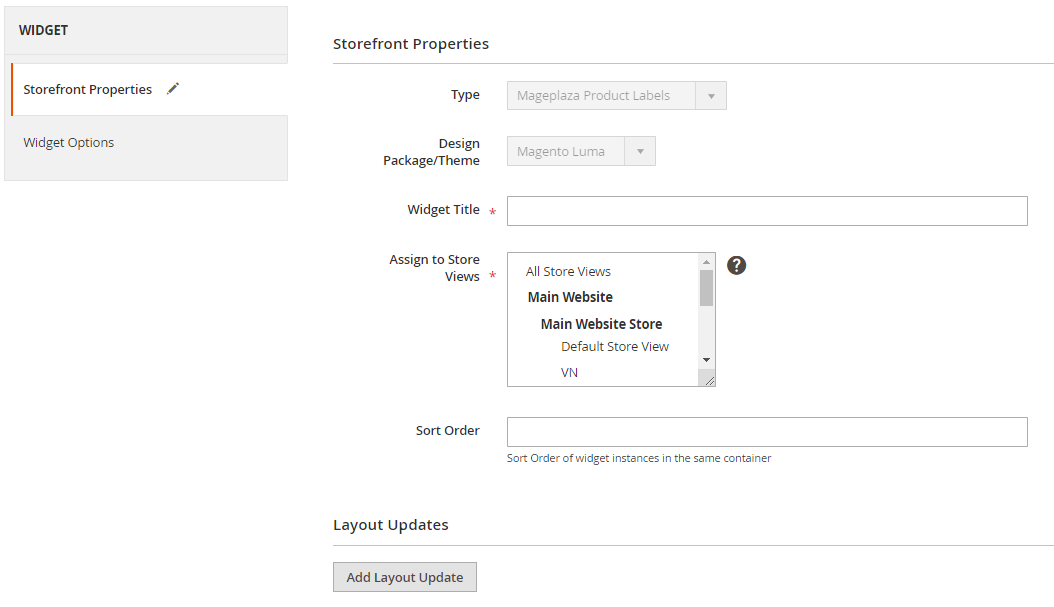
Step 2: Complete the Storefront Properties section
In the Storefront Properties section:
- Enter Widget Title for the internal reference.
- Assign the block to all store views in the Assign to Store View field or to any store view you want to apply the block.
- Set the Sort Order if many blocks are placed at the same container. The block is at the top if the inserted value is zero.
In the Layout Updates section, click on Add Layout Update to set the layout.
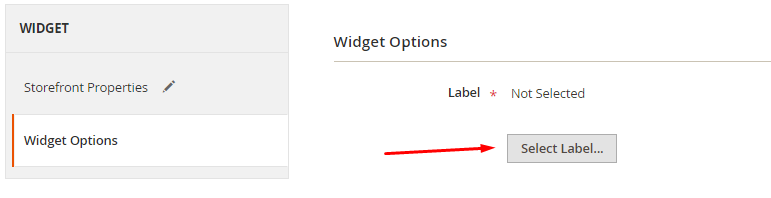
Step 3: Widget Options
- Click the button Select Label… to select label
You can also add widget on Pages or Blocks via Insert Widget

FAQs
Support and Assistance
1. Customer Support
For any assistance, please visit our Support page or email us at cs@mageplaza.com/ sales@mageplaza.com
2. Create a Ticket
If you have technical issues, please open a ticket at this link.
Operating Hours
Our support team is available during the following hours:
- Monday to Friday: 8:00 AM - 23:59 PM
- Saturday: 8:00 AM - 12:00 PM
- Sunday: Closed
Refund Policy
We understand that sometimes things don't go as planned. Please review our refund policy for detailed information: Refund Policy Link
Frequently Asked Questions (FAQ)
For quick answers to common questions, please visit our FAQ page: FAQ Page Link