Follow Up Email
Overview
With the Follow Up Email extension of Mageplaza, admin can create and customize unlimited email templates with campaigns in 5 main events: order, customer, abandoned cart, wishlist, date. Admin can also completely set up unlimited email series of events, statistic for each email, event, each campaign and collect all campaigns statistics.
In addition, the module supports A/B testing and their statistics. In particular, Mageplaza Follow Up Email extension allows to add coupon code and add product to email.
How to use
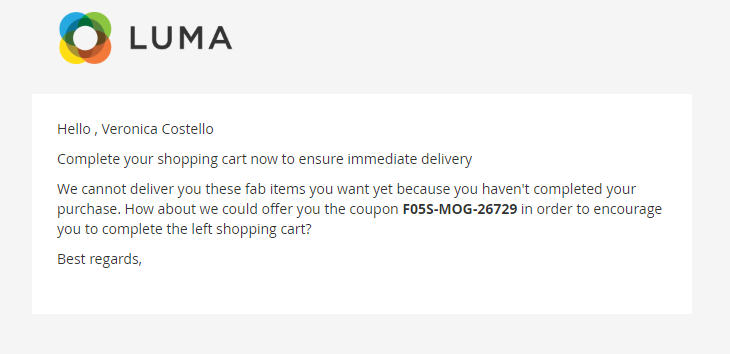
Email Abandoned Cart Events
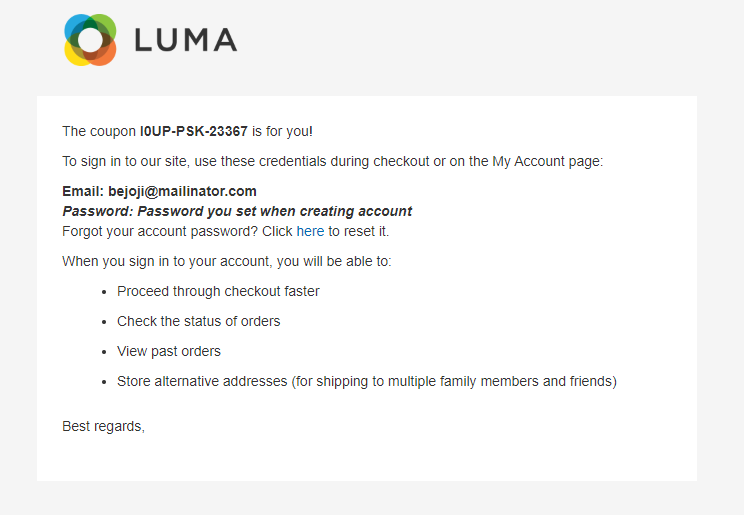
Email Customer Events
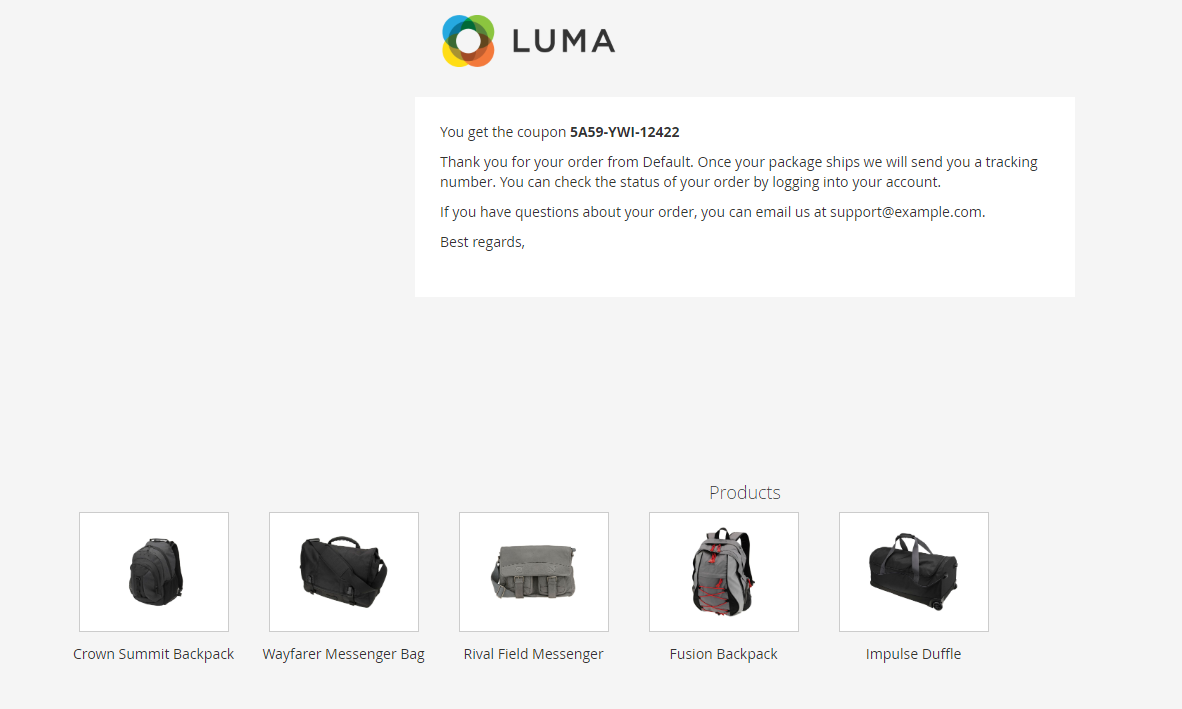
Email Order Create Events
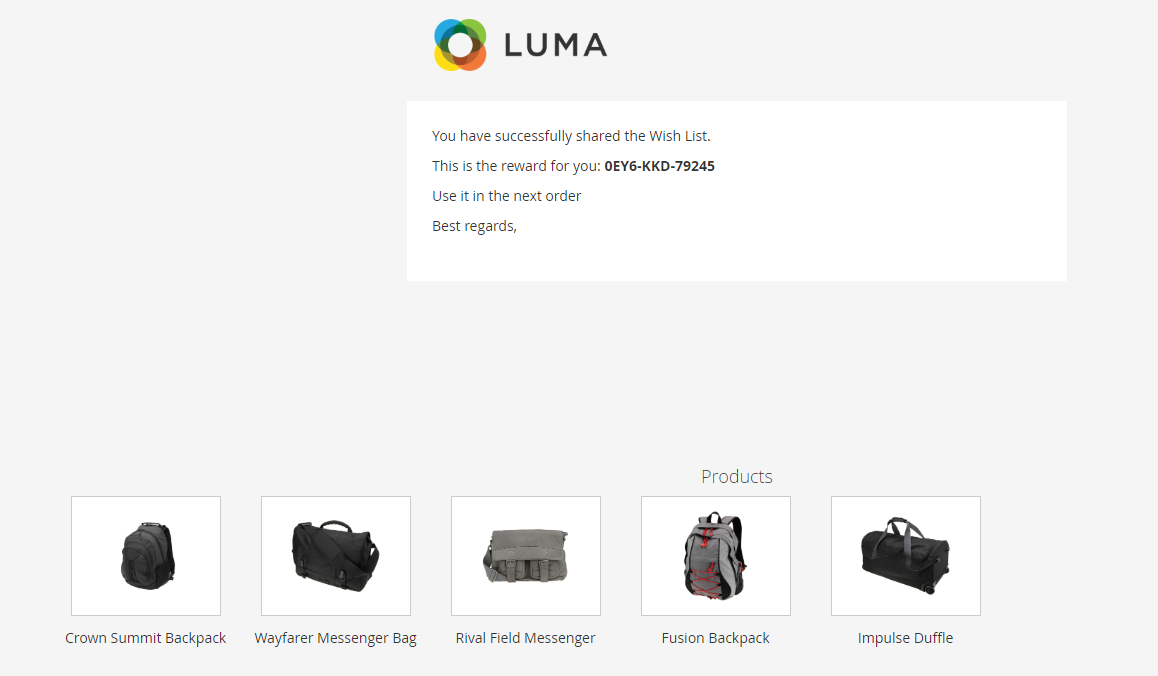
Email Wishlist Events
How to Configure
1.Configuration
From the Admin Panel, go to Marketing > Follow Up Email > Configuration

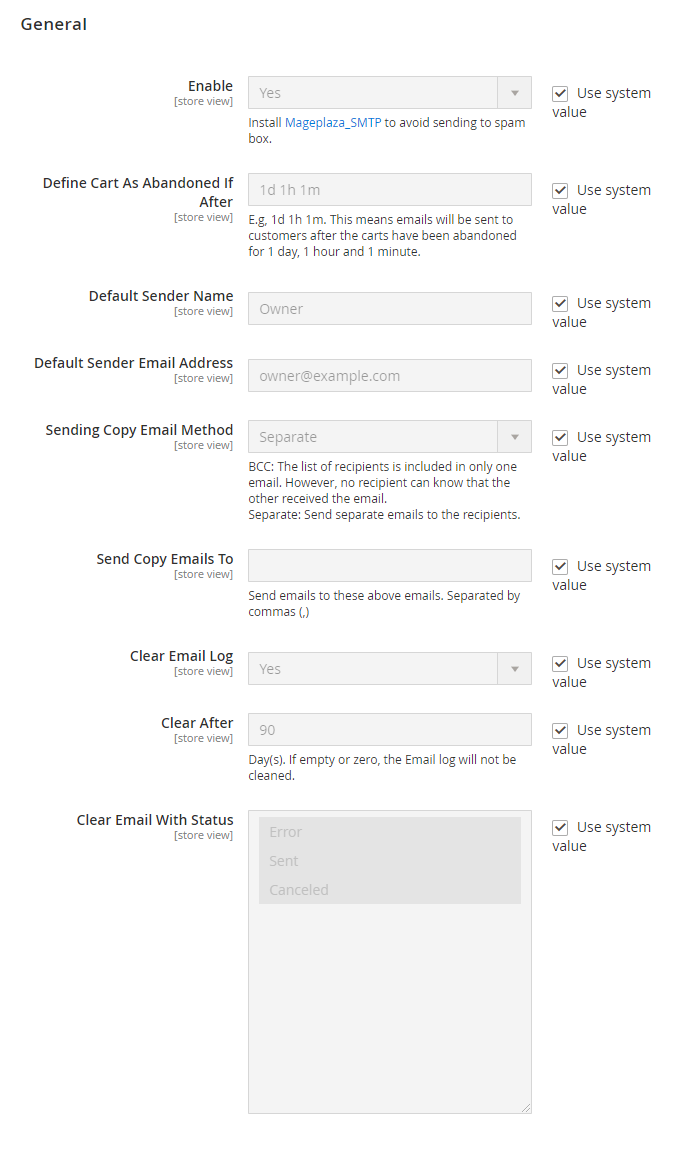
- Enable:
- Select "Yes" to allow customers to send notification emails.
- Install Mageplaza_SMTP to avoid email sent to spam box.
- Define Cart As Abandoned If After:
- Set time to identify Abandoned Cart.
- Time is in minutes. The default is 1d1h1m.
- Default Sender Name: Allows the admin to set the email sender's name.
- Default Sender Email Address: Allows admin to enter the notification email adress.
- Sending Copy Email Method:
- BCC: The list of recipients is included in only one email. However, no recipient can know that the other received the email.
- Separate: Send separate emails to the recipients.
- Sends Copy Email To:
- It is possible to fill multiple emails, separated by commas
- When an email is sent to a customer, it is also sent to the email entered above.
- Clear Email Log: Select "Yes" to auto-delete the information in the Email Log table.
- Clear After:
- Set the time after that email sent will be deleted
- It must be in days, if left blank or = 0, the email log will not be automatically deleted
- Clear Email With Status: select email statuses which will be ato-deleted
2. Manage Campaigns
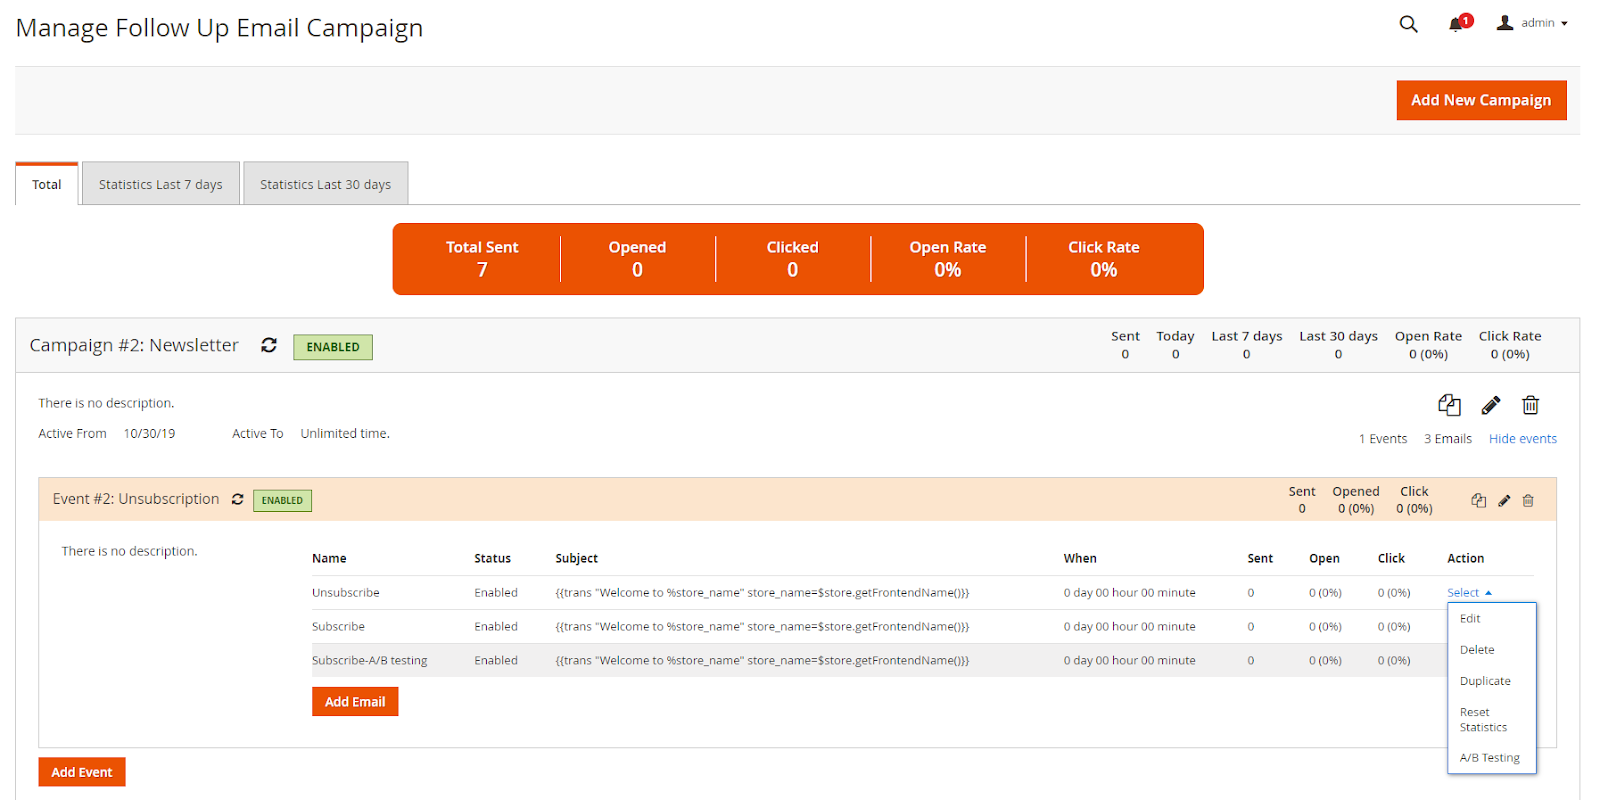
From the Admin Panel, go to Marketing > Follow Up Email > Manage Campaigns
The top of the page shows the statistics table of the total number of emails sent, opened, clicked and calculated as a percentage of opened, clicked compared to the total emails sent.
2.1. Add New Campaign
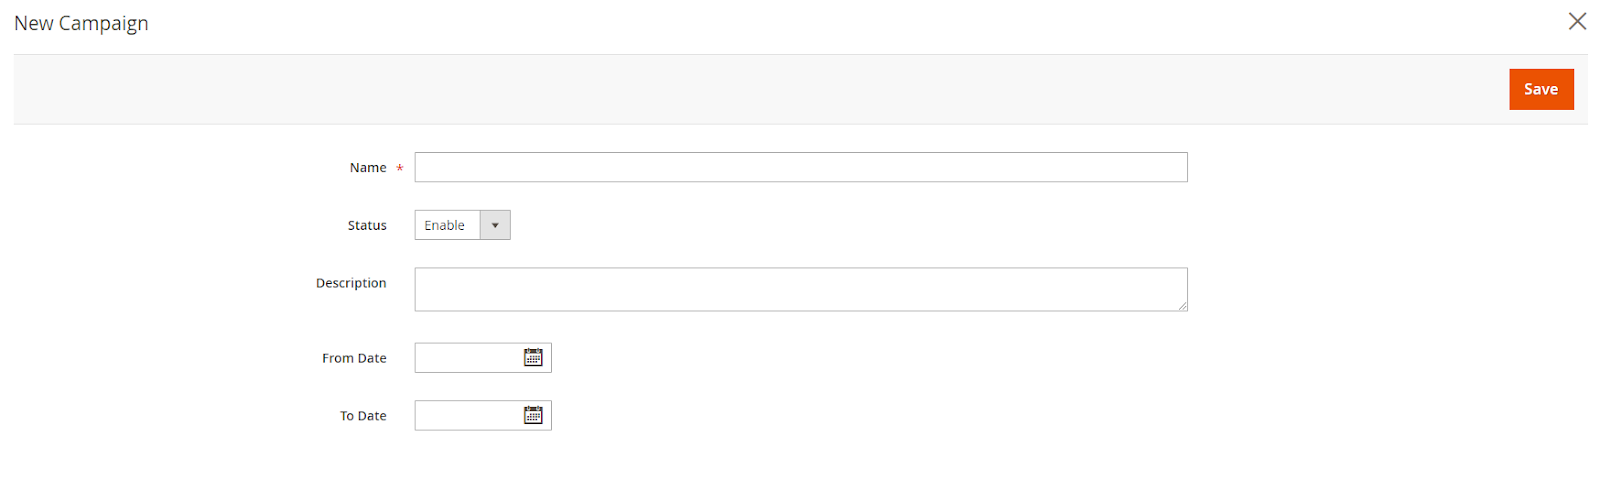
- Name: Enter the name of the Campaign
- Status: select "Enable" to run the campaign
- Description: Enter the Description of the Campaign, only displayed in the Backend.
- From Date: Campaign start date.
- To Date: Campaign end date.
- There are also actions such as Duplicate campaign, Edit campaign, Delete campaign, Reset campaign statistic displayed on the created Campaign as well as showing statistics of the total number of emails sent, opened, clicked and calculated the percentage of opened, clicked compared to with the total emails sent for that campaign.
2.2. Add New Event
From the Admin Panel, go to Marketing > Follow Up Email > Manage Campaigns > Add Event
At the beginning of each event shows actions such as Duplicate event, Edit event, Delete event, Reset event statistic displayed on the created event as well as showing statistics of the total number of emails sent, opened, clicked and calculated the percentage of opened, clicked compared to the total email sent for that event.

- Name: Enter the name of the Event
- Status: Select "Enable" to activate the event
- Description: Enter the description of the event, the information is only displayed in the backend.
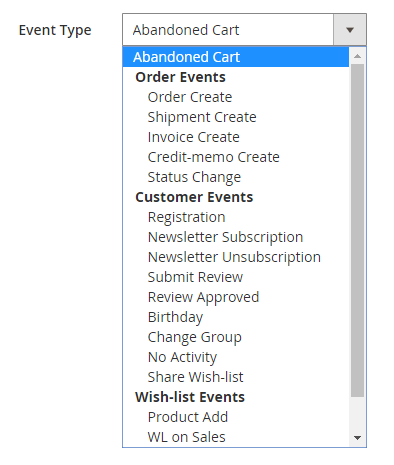
- Event Type: There are 5 main events: Abandoned Cart, Order, Customer, Wish-list, Date
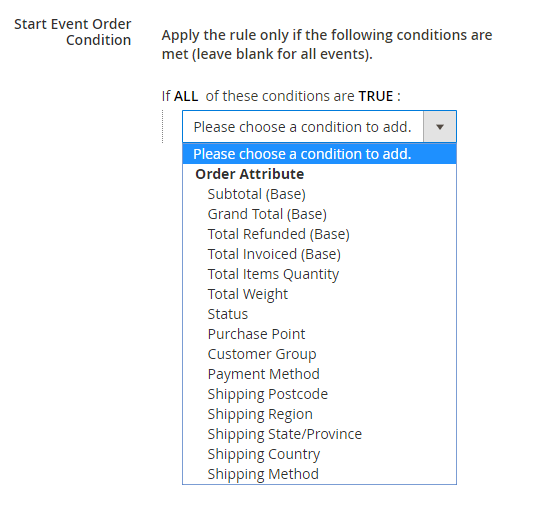
Start Event Order Condition:
Abandoned Cart: no more conditions, when the cart is abandoned and the admin runs cron, it will automatically send an email to the customer.

Event Order: Choose additional conditions to apply this event:
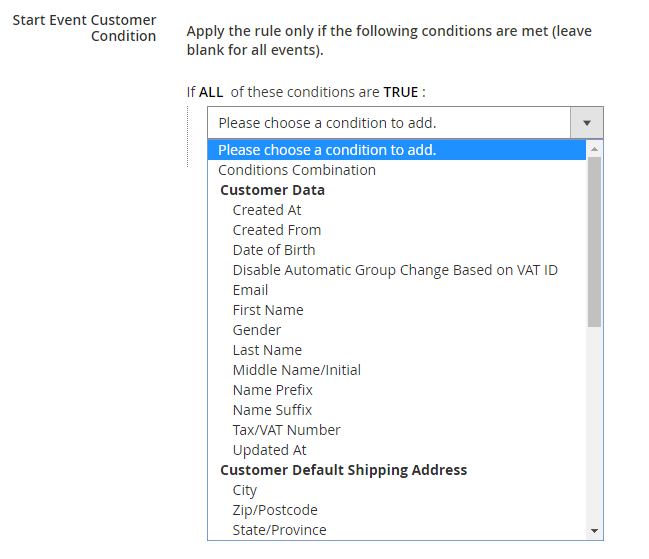
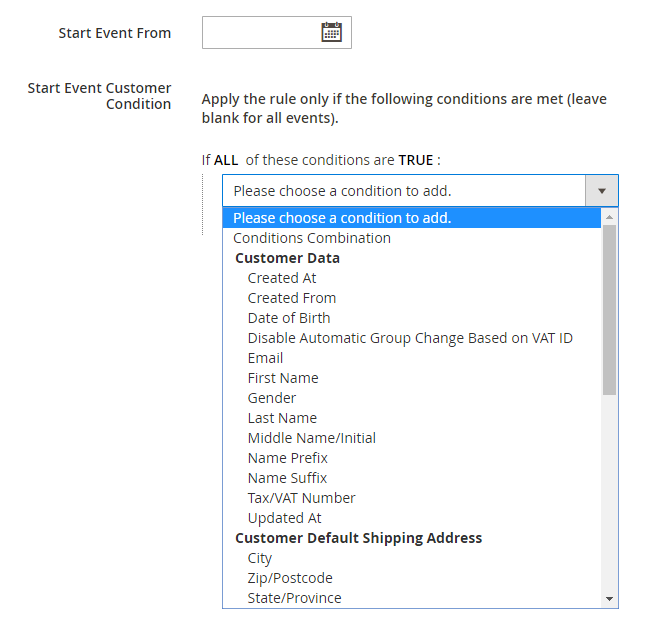
Event Customer: Select additional conditions to apply this event:
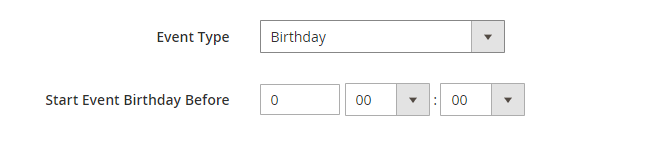
Show more fields under some conditions in this event:
Event Type = Birthday: Show the Start Event Birthday Before field that allows you to enter information
Event Type = No Activity: display the Customer No Activity After field

Wishlist Event: Select additional conditions to apply this event:
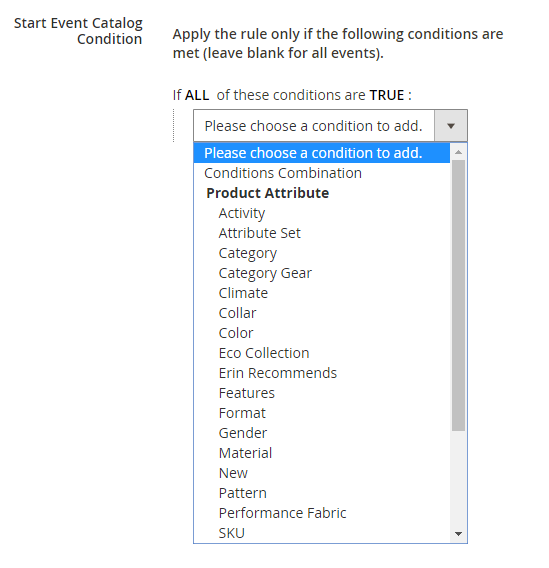
Date: Display the Start Event From field, select more conditions to apply this event:
Cancel Event: display and select the same information as the Start Event.
Only Send to Newsletter Subscribers: Choose "Yes" if the admin only wants to send email to customers who subscribe to receive newsletter

2.3. Add New Email
2.3.1. General
From the Admin Panel, go to Marketing > Follow Up Email > Manage Campaigns > Add Email, select General
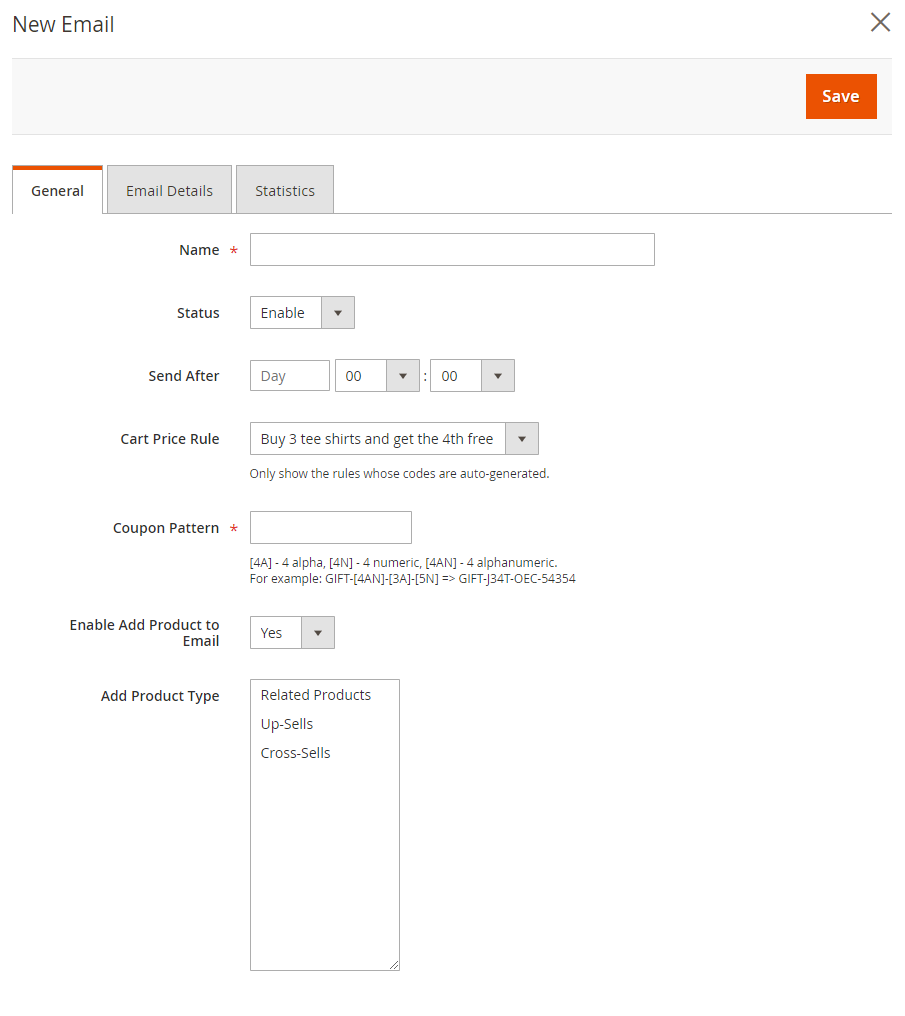
Name: Enter the name of the email
Status: Select "Enable" to send an email when the customer satisfies the corresponding event
Send After: Fill in the field, email will be sent after the added time.
Cart Price Rule:
- Only show price rule cart whose code is auto generation
- You can go to
Marketing > Cart Price Rule, select Add New Rule to create a new rule.
Coupon Pattern: A common pattern of generated codes. Admin can change this template according to their wishes.
[4A] - 4 alpha, [4N] - 4 numeric, [4AN] - 4 alphanumeric.For example: GIFT- [4AN] - [3A] - [5N] => GIFT-J34T-OEC-54354
Enable Add Product to Email: Select "Yes" to display more related products.
Add Product Type:
- Select the types of products you want to add to the email.
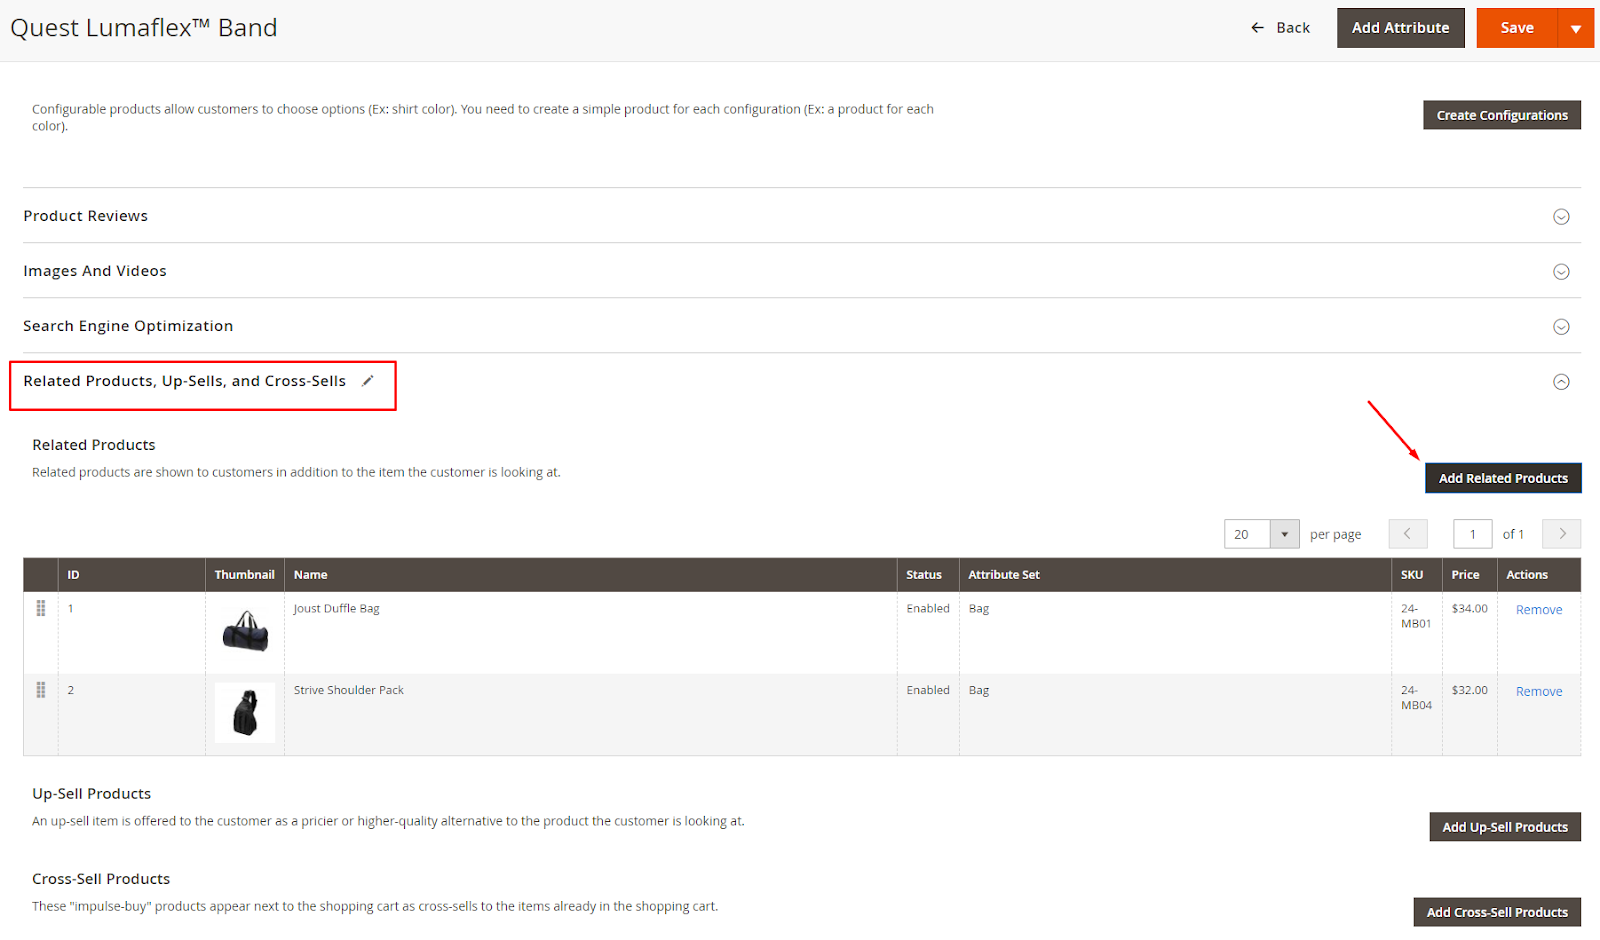
- Admin can add more products by going to
Catalog > Products > Edit Product > Related Products, Up-Sells, and Cross-Sells:
2.3.2. Email Details
From the Admin Panel, go to Marketing > Follow Up Email > Manage Campaigns > Add Email, select Email Details
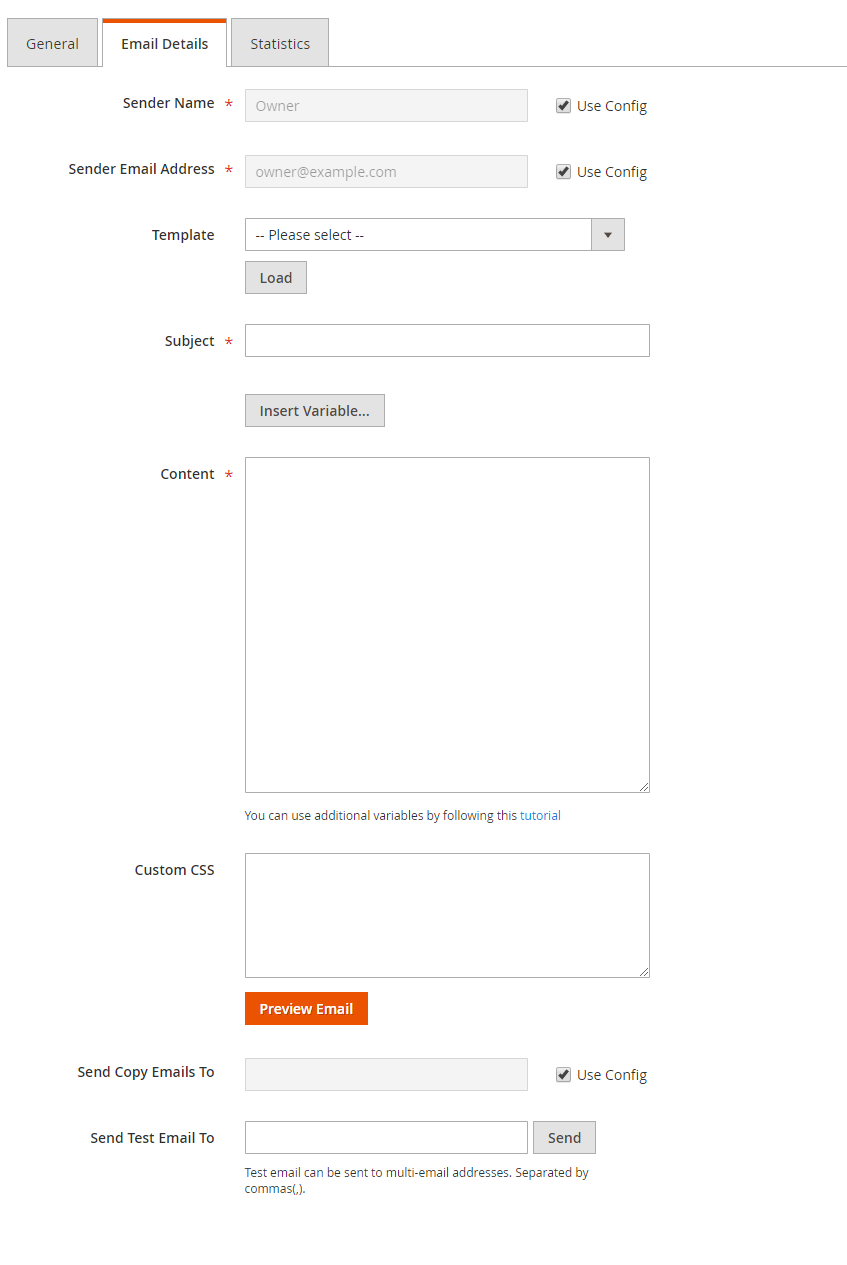
Sender Name:
- Allows admin to set the name of the sender of notification emails to Customer.
- Use Config: Use the name entered in the Config section
Sender Email Address:
- Allow admin to set the name of the notification email to Customer.
- Use Config: Use the name entered in the Config section
Template:
- Choose email template sent to customer when participating in the event.
- You can go to
Marketing > Email Templates, select Add New Templates to create notification email templates - Instructions on how to create a new email template can be found here
- Select an email template > Click Load displays the fields of Subject, Content, and Customer CSS
Subject: add simple text to use as the Subject of emails sent with the template you create. This field may contain system variables.
Content: customize sample content.
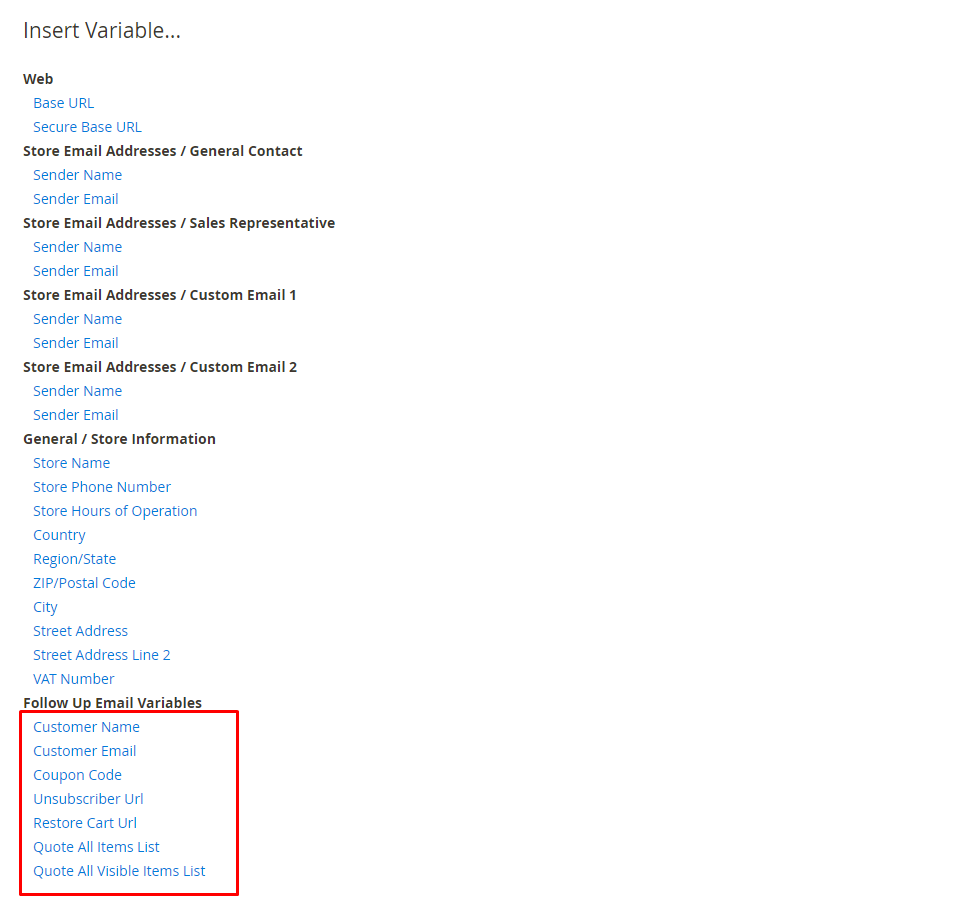
Click Insert Variable to add a variable to the content. In addition to the basic variable, Follow Up Email has 7 more variables:
- Customer Name: displays the customer name.
- Customer Email: displays the email of customer.
- Coupon Code: displays the coupon code.
- Unsubscriber URL: Show a link on follow up email so customer can click on it to unsubscribe your email.
- Restore Cart Url: for Abandoned Cart only, the link redirect to the cart that haven't been checked out.
- Quote All Items List: for Abandoned Cart only, list of products in cart haven't been checked out.
- Quote All Visible Items List: for Abandoned Cart only, showing a list of related products.
couponCodefill in the form below:
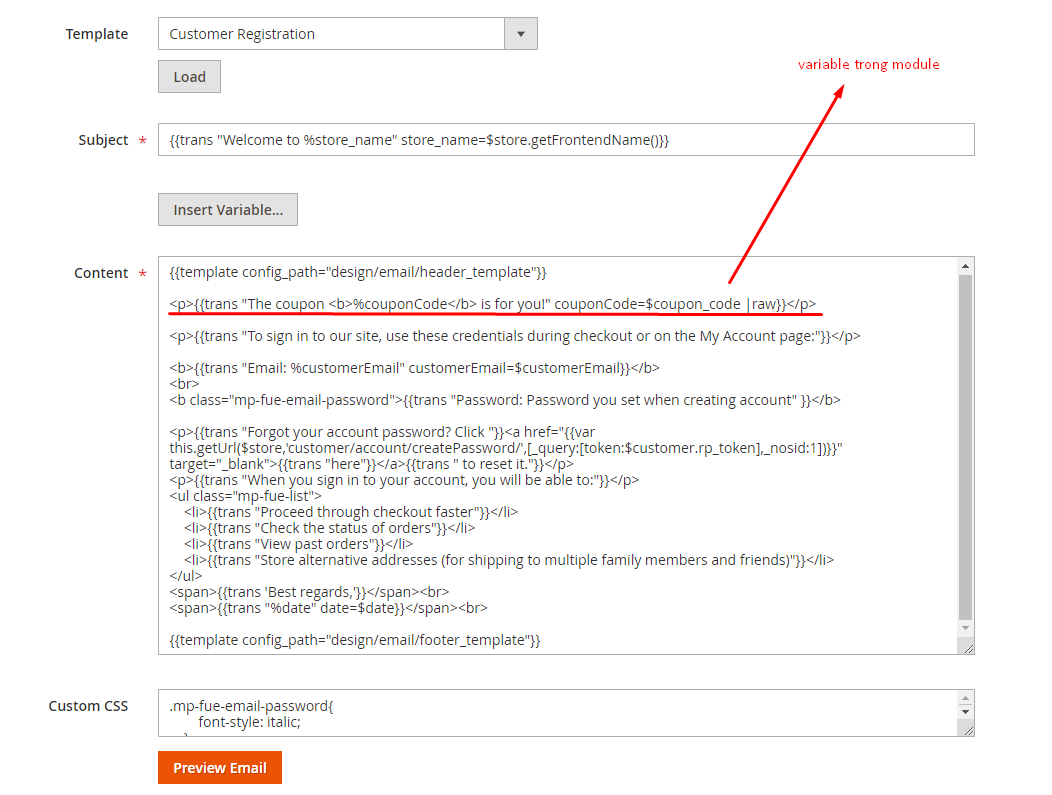
- Customer CSS: Add CSS to the template if you wish. These types are added inside an
<style>tag in the email<head>. - Email Preview: see email template at backend before using it
- Send Copy Emails To:
- It is possible to fill multiple emails, separated by commas
- When an email is sent to a customer, it is also sent to the email entered above.
- Use Config: use the information entered in the Config section
- Send Test Email To: Test email can be sent to multi-email addresses. Separated by commas (,).
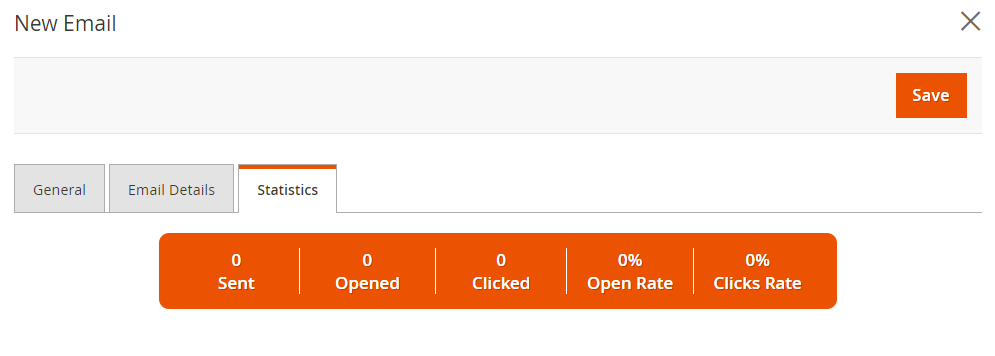
2.3.3. Statistics
Statistics of times, percentage sent, opened number, clicked number of each email.
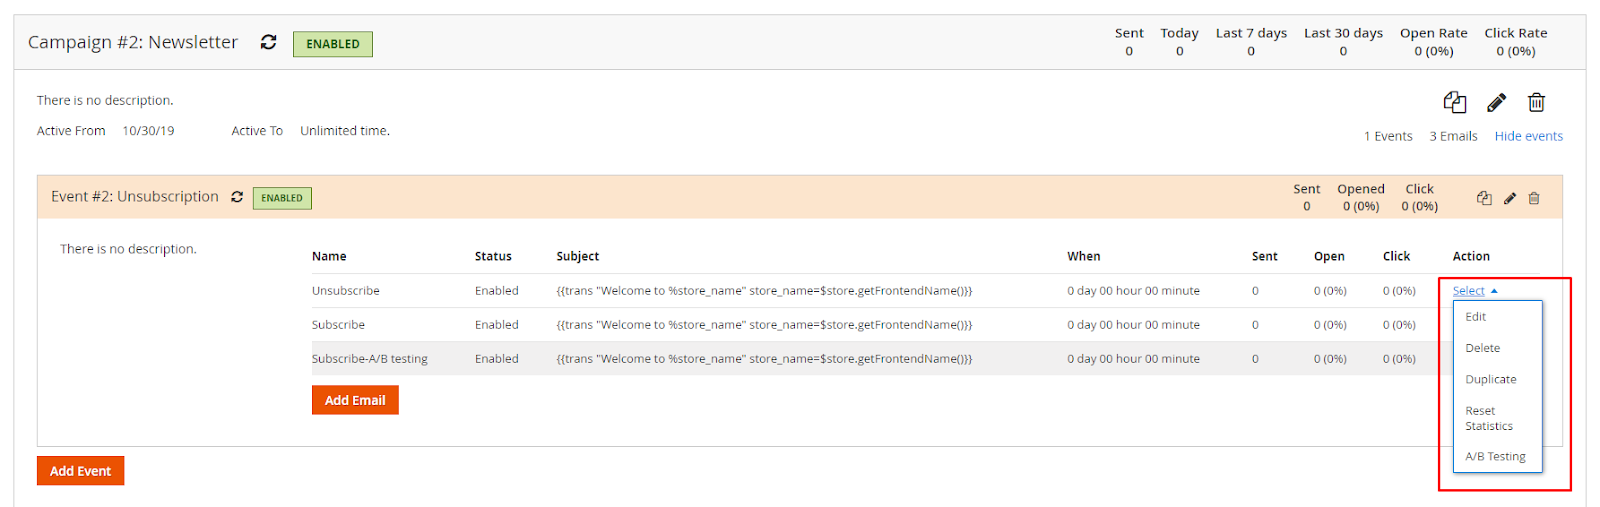
In addition, the email displayed on the Manage Campaigns page has the following actions:
- Edit: Edit the previously saved email.
- Delete: Delete the selected email.
- Duplicate: Add an identical email with the selected email.
- Reset Statistics: reset the count of the selected email.
- A/B Testing:
- After creating the parent email (original email), child emails can be created by clicking
Select> A/B Testing. Admin can edit this child email in the same way as the parent email. - When 2 emails are activated simultaneously, 2 emails will be applied alternately when sending to Customer (except for some events that can send both parent and child emails such as: Abandoned Cart, Birthday, No Activity, Date)
- If one of the 2 email doesn't work, the other email works normally; If the parent email is deleted, the child email will be automatically deleted.
- After creating the parent email (original email), child emails can be created by clicking
3. Email Logs
From the Admin Panel, go to Marketing > Follow Up Email > Email Logs
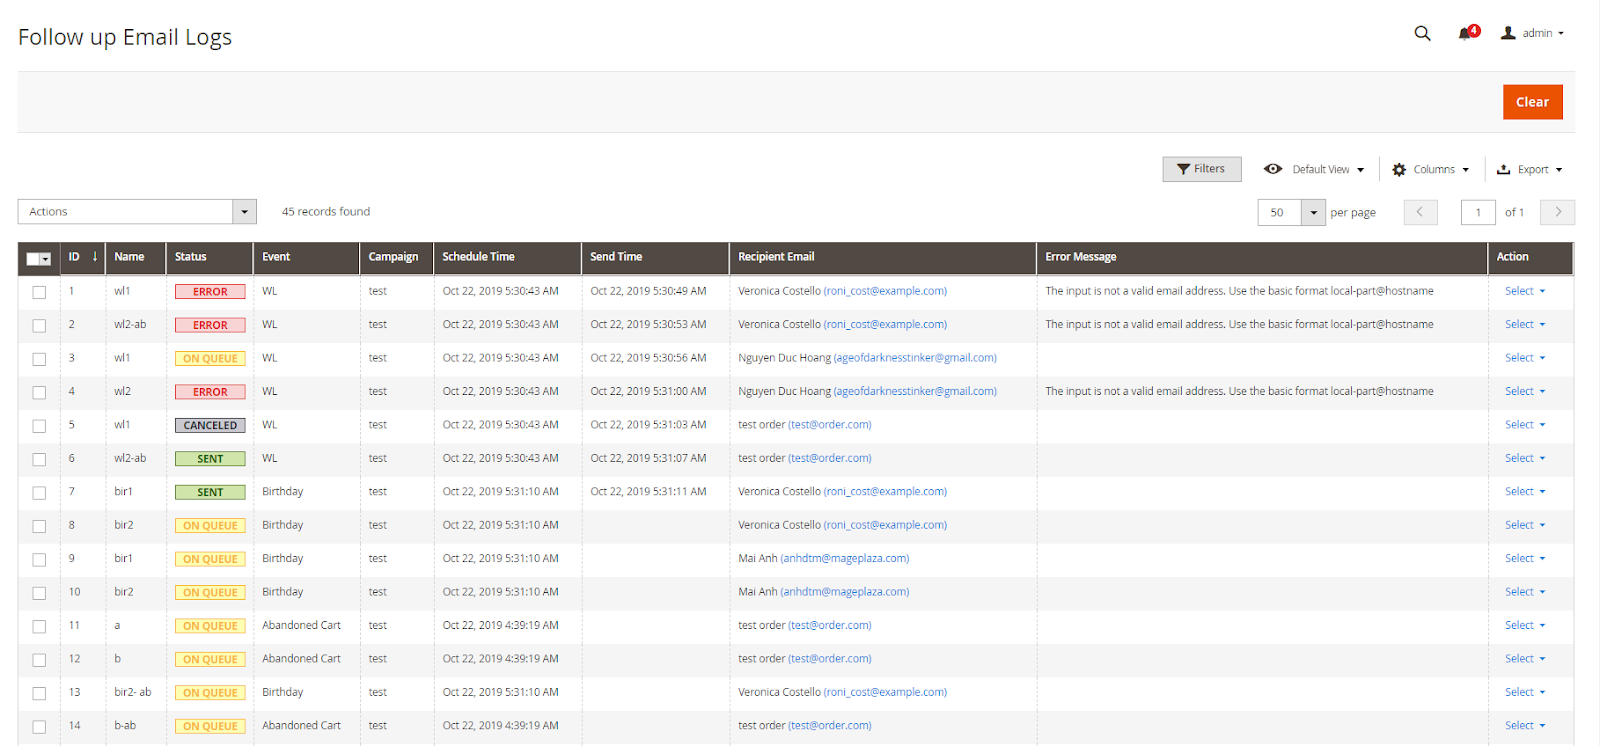
This is the place to display the list of emails that the customer has been participating with 4 states: on queue, cancel, sent, error.
From Follow up Email Logs, admin can capture basic information of emails such as ID, Name, Status, Event, Campaign, Schedule Time, Send Time, Recipient Email, Error Message, Action.
- Action = Send: resend email
- Action = Back To Queue: send email to standby state
- Action = Cancel: Not send selected emails
- Action = Delete: delete emails
- Action = View: see email details
In addition, admin can filter, change store view, hide/show columns.