Product Grid
Overview
To save time and effort for the admin to change the information on the product page, Mageplaza has created the Product Grid extension. The Product Grid module allows editing information right on the Manage Product page, displaying detailed information about the product info, synchronizing data, changing column headers of columns. Also, admin can set any field to be edited or filtered.
Mageplaza Product Grid is fully compatible with Mageplaza Product Attachment extension.
How to Configure
I. Configuration
1. General
From the Admin Panel, go to Stores > Settings > Configuration > Mageplaza Extensions > Product Grid, select General

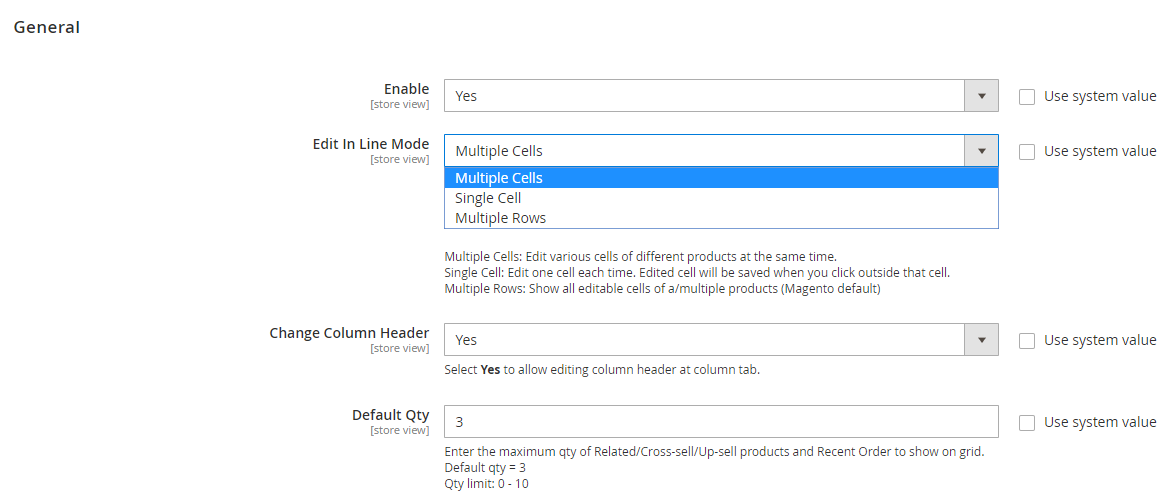
Enable: Select Yes to enable the module.
Edit In Line Mode:
- Multiple Cells: Edit various cells of different products at the same time, click Save Edits after finishing.
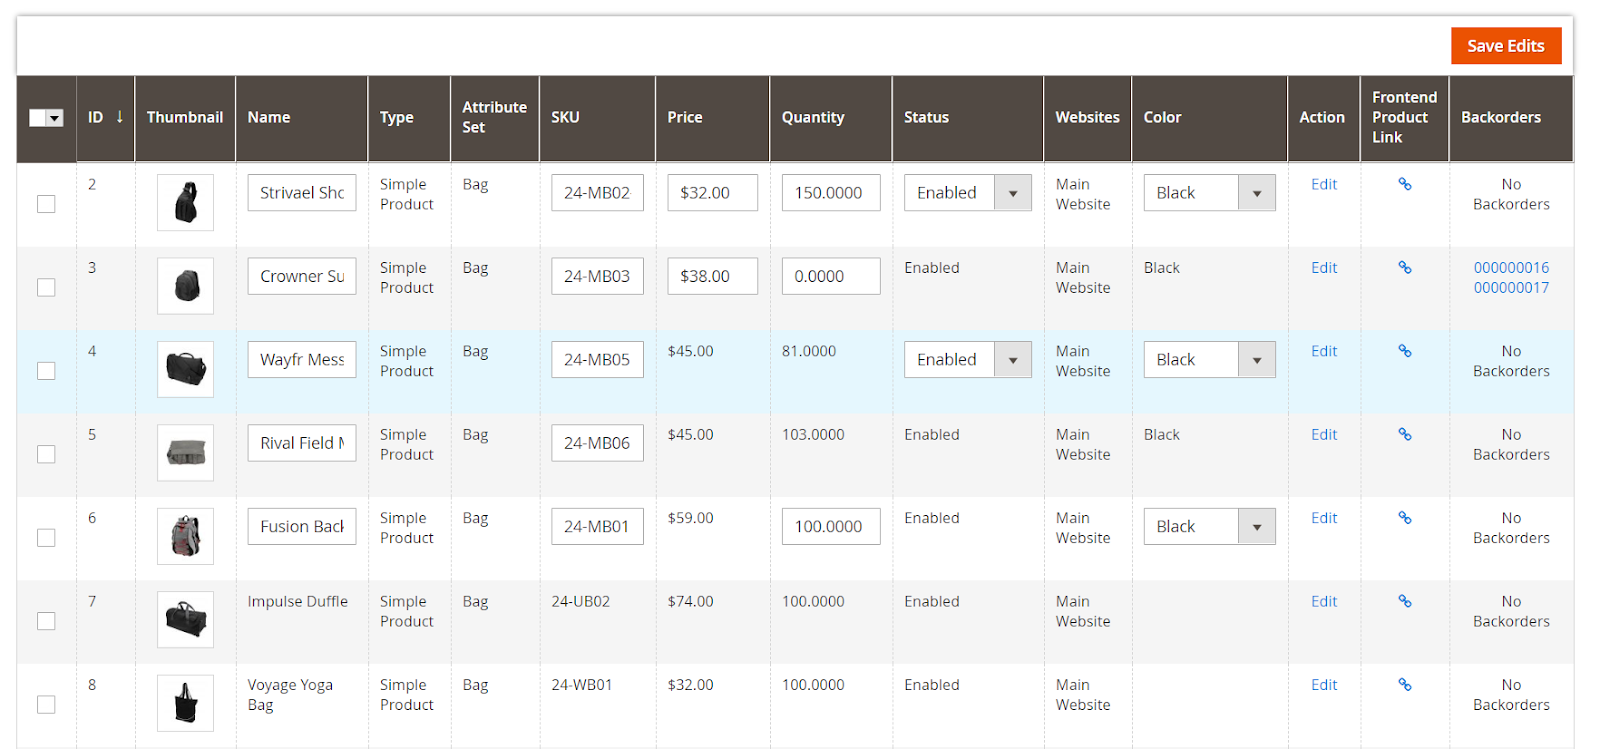
- Single Cells: Edit one cell each time. Edited cell will be saved when you click outside that cell.
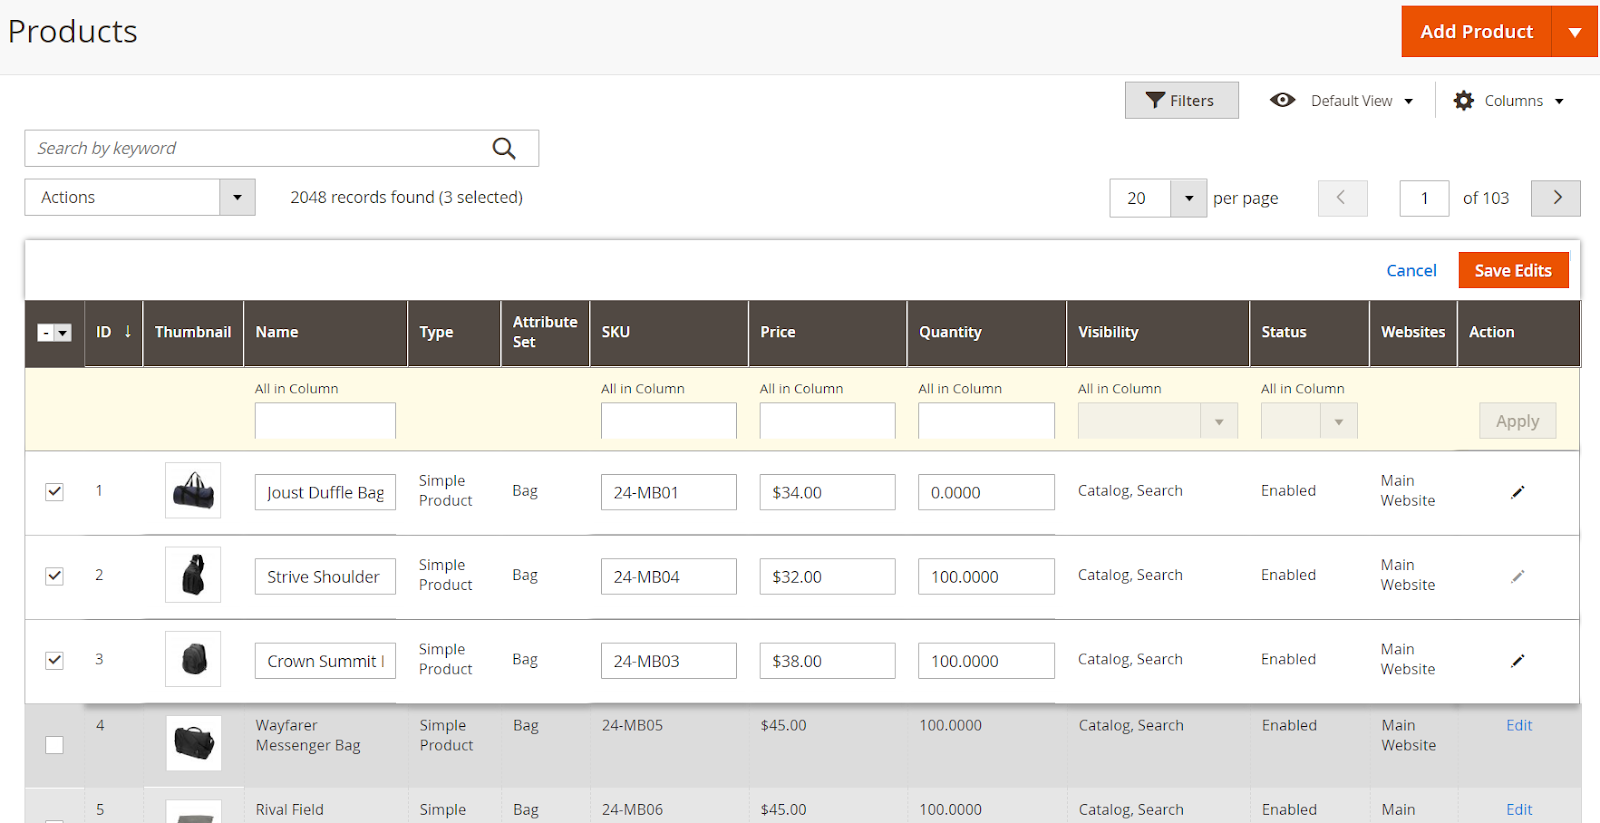
- Multiple Rows: Show all editable cells of a/ multiple products. Click Apply when you have edited All in Column, click Save Edits when you have changed the information of columns. Click Cancel to remove the changes.
Change Columns Header: Select Yes to allow editing column header at column tab.
Default Qty: Enter the maximum qty of Related/ Cross-sell/ Up-sell products and Recent Order to show on grid, default qty = 3, qty limit from 0 to 10 records.
2. Qty Sold
From the Admin Panel, go to Stores > Settings > Configuration > Mageplaza Extensions > Product Grid, select Qty Sold:
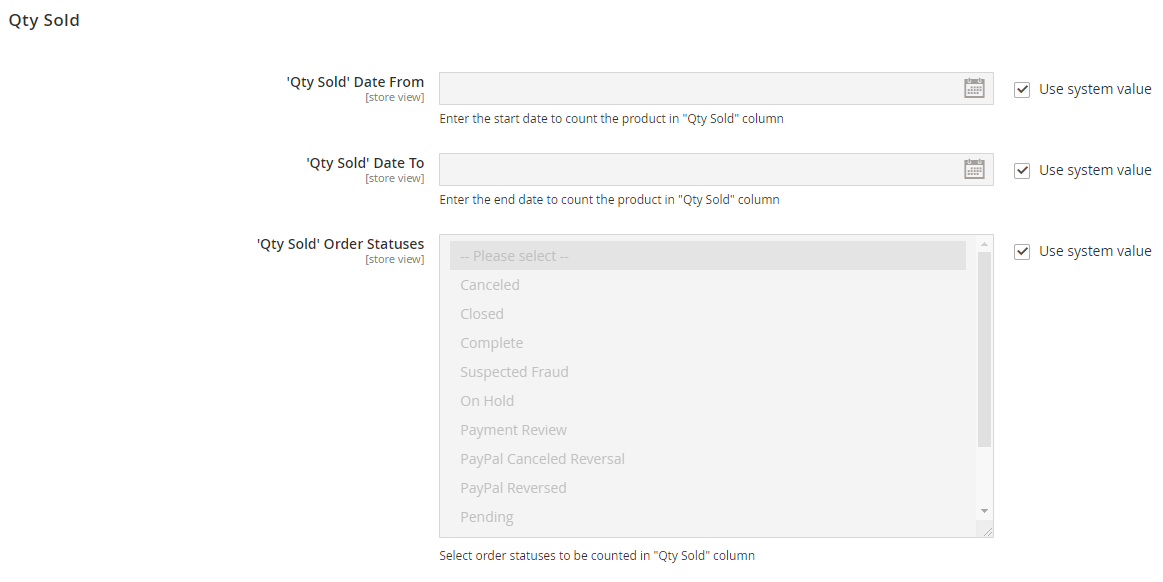
- ‘Qty Sold’ Date From: Select the start date to calculate the quantity of products sold.
- ‘Qty Sold’ Date To: Select the end date to calculate the number of products sold.
- ‘Qty Sold’ Order Statuses:
- Select order status of orders to calculate the number of products sold in the "Qty Sold" column.
- Admin can select multiple statuses.
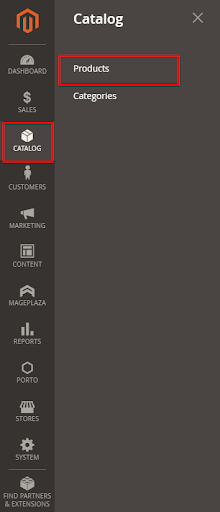
II.Gird
From the Admin Panel, go to Catalog > Products:
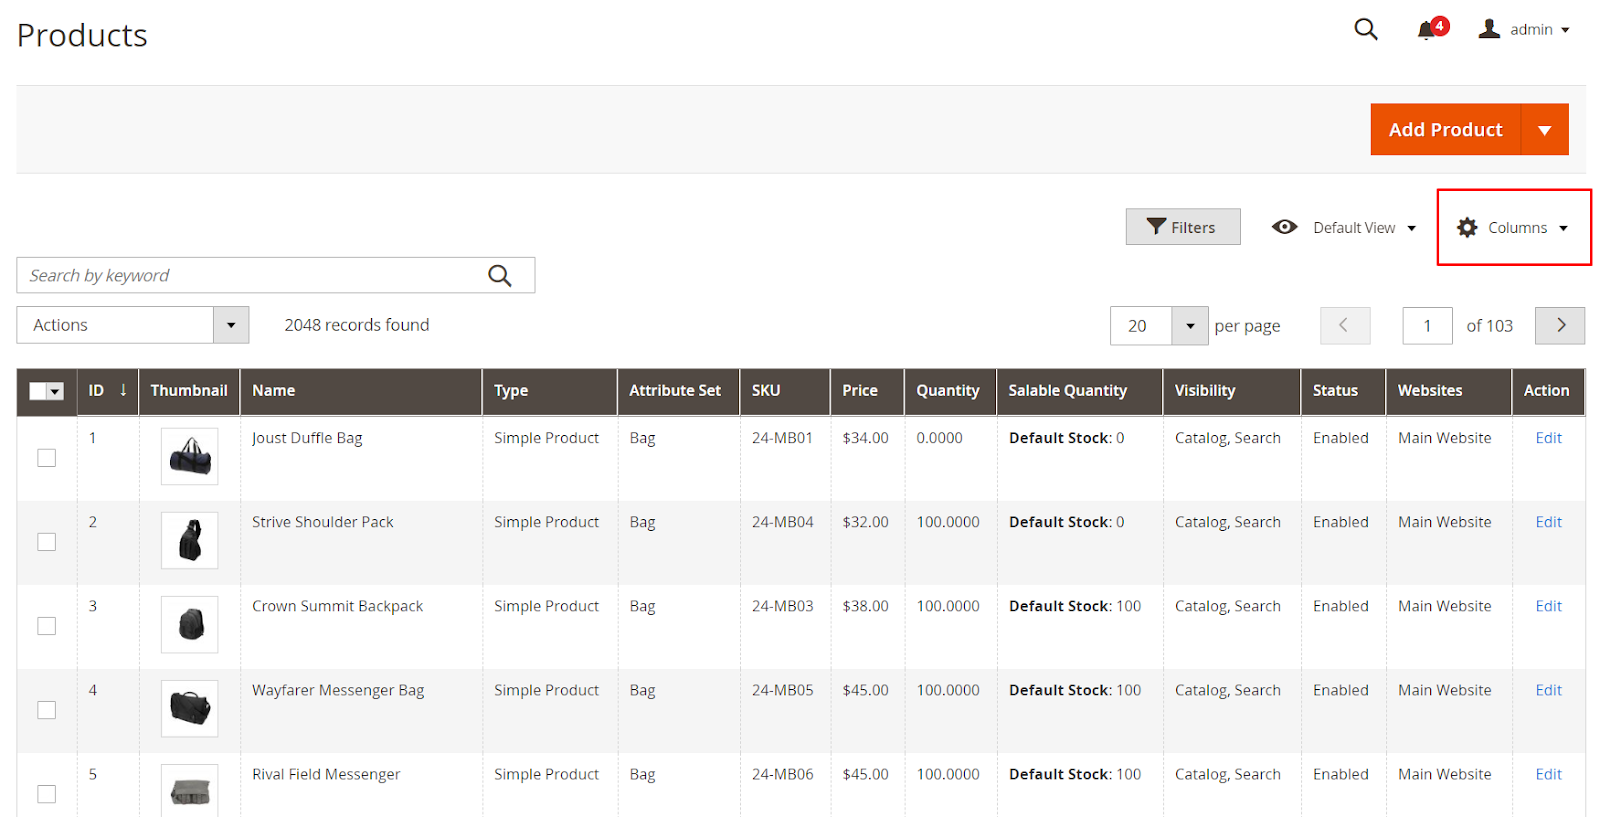
1. Columns
Admin can select specfic columns from the Product menu to hide/ show columns on the product grid.
In the Columns menu, there are 4 order attributes tabs:
1.1 Default Group

- Admin can choose certain columns to be shown/hide at Product Grid
- Admin can also choose which columns can be edited and filtered by clicking to corresponding column titles.
- At Column Header, admin can changes column names and clicks Save.
- Reset: The system will display the default columns again.
- Cancel: Cancel the action.
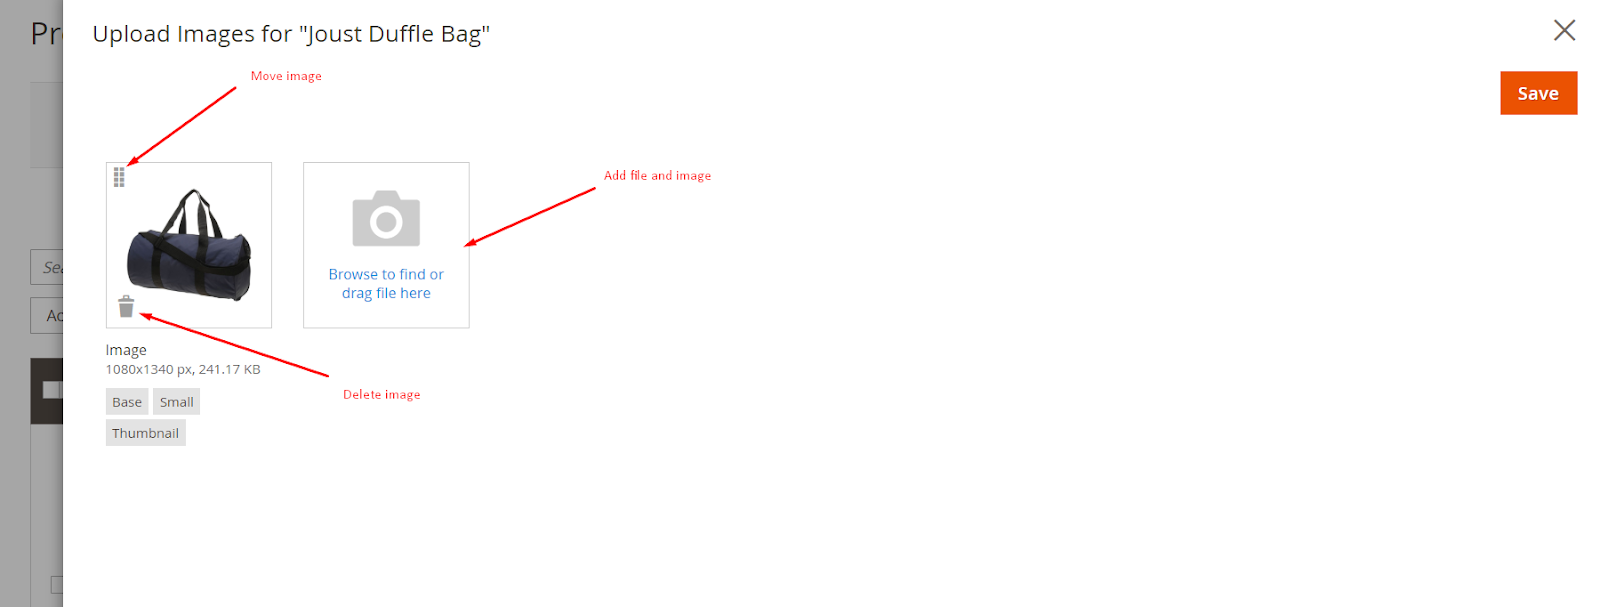
- Change Thumbnail:
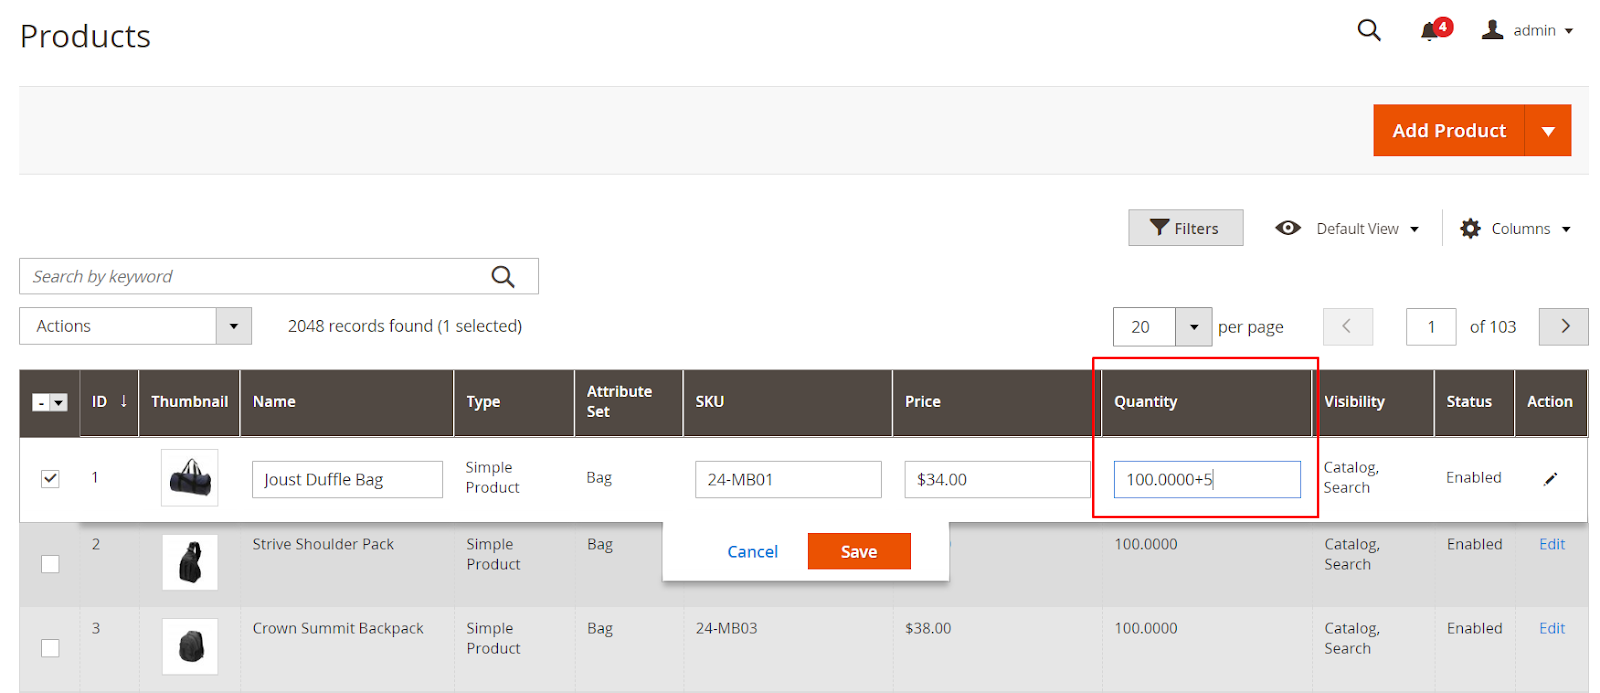
- Change Qty: Admin can fill in fixed numbers or using +/- signs
1.2 Attribute Group
- Admin can choose certain columns to be shown/hide at Product Grid
- Admin can also choose which columns can be edited and filtered by clicking to corresponding column titles.
- At Column Header, admin can changes column names and clicks Save.
- To add more columns, you needs to add a new attribute as instructed here.
- Reset: The system will display the default columns again.
- Cancel: Cancel the action.
1.3 Extra Group
- Admin can choose certain columns to be shown/hide at Product Grid
- Admin can also choose which columns can be edited and filtered by clicking to corresponding column titles.
- At Column Header, admin can changes column names and clicks Save.
- Reset: The system will display the default columns again.
- Cancel: Cancel the action.
1.4 Product Info Group
- Admin ticks to the checkboxes to allow showing corresponding columns at the grid. Display columns information in Related Products, Up-sell Products, Cross-sell Products.
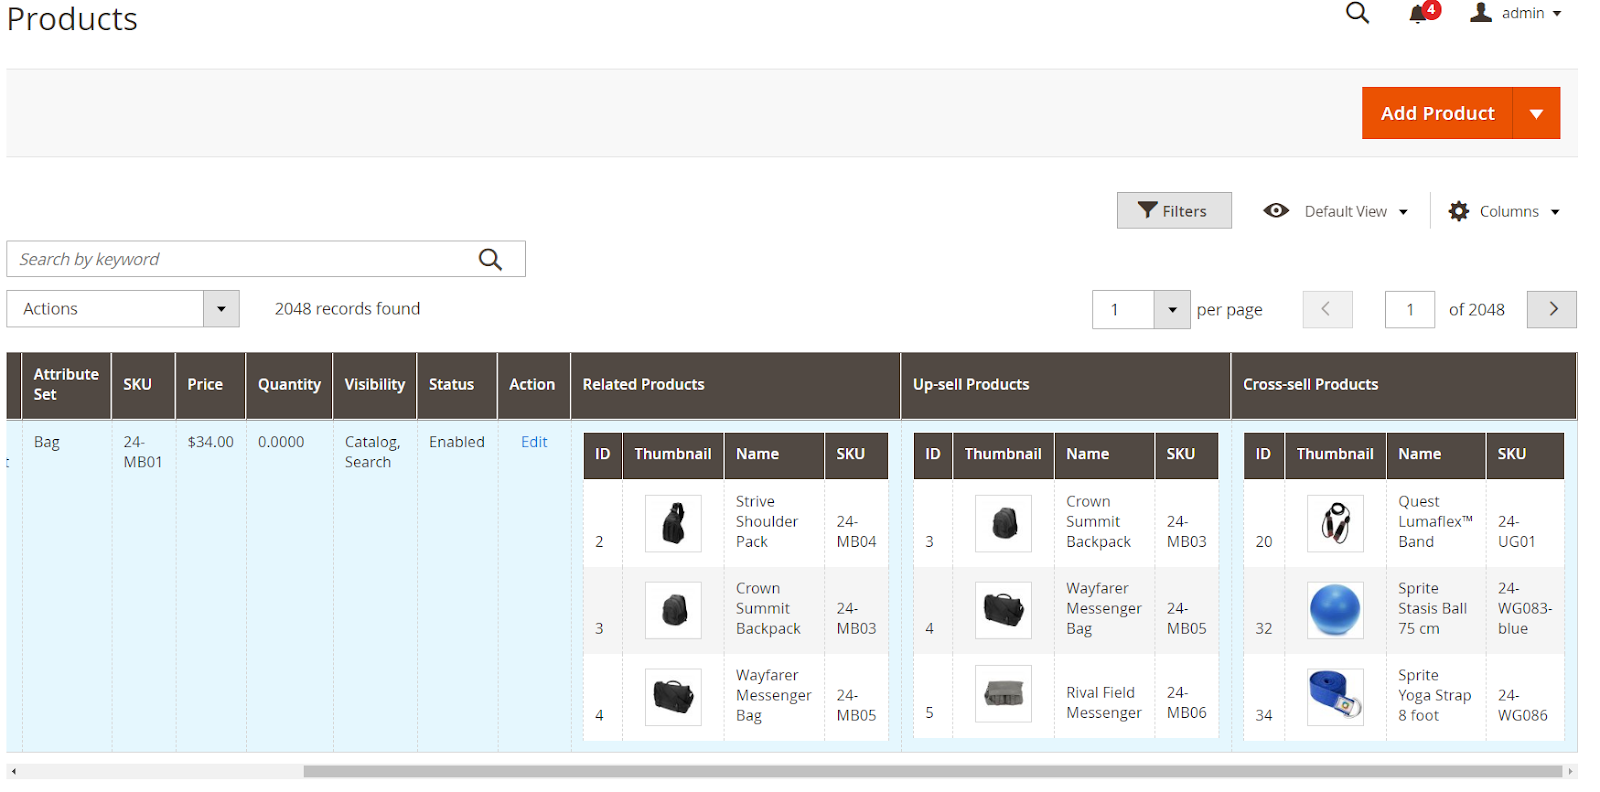
- At Column Header, admin changes column names and clicks Save.
- Cancel: Cancel the action.
2. Default View
With this extension, admin can create multiple order forms and switch between them to quickly access information related to different orders.
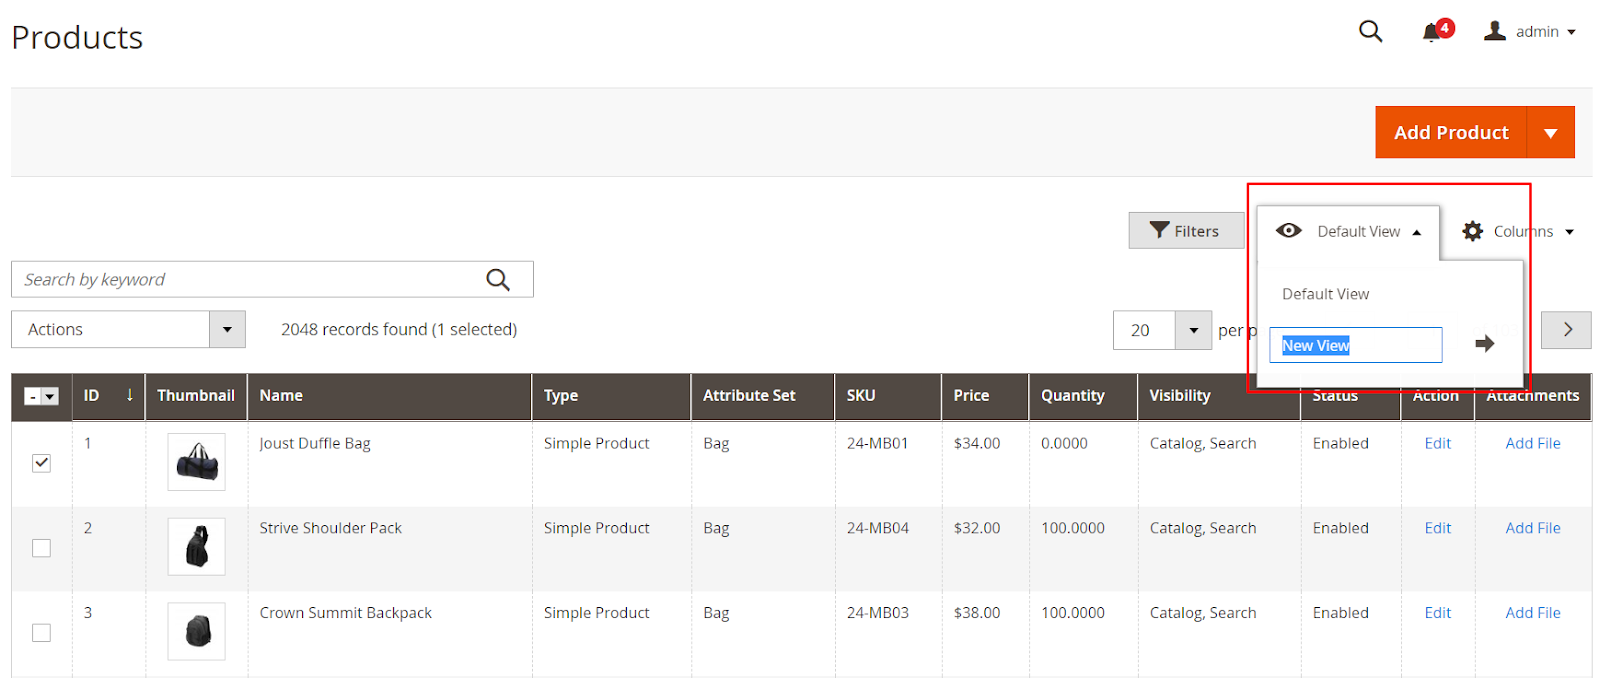
To create a new view, admin enters the Order menu area, click Default View, and click Save View As. Then, enter a name for the template and click the arrow icon. To delete a template, admin selects the form and clicks the trash can icon.
3. Filters
The selected order attributes are shown in Filter as well. Admin can sort the specific order by those attributes.
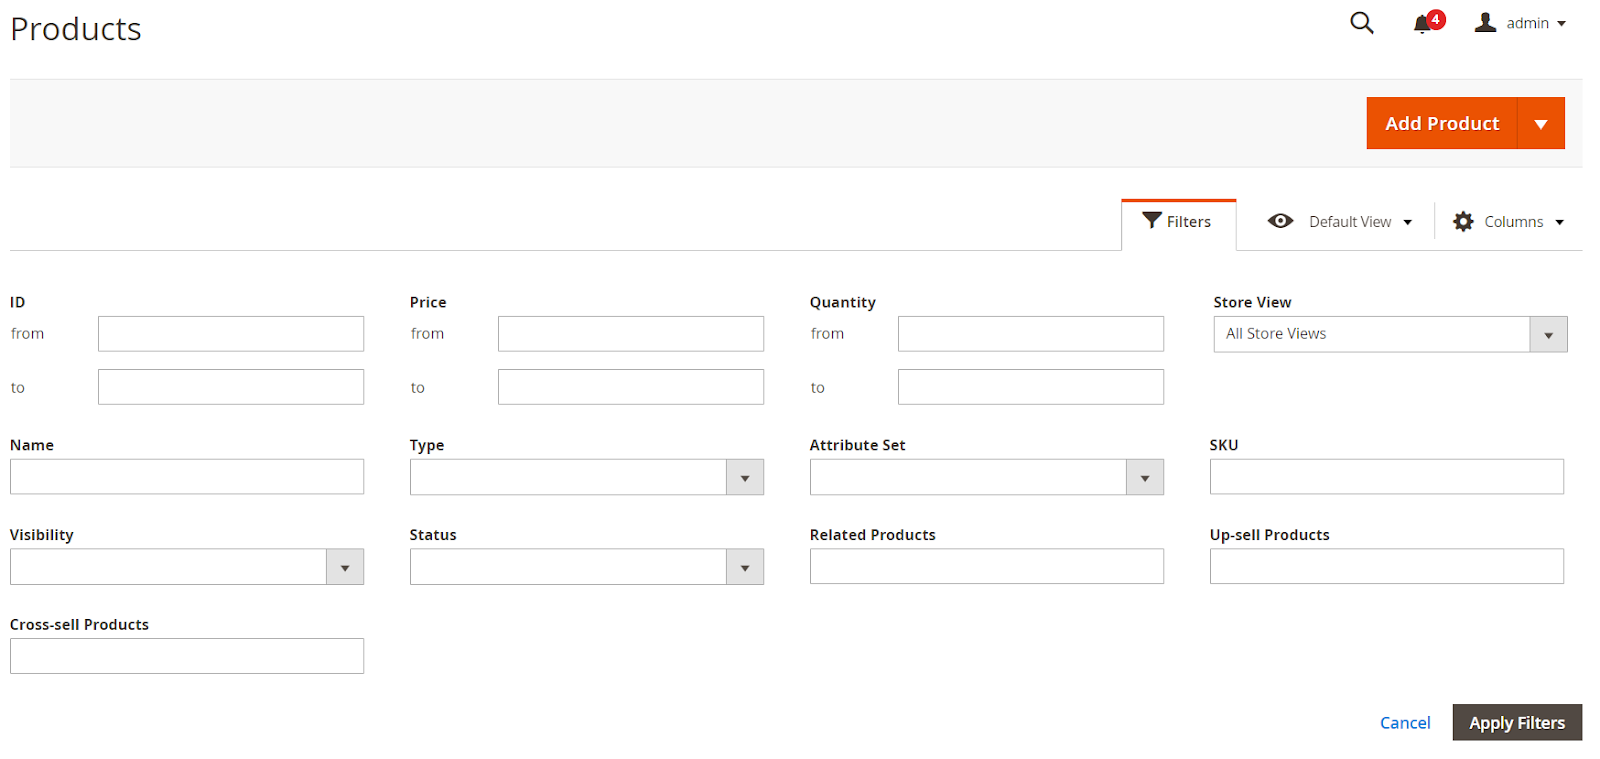
Admin insert the data to sort the specific order information and click Apply Filters.
4. Export
From the Admin Panel, go to System > Data Transfer > Export
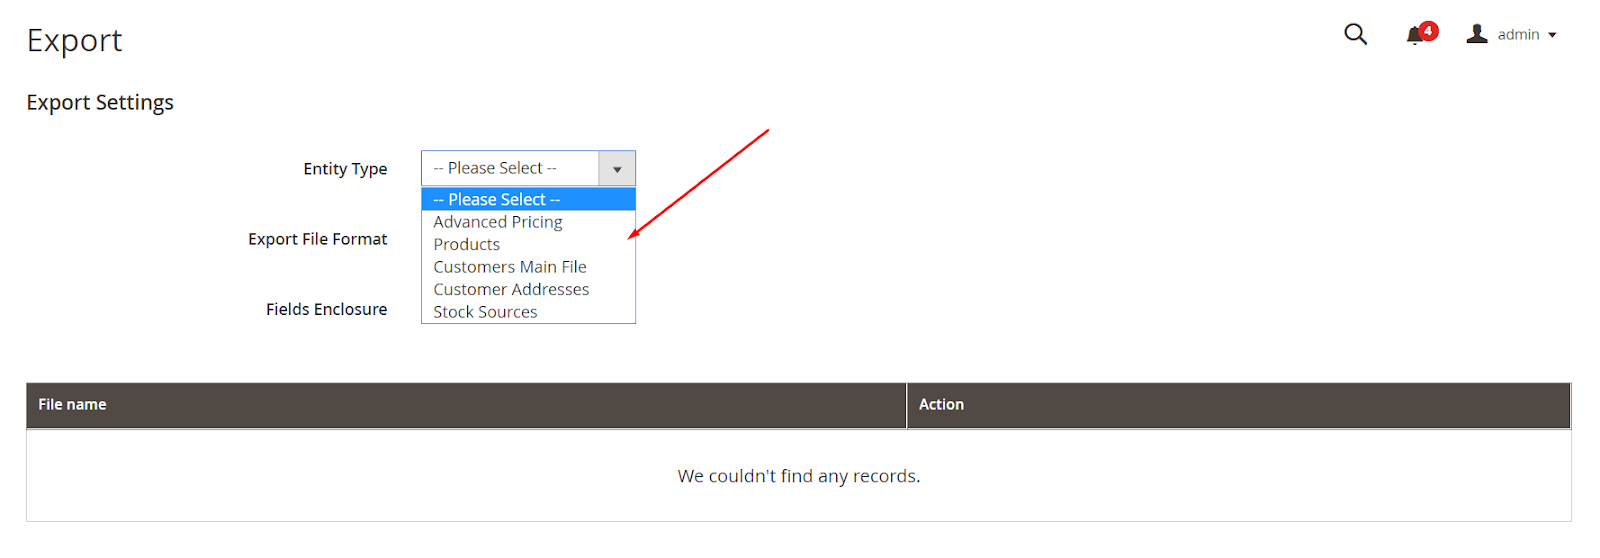
Check if the downloaded files has any product changes.