Customer Attributes
Overview
Customer Attributes will help you run more focused marketing campaigns and increase sales significantly. Thanks to this module, it helps provide the neccessary information to support the order management process and customer management. Maybe you will need more fields than the fields provided by the system such as adding custom attributes to the Customer Account Create, Customer Account Edit, Customer Address Registration, Customer Address Edit and Checkout in the customer's account, this will help you find out your client's personal preferences and location, age, or any additional information. This is a great feature of Mageplaza Customer Attributes extension.
Download and Install
How to configure
From the Admin Panel, go to Customers > Attribute
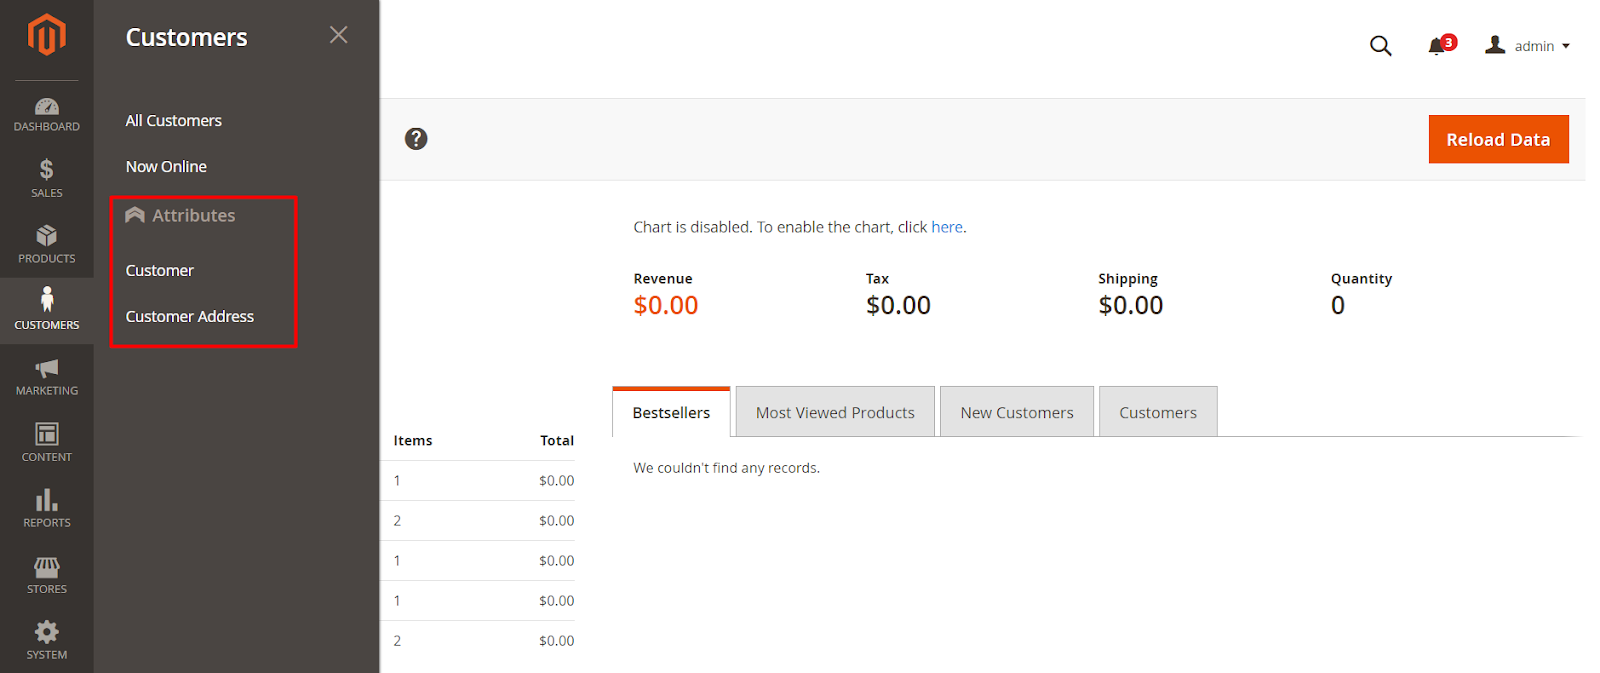
1. Customer
How to create new Customer Attributes
- Step 1: Enter full informaiton about Customer Attributes into Properties
- Step 2: Fill titles in Manage Labels to replace Attributes name that you want to show on the store
- Step 3: Enter the information into Storefront Properities to display Attributes at the store position you want
Step 1: Enter full informaiton about Customer Attributes into Properties
From the Admin Panel, go to Customers > Attribute > Customer, select Add New Attribute`
1.1. Attribute Properties
Default Label:- Enter the name for Attributes. The Attributes name will be displayed while you enter the data
- Be a required field to enter a value that is not allowed to be empty. If you leave it blank, the notification will be shown: "This is a required field".
Input Type: Select the input type. For theUpload Image, it can be uploaded in .gif, .jpg, .png formats. Options include:Dropdown: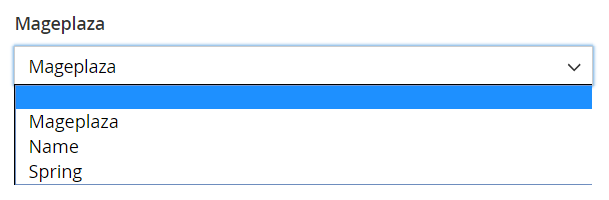
Multiple-select: Customers can choose many options at the same time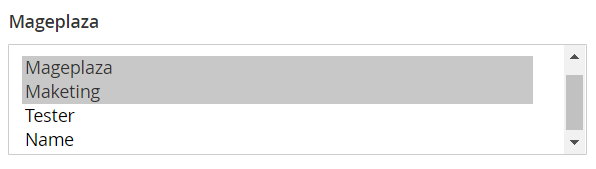
Multiple-select with image: Show more Image columns inManage Options. Customers can choose many images at the same time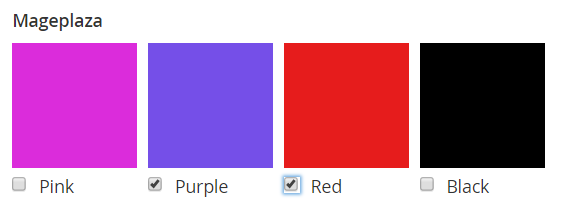
Single Select With Image: Choose the Image. Display more Image columns inManage Options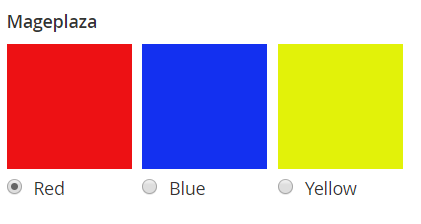
Media Image, Single File Attachment: ShowChoose Filebutton to upload the image or the file attachment from the laptop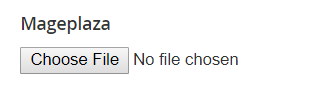
Date: Display more Calendar box. Click on the Calendar box to choose the time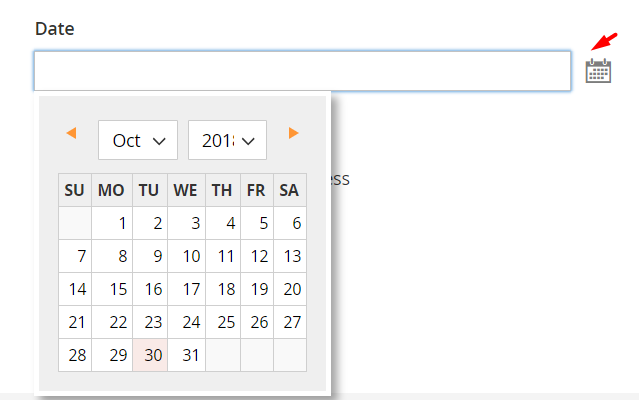
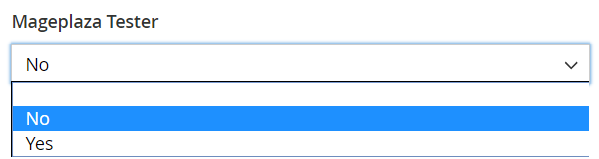
Yes/No: TheDefault Valuefield will be shown under Yes/No
Text Field: Display moreInput Validationfield to verify the input ofDefault Value

Text Area: Display theDefault Valuefield under the text
Content: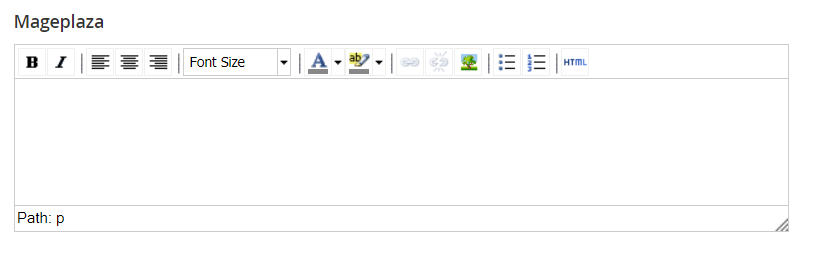
Value Required: Choose Yes so that this is a required field to enter the value, choose No so that it's not a required field. If it's a required field, an icon will display in the left of the attribute*
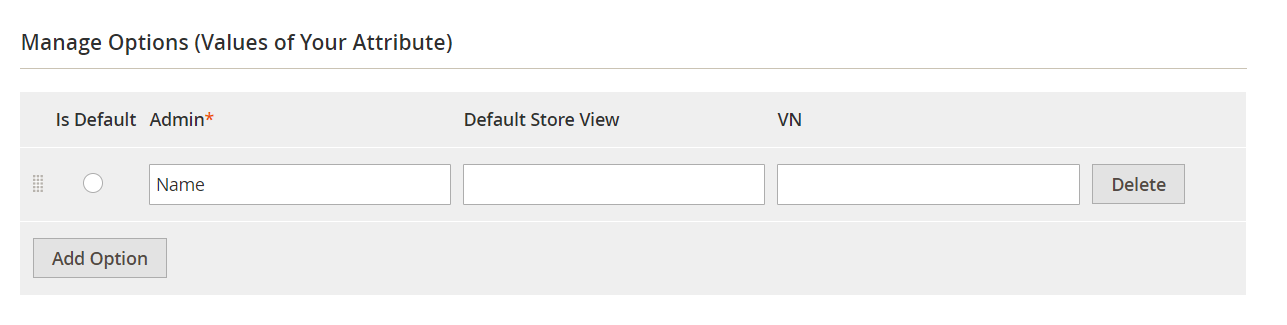
1.2. Manage Options
Manage Options only displays when you choose the Input Type as Dropdown, Multiple Select, Multiple Select With Image, Single Select With Image.
Choose
Add optionto add options and it will show along with Attributes you create.Deletebutton is to remove the option.You can enter the title into the store field that you want to show to replace that option
1.3. Advance Attribute Properties
Attribute Code:- Enter the Attribute code. This field is used internally. Make sure you do not use spaces or more than 30 symbols.
- If you leave blank, the default value is based on
Default Labelfield.
Default Value:- Enter the value for the Default Value field. The value you enter will be displayed along with the Attributes you create in the -
Customer Account Createsection. - This field depends on the choice of the
Input Typefield
- Enter the value for the Default Value field. The value you enter will be displayed along with the Attributes you create in the -
Input Validation:- Select input validation type. This field will be displayed only when
Input Typeis set to beText Field. - Validate the input of the
Default Valueaccording to the choice of theInput Validationfield. Options include:
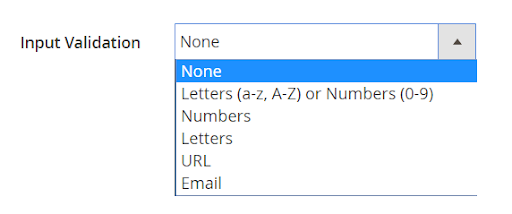
- Select input validation type. This field will be displayed only when
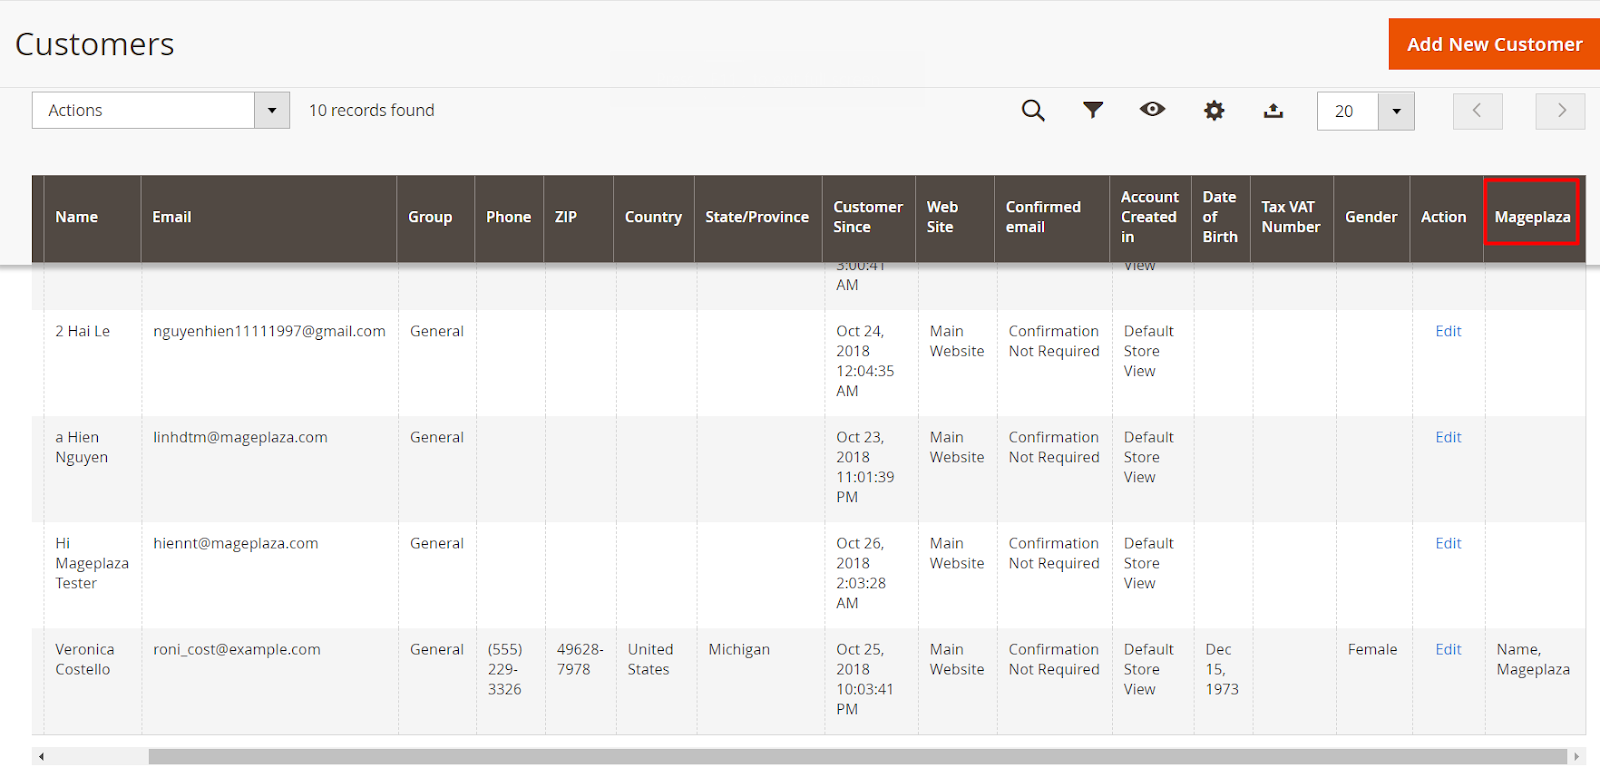
Add to Customer Grid: Choose Yes to add the attribute intoCustomer Grid. The column will be added intoColumn options,Filter Option & Search OptionofCustomer Grid.
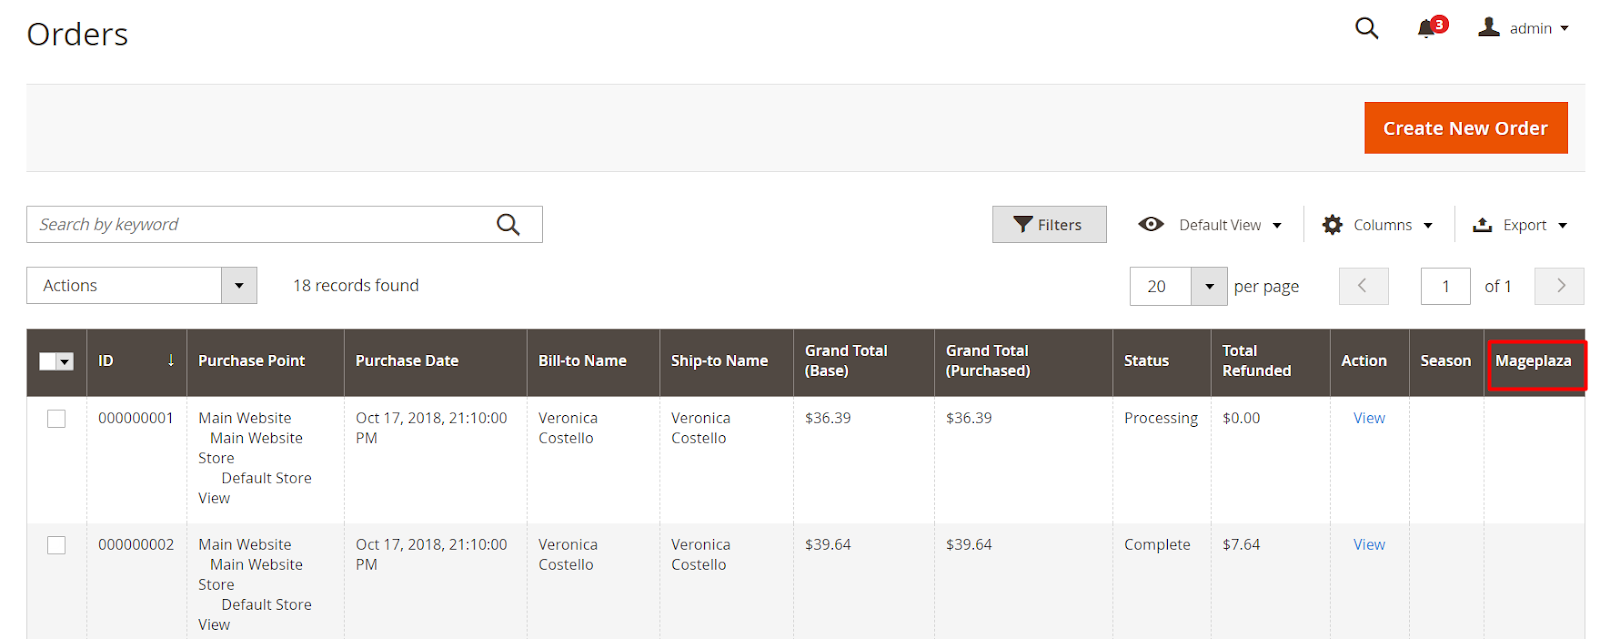
Add to Sale Order Grid: Choose Yes to add the attribute intoSale Order Grid. The column will be adeed intoColumn options, filter option & search optionsofSale Order Grid
1.4. Depend Fields
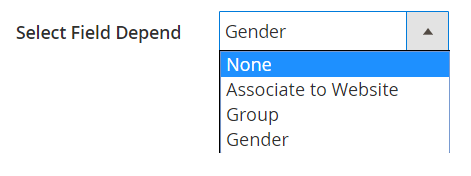
Select Field Depend: Show the attributes when you selectInput typeas Dropdown and Single Select With Image. Thí field will display on the Frontend, admin customer form and admin checkout. Some attributes are available in the system as:
Value Depend:- Choose the value for
Value Dependfield - This field depends on the option of created attributes and choose the attributes of
Select Field Dependfield. This section will help you expand the options.

- Choose the value for
Note: The display of attributes that you have created depends on the option selection.
Step 2: Fill titles in Manage Labels to replace Attributes name that you want to show on the store
Fill the titles in the Store fields that you want to show. The title will replace the Attributes name that you have created when entering the data. If you leave this field blank, the default attributes name is that you set in the Default Label field.

Step 3: Enter the information into Storefront Properities to display Attributes at the store position you want

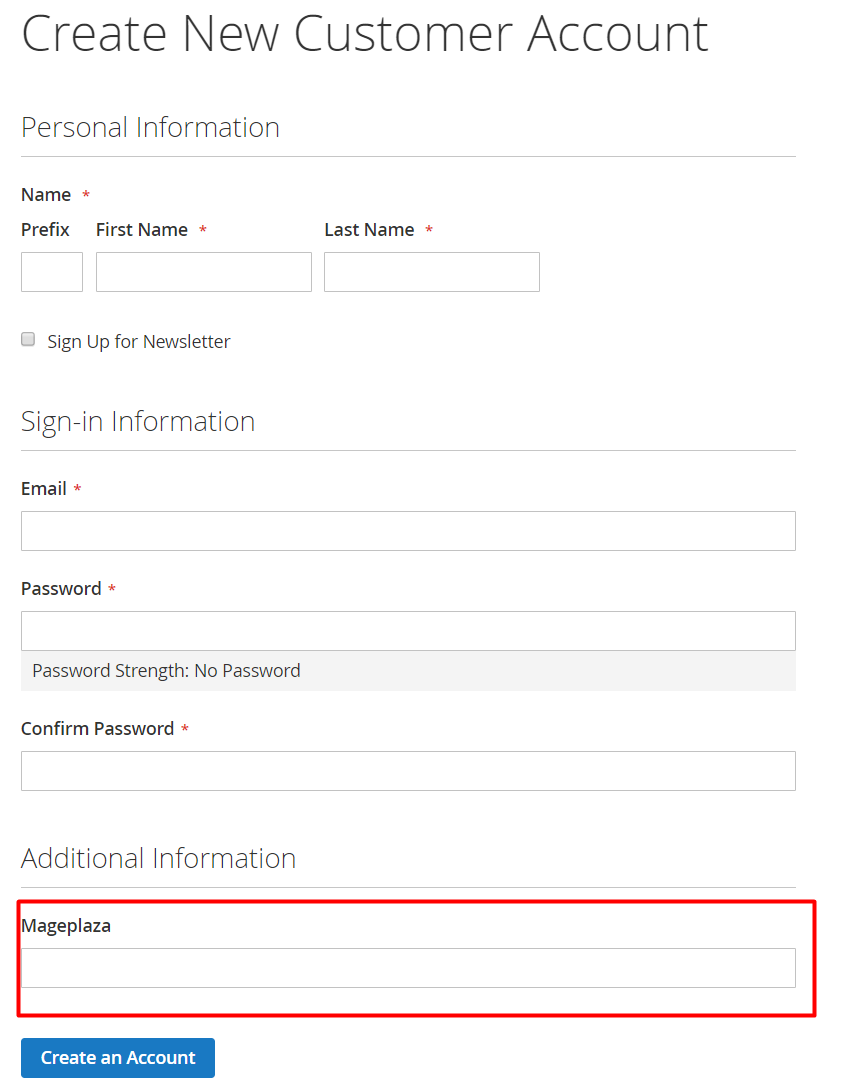
Show on Storefront: To display the attributes on Storefront, chooseYes. For the attributes are included in the system, you cannot edit the remaining fields in theStorefront Properties.Customer can edit: Choose Yes so that customers can edit the attributesStore View: Choose Store View that allows Attributes to diplay. For unselected store views, attributes will not appearCustomer Group: Attributes only shows on the selected customer group.Show on forms: Show the forms on your store with some options:Customer Account Create:
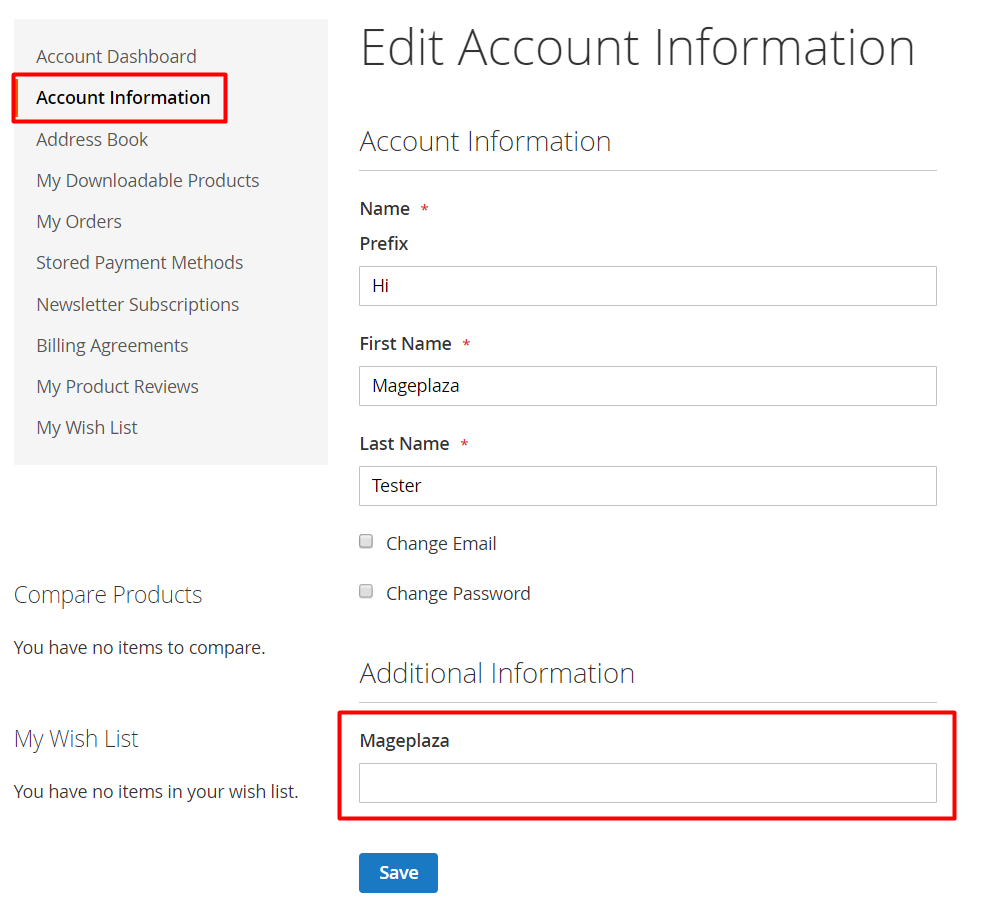
Customer Account Edit:
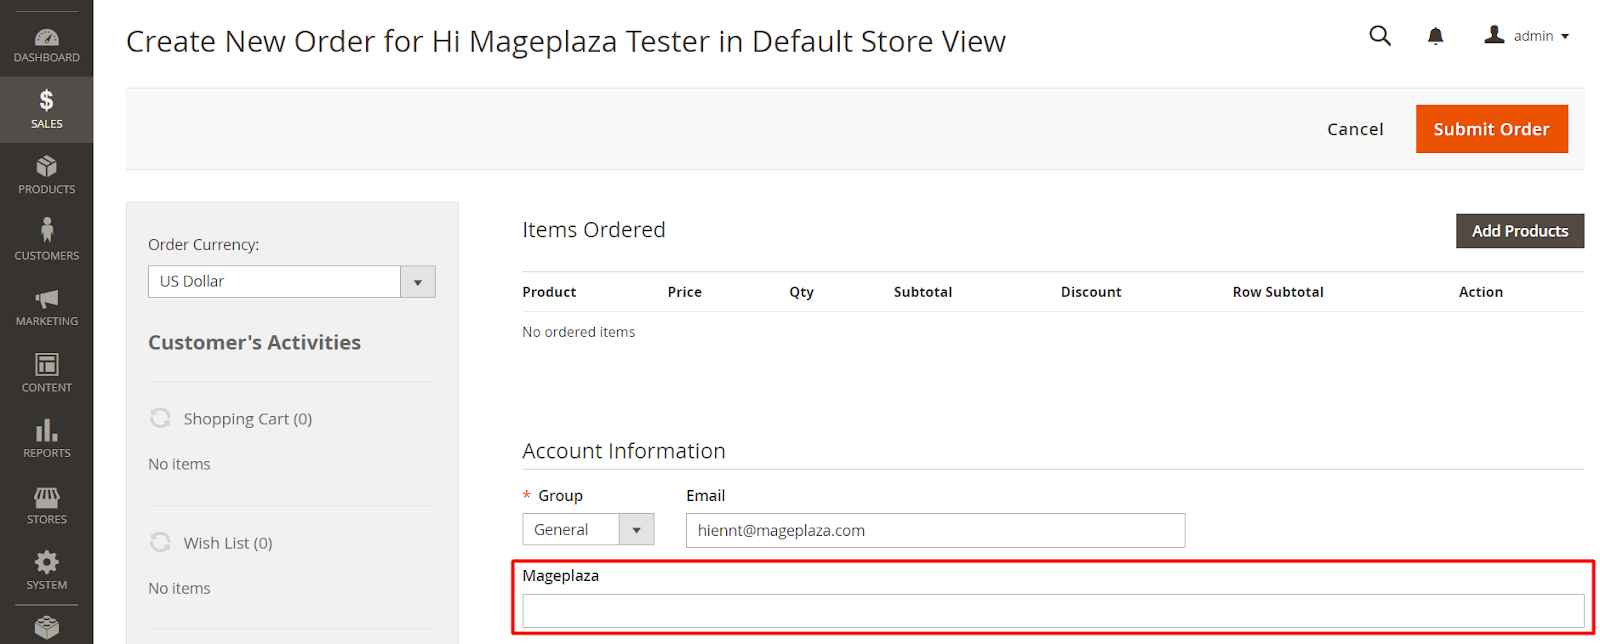
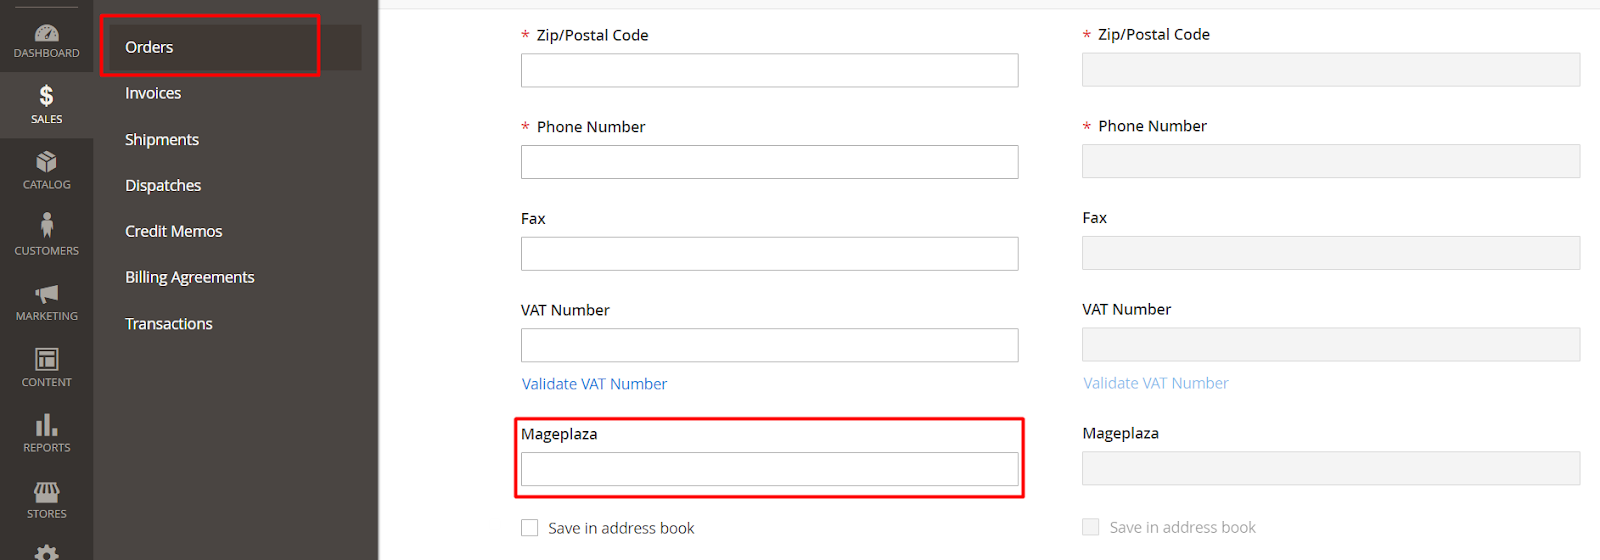
Admin checkout:
Sort Order:- Enter the order number that you want to use to sort the attributes. If you leave this field blank, the default order number is 0.
- The smaller the order number, the higher the priority.
2. Customer Address
How to create new customer address attributes
- Step 1: Enter full informaiton about Customer Address Attributes into Properties
- Step 2: Fill titles in Manage Labels to replace Attributes name that you want to show on the store
- Step 3: Enter the information into Storefront Properities to display Attributes at the store position you want
Step 1 and Step 2 are similar to the step 1 and 2 as above. You can refer it.
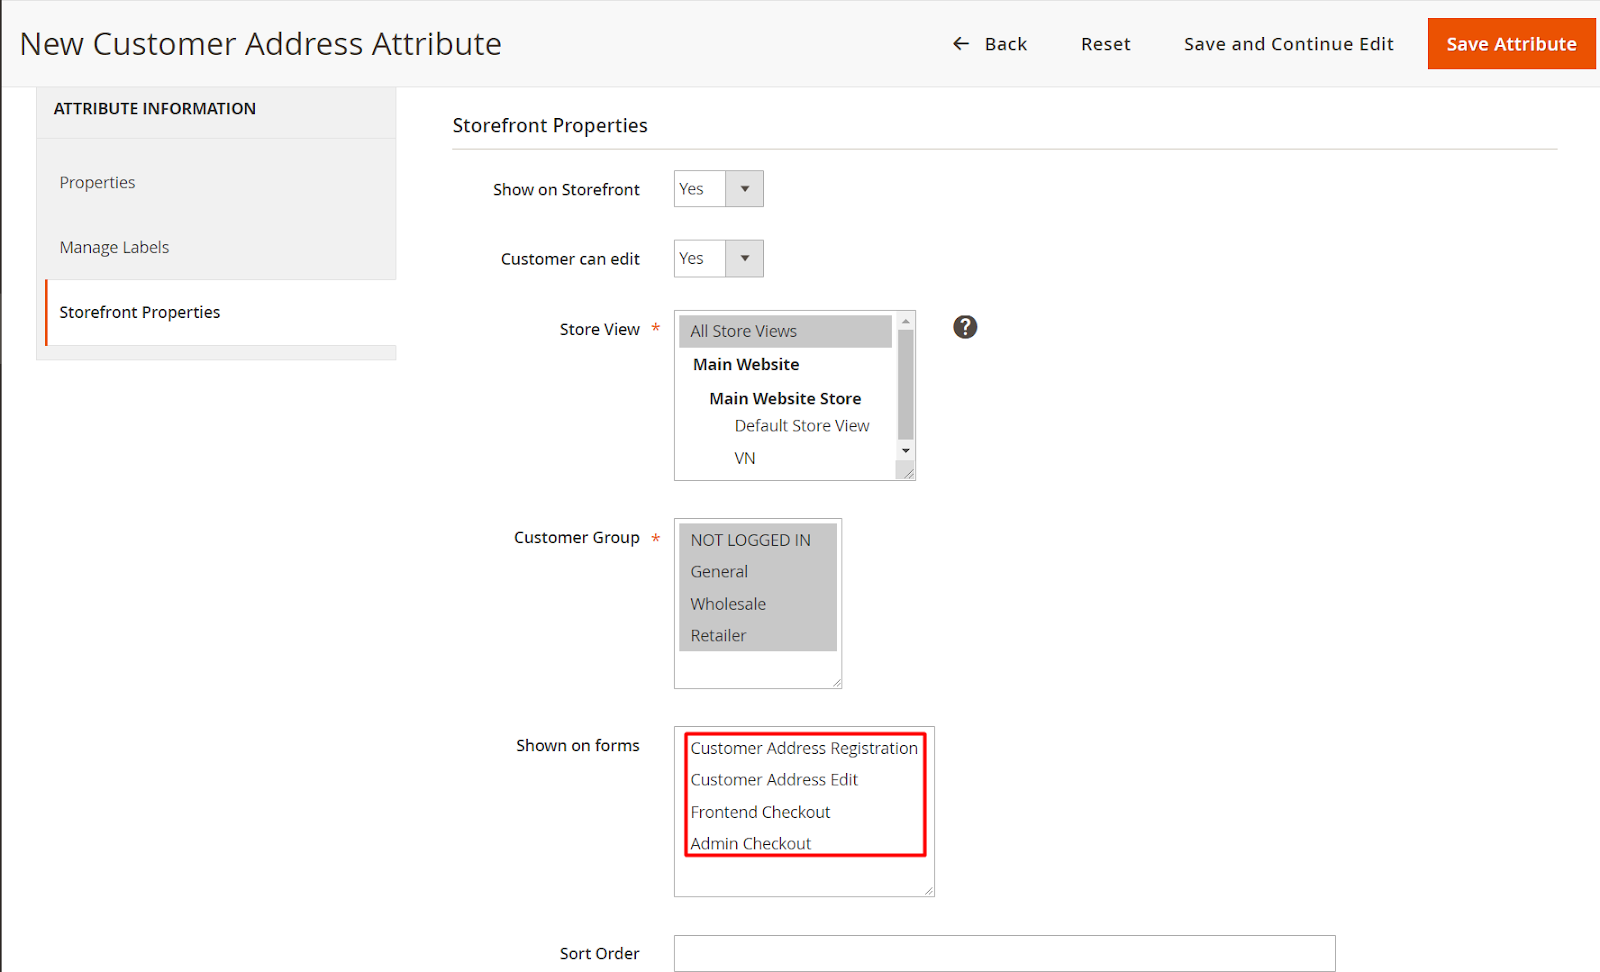
Step 3: Enter the information into Storefront Properities to display Attributes at the store position you want
The only difference of the Customer Address for the Customer function is that in this step 3, only the Show on Forms field has different display options. The remaining fields correspond to how to create a customer that we has guided you above.
Show on forms: Show the forms on your store- If you have installed Mageplaza One Step Checkout extension, it will show the One Step Checkout page that helps you checkout quickly and conveniently with only one page.
From the Admin Panel, go to Store > One Step Checkout > Manage Fields, drag Attributes to the Sorted Fields column that you want to show on the One Step Checkout.
Also, there're 4 options for you to choose:
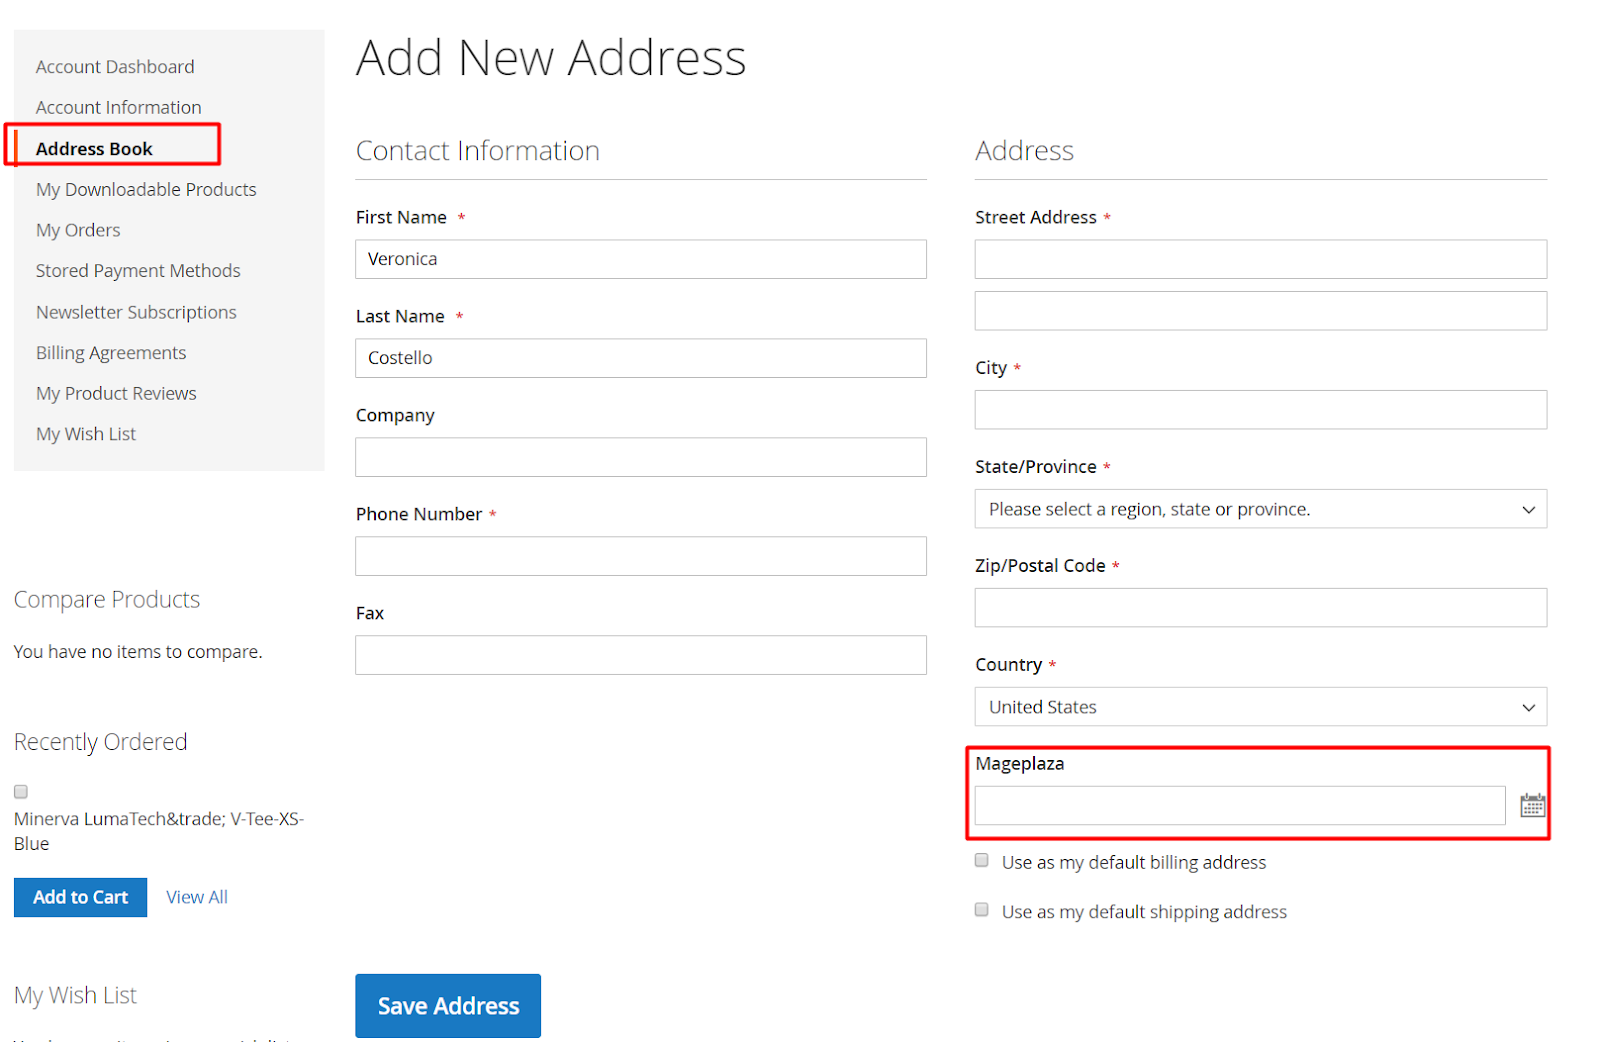
Customer Address Registration:
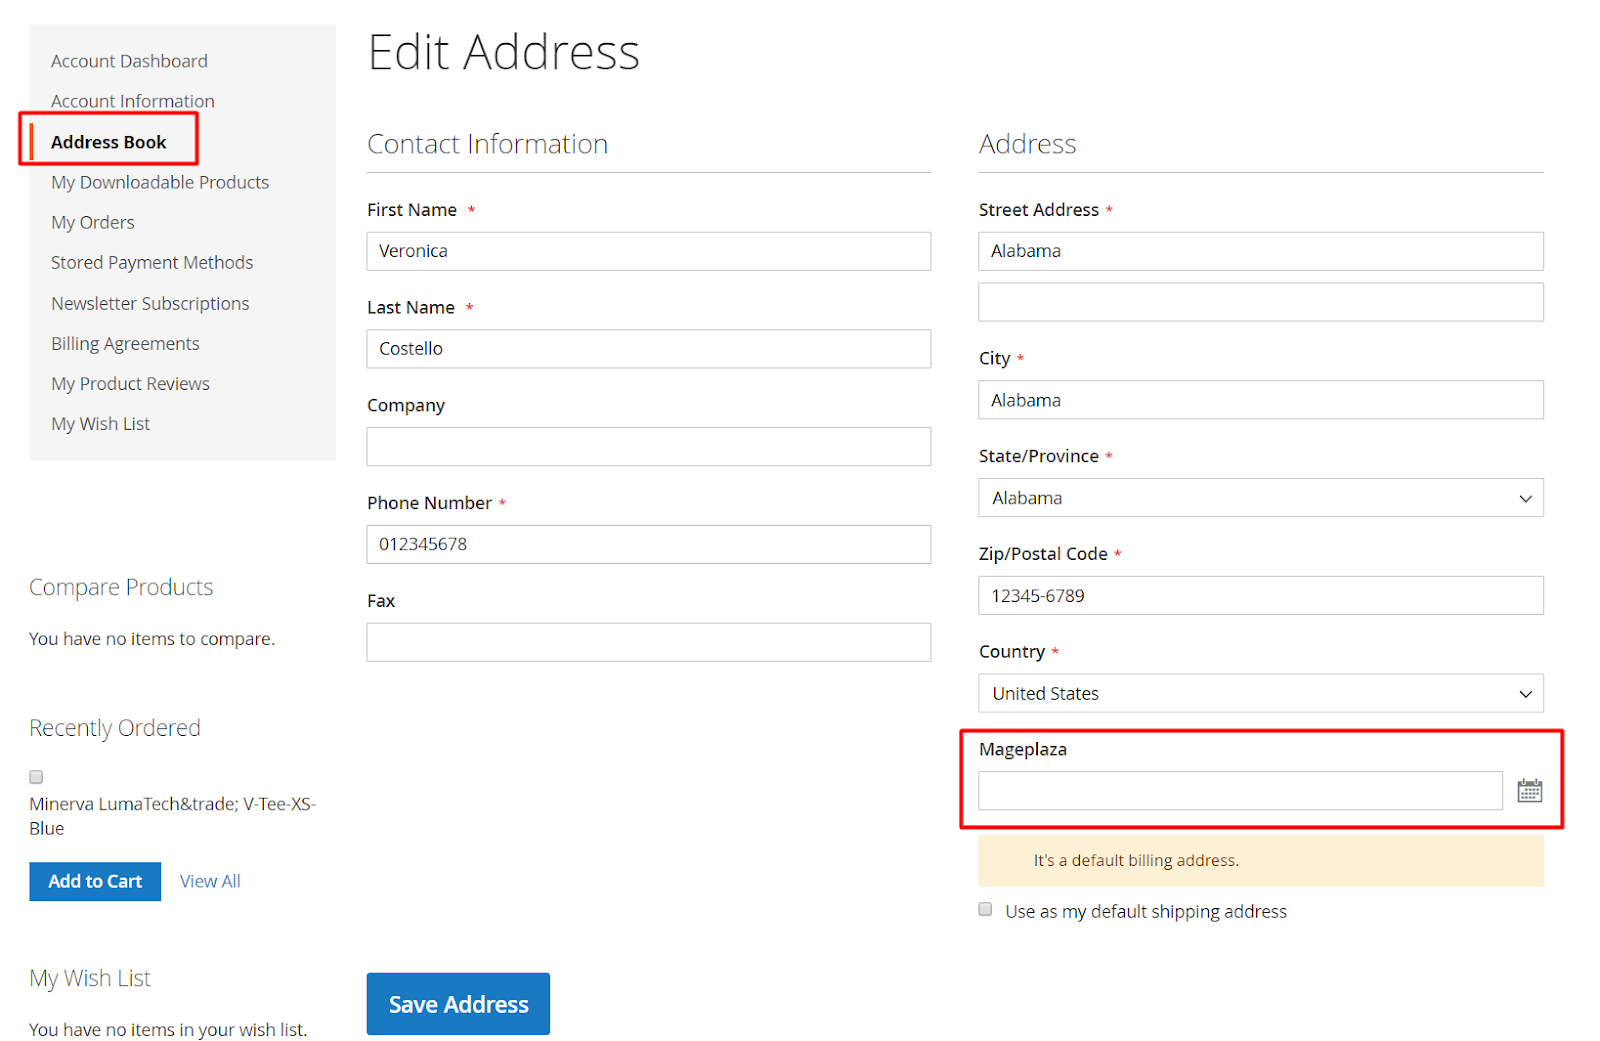
Customer Address Edit:
Frontend Checkout:
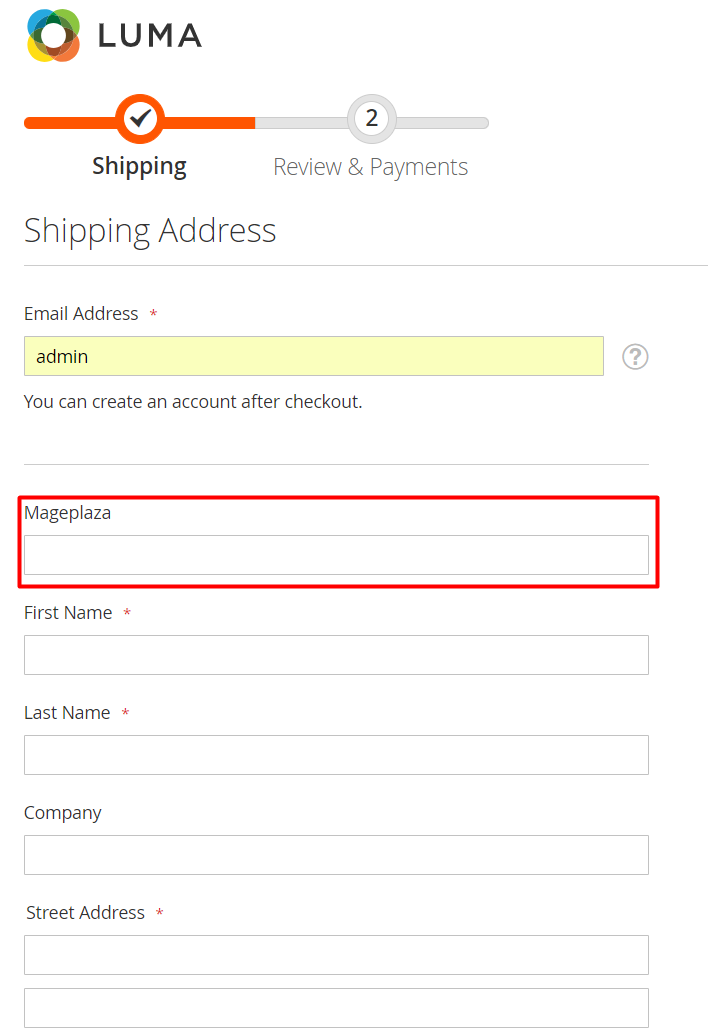
Admin Checkout:
3. REST API
Mageplaza's Customer Attributes support the user to perform actions against attributes through the REST API: admin authority can obtain information about the customer attributes and customer address attributes, customer and guest permissions can upload file for Media Image attribute and Single File Attachment while checking out order.