How to install Blog
Important:
- We recommend you to duplicate your live store on a staging/test site and try installation on it in advance
- Backup magento files and the store database
It’s very important to backup all of themes and extensions in Magento before installation, especially when you are working on a live server. We strongly recommend you to do not omit this step.
Method 1: Install via composer (recommend)
Run the following command in Magento 2 root folder:
composer require mageplaza/magento-2-blog-extension
php bin/magento setup:upgrade
php bin/magento setup:static-content:deploy
Method #2: Copy & Paste
1.1 Step 1: Download SFTP clients
Download SFTP clients, we recommend clients: FileZilla, WinSCP. In this case, we are using WinSCP to install the module.
Step 2: Download the Package
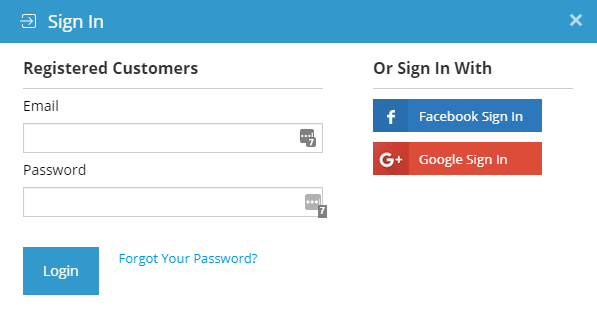
After purchasing order from Mageplaza, go to My Downloadable Products page to download the module package. You have to log in (User/Password or Social accounts) before accessing the My Downloadable Products.
Here are the screenshot of My Downloadable Products page.
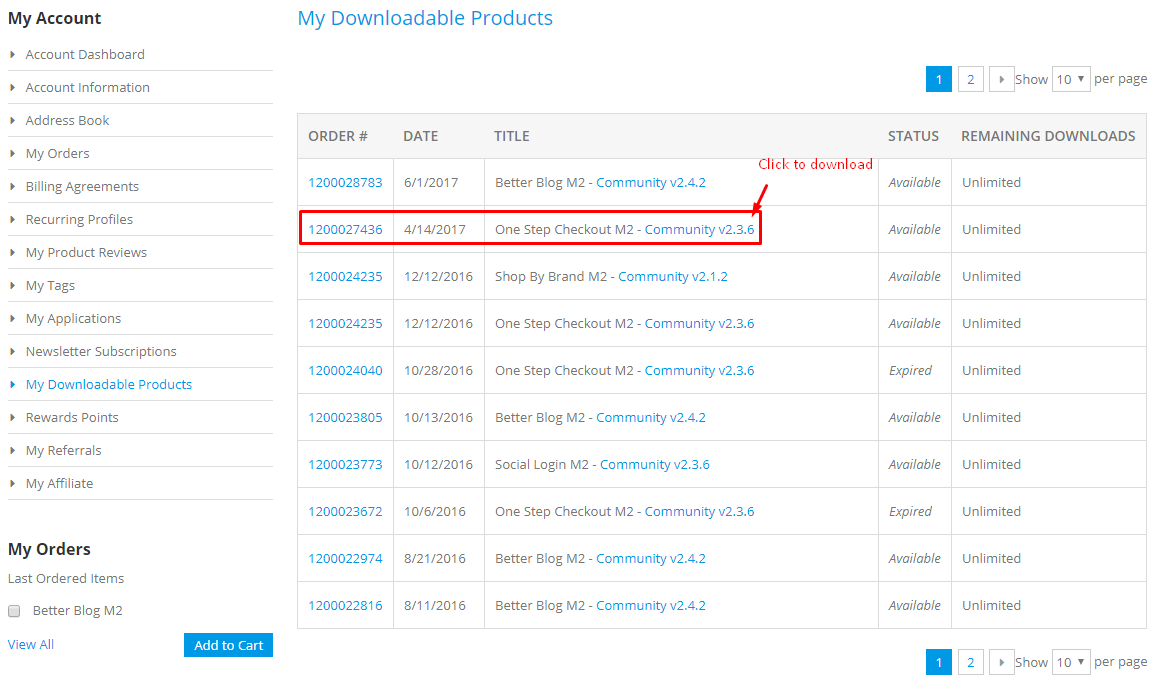
Now click on extension version link to download the package.

Step 3: Upload files to server
Let's extract the package and connect to your server using SFTP Clients above. Then upload files, folders to your server, see this video:
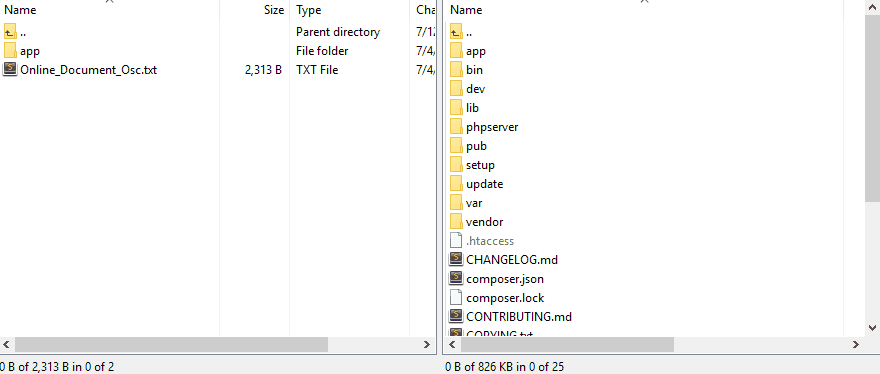
Upload the app folder to Magento 2 root folder.
Step 4: Run command line
To complete the installation process, we need to run the following command lines to install Mageplaza Core module:
composer require mageplaza/module-core
php bin/magento setup:upgrade
php bin/magento setup:static-content:deploy
If you got the error: Mageplaza_Core has been already defined, read this solution
Step 5: Check result
Now time to check result in frontend.
If you get any issues, check FAQs. If you get still get issues, report here.